Select Language:
Welcome to the final chapter of Lies Of P: Overture. This last area starts with a walk through the orphanage. Here, you won’t encounter many enemies, but you’ll collect and read several documents. As you venture further into the Rose Estate, you’ll encounter a series of minibosses in the latter half of this stage.
The conclusion of this section involves some puzzle-solving. We’ll guide you through each challenging encounter, help you tackle every puzzle, and point out all the hidden treasures. Don’t worry—you’ll be leaving the orphanage well-equipped and loaded with loot.
Items, Documents, and Equipment Available in Monad Charity House
In this final stage, you can collect an impressive array of documents and valuable items. However, aside from two amulets, you won’t gather much in terms of new equipment. Initially, you’ll be inundated with documents, but as minibosses start appearing, you’ll begin to find more items. Prepare for the boss fight by picking up the high-value ergo crystals, which will help you level up.
|
All Discoverable Items |
|
|---|---|
|
Documents |
Blood-Spattered Photo, Romeo’s Letter, On The Potential of the Murder Puppet, Petition to the order document, A Family’s Happy Memory, Sophia’s Diary, Letter To Valentius, Great Master’s Letter Of Excommunication. |
|
Items |
Resplendent Ergo Crystal, Throwing Cell, Radiant Ergo Chunk, Legion Magazine, Vivid Ergo Crystal. Thermite, Special Purification Ampoule, Quartz. Special Resistance Ampoule, Technique Crank, Electric Blitz Abrasive, Miraculous Recovery Ampoule, Miraculous Enhancement Ampoule. |
|
Equipment |
Frenzied Amulet +1, Courage Amulet |
Monad Charity House Stargazer
Move straight through the front hallway and go through the open doors. After witnessing a gruesome cutscene, you’ll find the Blood-Spattered Photo and Romeo’s Letter near Lea. Continue up the stairs, where the “On The Potential of the Murder Puppet” document will be lying on a sofa. Ascending from this area leads to a hallway full of enemies.
The zombies here are mostly standard, but those with green lumps on their heads can strike at you with tendrils and spit poisoned projectiles from afar. Be ready to dodge. Occasionally, they’ll swing wildly—this attack has a clear pattern, making it easy to time your evasion.
The first door on your left has a single zombie, while the second room on the left and the room on the right (the first two doors on the right lead to the same space) each contain more zombies. The last room on the left contains the Petition to the Order document. Proceed through the last doorway on the right. Inside, you’ll find two more zombies, one of which is playing dead. Next, you’ll enter a suspiciously empty room before encountering three more enemies weeping in the hallway. Take them out before they can attack.
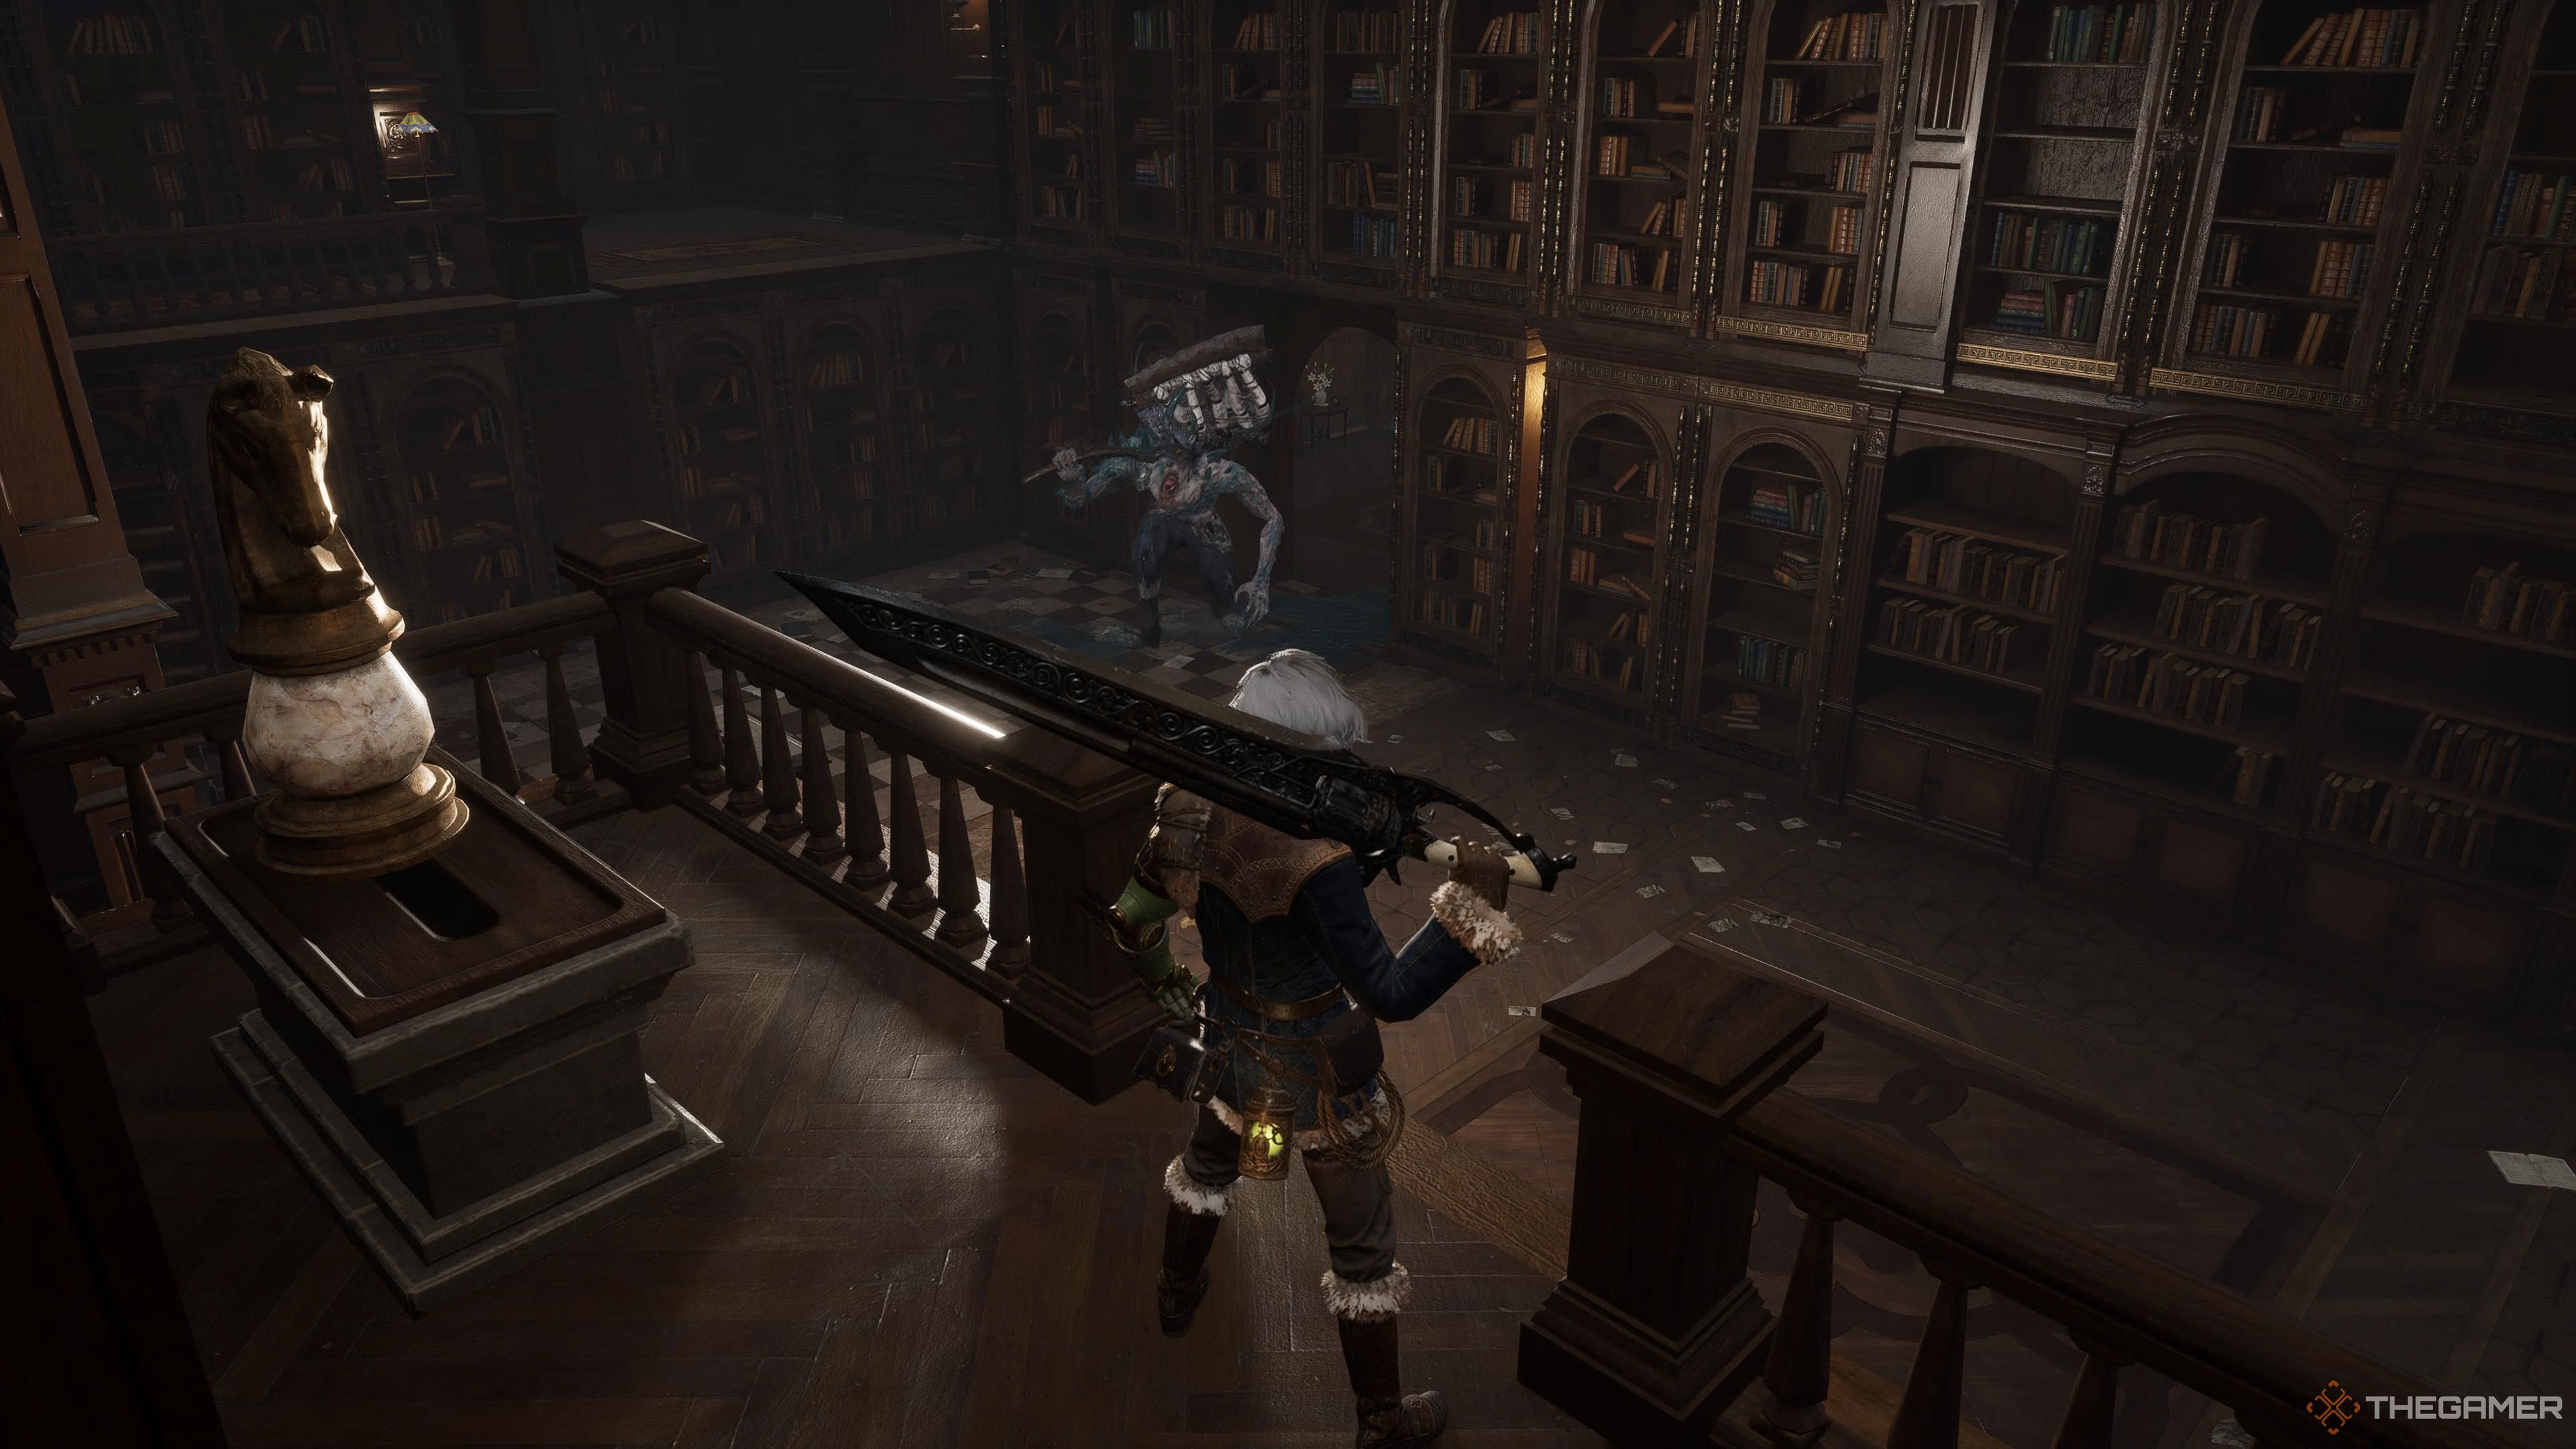
The next miniboss is a large mutant wielding a massive bludgeon that inflicts the Decay effect. Use the Icarus Legion Arm against them, as they move fairly slowly. Keep a distance, wait for them to miss a slam attack, and then unleash a fully charged strike. Avoid the green mist at all costs! Upon defeat, you’ll earn a Resplendent Ergo Crystal and a Throwing Cell.
Press on through the bedroom and take a left to unlock a shortcut back to the main hallway. Head right, and you will enter a bedroom where you can collect the A Family’s Happy Memory and Sophia’s Diary documents. Upon exiting this bedroom, take a left down the stairs that lead to a large room housing “Another Letter from an Old Friend.”
The next area features two chefs and a maid, all infected with mutated limbs and tendrils. Let them approach you, and retreat into the room you came from to avoid triggering the miniboss. Luckily, the chefs mostly charge in and make short attacks, giving you plenty of chances to strike. They are recycled enemies from the base game but now they might swipe at you with knives.
How To Defeat The Two-Hammered Mutated Miniboss
Once you’re done with the first group, move ahead, and a mutant will burst out of the room on your right. This creature wields two gigantic hammers. If you’ve engaged the optional content in the Zelator Underground Facility, you may be familiar with this enemy. Their main attacks include…
- Charging forward with four slam attacks before executing a furious fifth attack.
- Performing three horizontal swings at you.
- Rolling at you in a ball form.
If you parry the roll, they will quickly roll again. Parry the second roll, and you’ll stagger them, setting up a great opportunity to inflict damage. If you prefer, you can create distance and focus on parrying this roll instead, as they frequently utilize it when you’re far away. However, their five-hit slamming attack is also straightforward to parry, so feel free to capitalize on that if your timing is spot on.
Upon their defeat, you’ll receive the Radiant Ergo Chunk and a Legion Magazine. You’ll also find another Legion Magazine on a shelf and a Vivid Ergo Crystal near a fallen clock. Acquire the Special Purification Ampoule from the pantry where the miniboss emerged and descend the ladder. This brings you to the Monad Charity House Cellar Stargazer.
Monad Charity House Cellar Stargazer
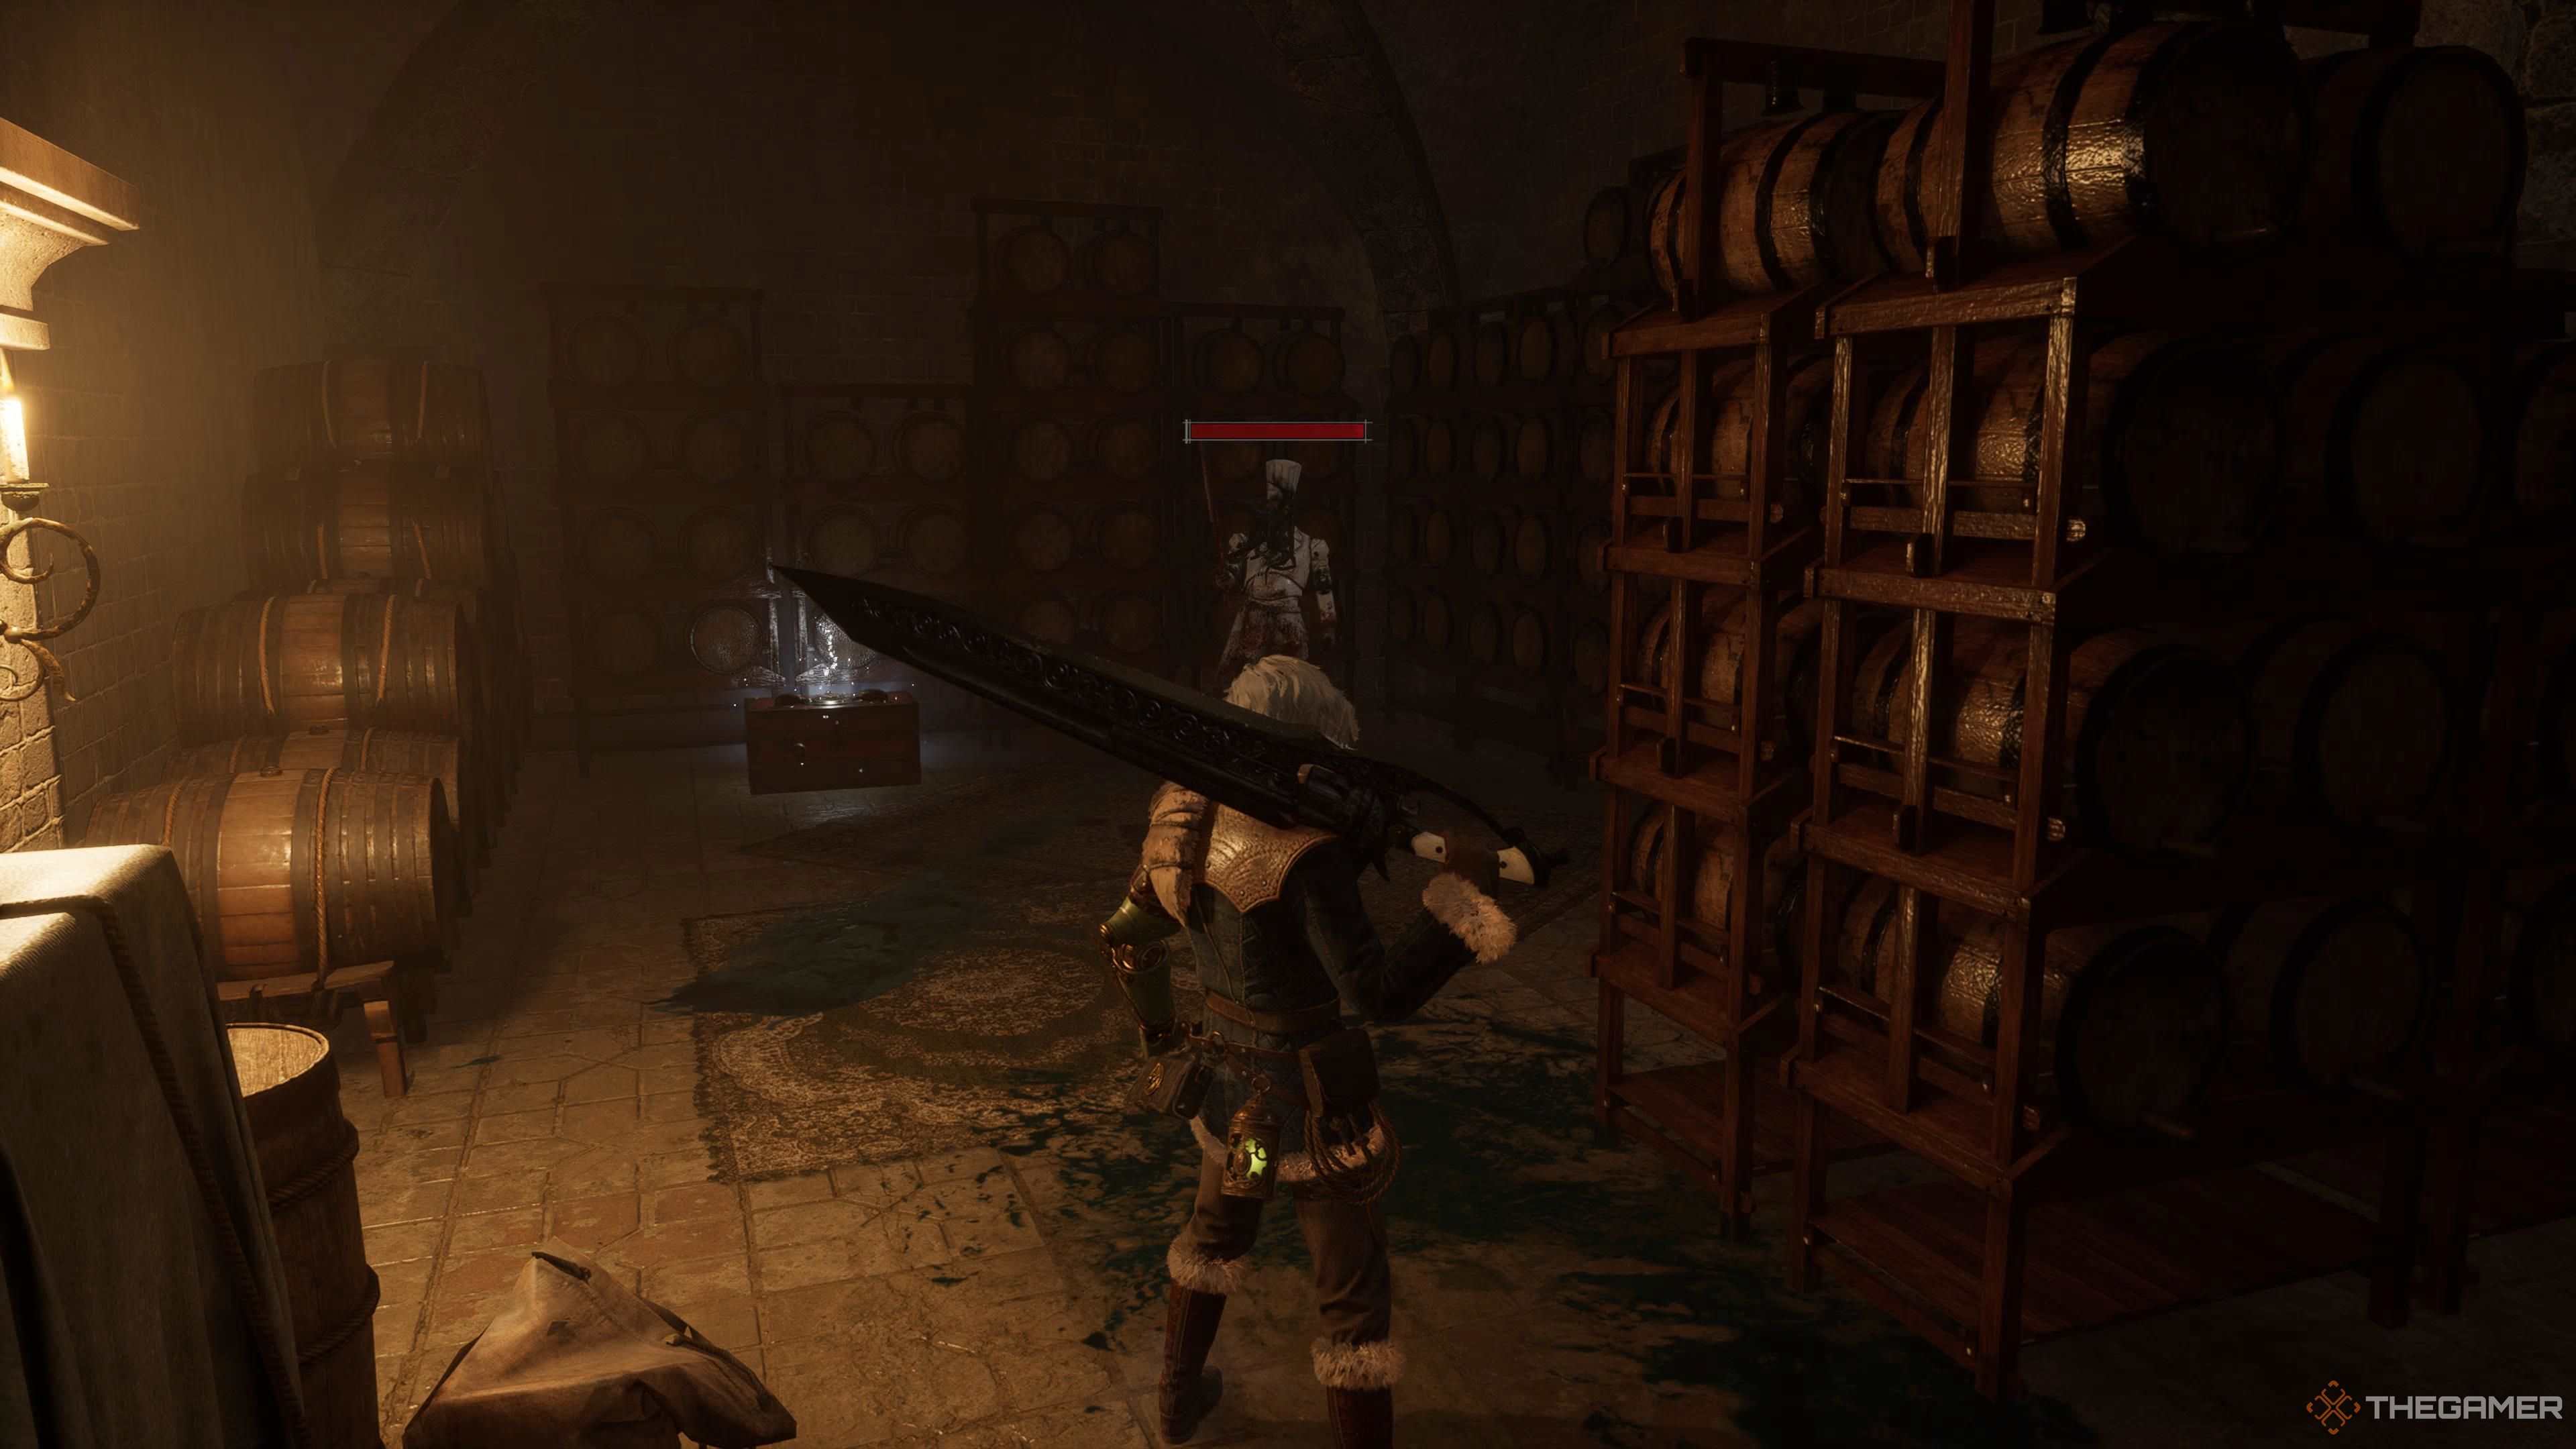
Continue forward, and upon entering the room on your left, you’ll confront a chef that shoots poison projectiles and another chef that performs overhead attacks. Defeat them to collect the Thermite in the back corner. The main area will have three more chefs wandering around. If you venture into the room on your right, you’ll find another chef lurking there.
Head into the alcove on your left for yet another chef. Be wary; a chef torso will be hanging from the ceiling, ready to drop on you. Open the chest to receive a Frenzied Amulet +1. Enter the room in the back through the right entrance. Two enemies are clinging to the ceiling above the left entrance. Use a bow or long-range weapon to bring them down, and grab the Vivid Ergo Crystal in the corner.
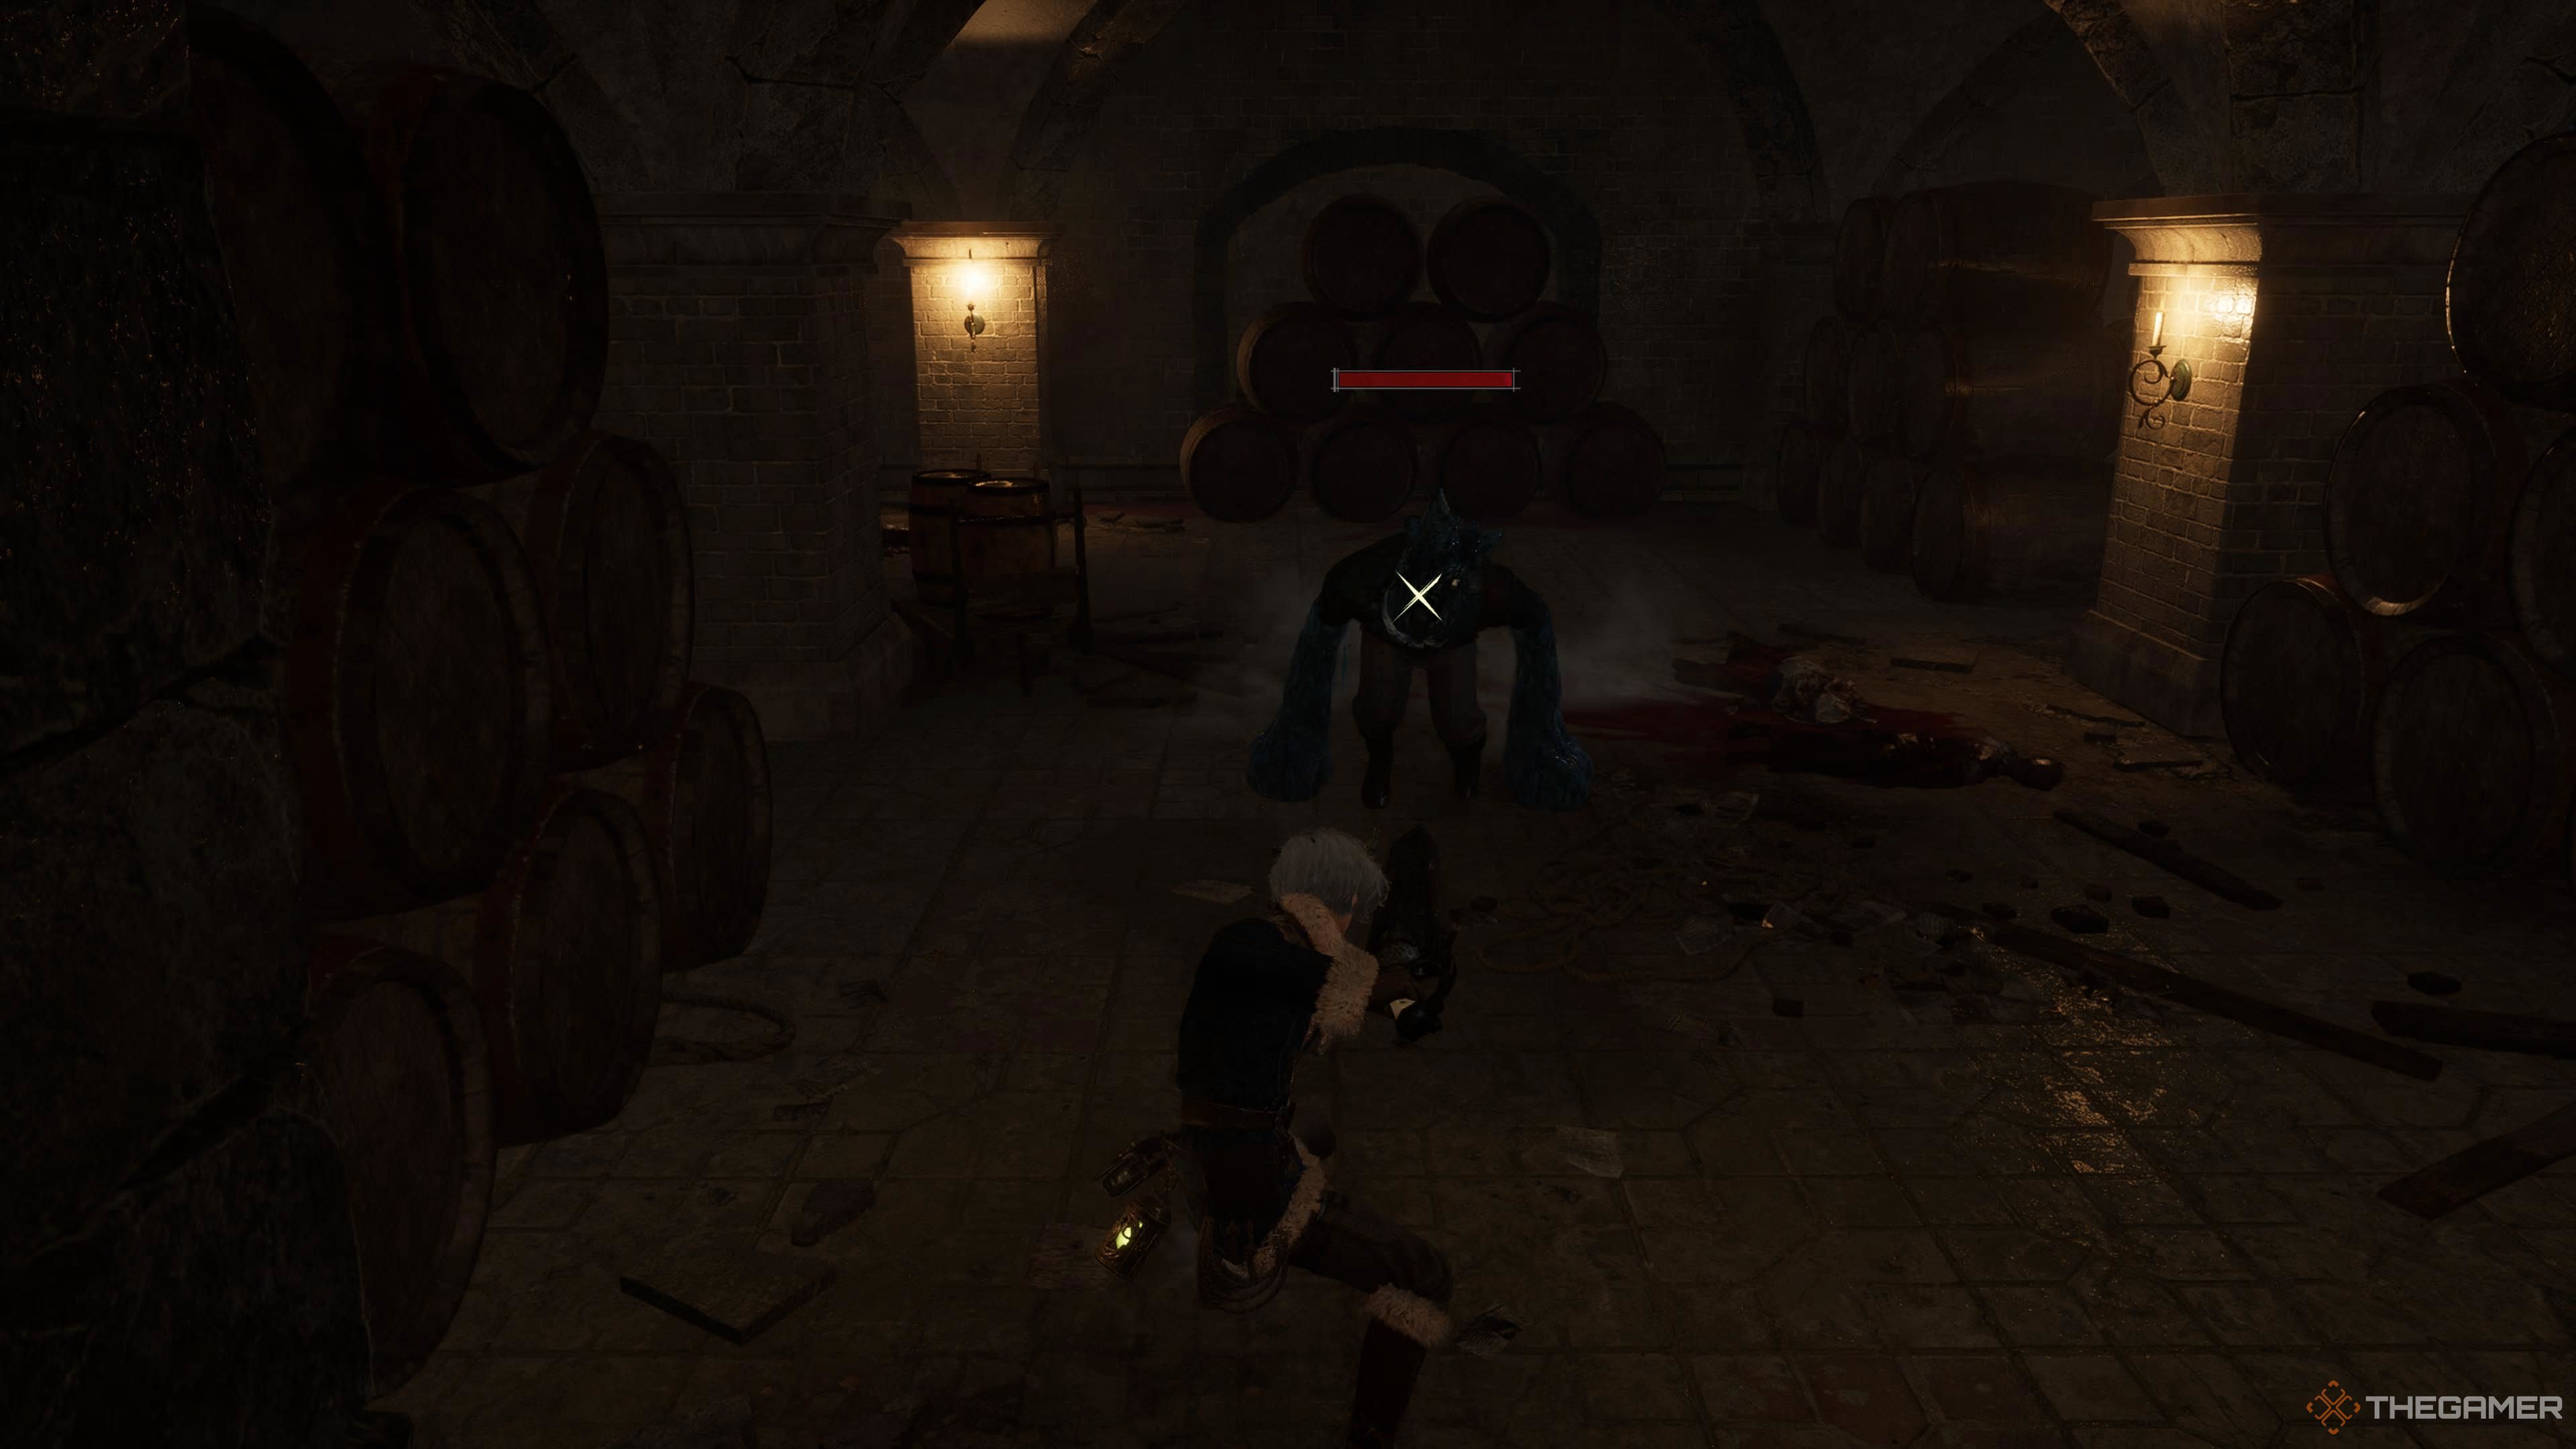
After clearing these rooms, head downstairs. Three mutants with enormous hands lurk among the barrels. The key points to remember about these foes are that they hit incredibly hard and explode upon defeat. Wait for them to miss, then hit with your most potent attack. Alternatively, shred them with your Icarus Legion Arm. Don’t forget to collect the Special Purification Ampoule.
If you retreat into the room you just came from, you can funnel them into the entrance, making them much easier to deal with.
Next, climb the ladder in the back room, and you’ll acquire Edict: Purification for the Great Truth. An elevator will be available for the next section of this stage, but before using it, go through the doorway opposite the elevator. This will lead you to a strangely familiar miniboss.
Puppet Policeman Miniboss
Yes, one of the final minibosses of Lies Of P: Overture is a repeating foe from the main game. This enemy retains the same attacks, which include…
- A quick shoulder charge that helps him close the gap.
- A powerful shoulder charge that you should parry right after he turns away from you.
- A three-hit combo where he winds up before launching each attack, ending with a spinning backhand swing.
- As he takes damage, he will add a furious attack following his three-hit chain and execute two more club swings.
The Puppet Policeman deals heavy damage but is relatively easy to parry due to the rhythmic nature of his moves. Make sure to watch his health; once he dips below 50%, his attack pattern shifts from three hits to six hits, with the fourth being a furious strike. After defeating him, unlock the chest he guards to find a Quartz.
You can backtrack into the stairway for a tactical advantage, making it harder for him to evade your attacks. This strategy works well if your weapon has thrust or overhead attacks—avoid using horizontal swipes as they may clash with the walls.
Valentinus’s Study Stargazer
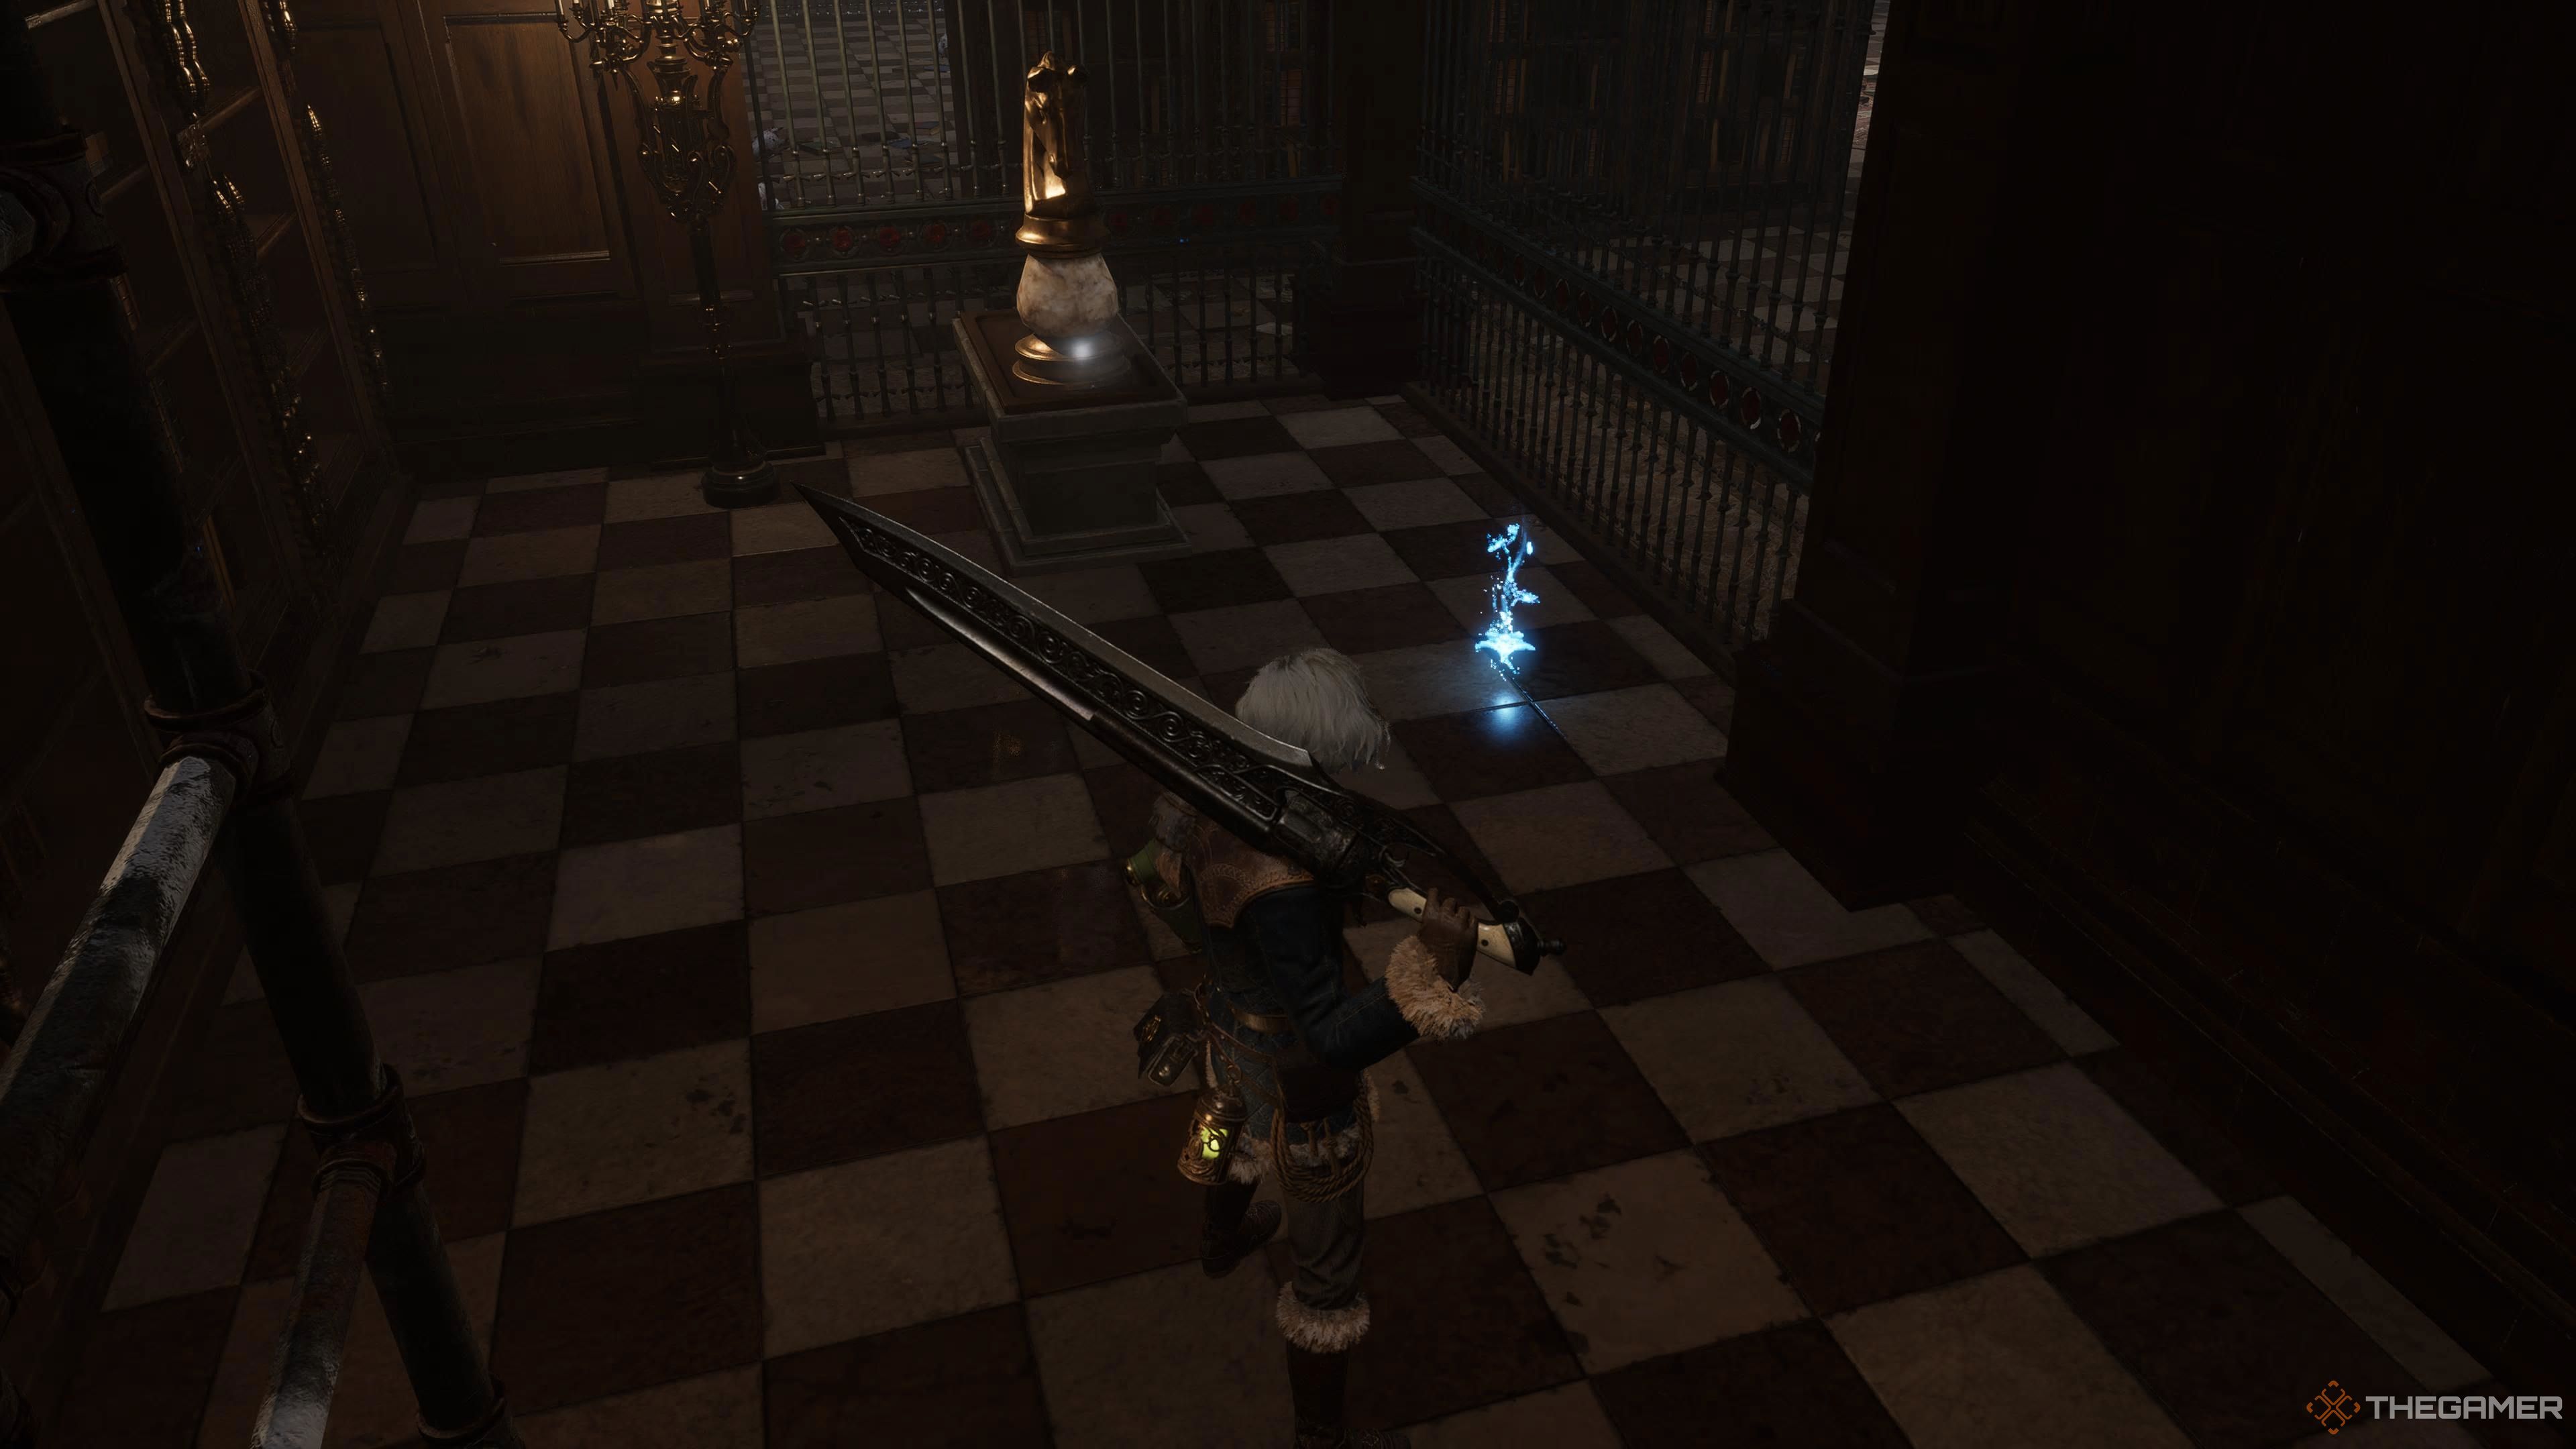
After leaving the elevator, you’ll discover the Letter To Valentinus secured in the safe. Continue forward into the office, where you can grab the Great Master’s Letter Of Excommunication from the desk. Next, interact with the small statue on the bookshelf to open a new path. Drop down into the area below and face more mutated, undead servants. A large mutant with giant hands awaits in the narrow passage at the back of the room.
The following room contains four zombies and another club-handed mutant. There’s enough space to take them out, but don’t hesitate to back into the narrow passage you came through to create a bottleneck and force them into one area.
Once the enemies are dispatched, collect the Special Resistance Ampoule, Electric Blitz Abrasive, and Technique Crank around the room. By interacting with bookshelves featuring glowing statues, you’ll unveil two hidden rooms. One contains a Courage Amulet, while the other has a zombie and a Miraculous Recovery Ampoule.
Finding the First Statue Switch
Climb the ladder and face four more zombies. One possesses a mutated lump on her head. After eliminating them, retrieve the Radiant Ergo Crystal beside the couch. Take the ladder across from the couch, grab the Shot Put, then interact with the statue for a hidden switch. This will extend a bookshelf in the main area.
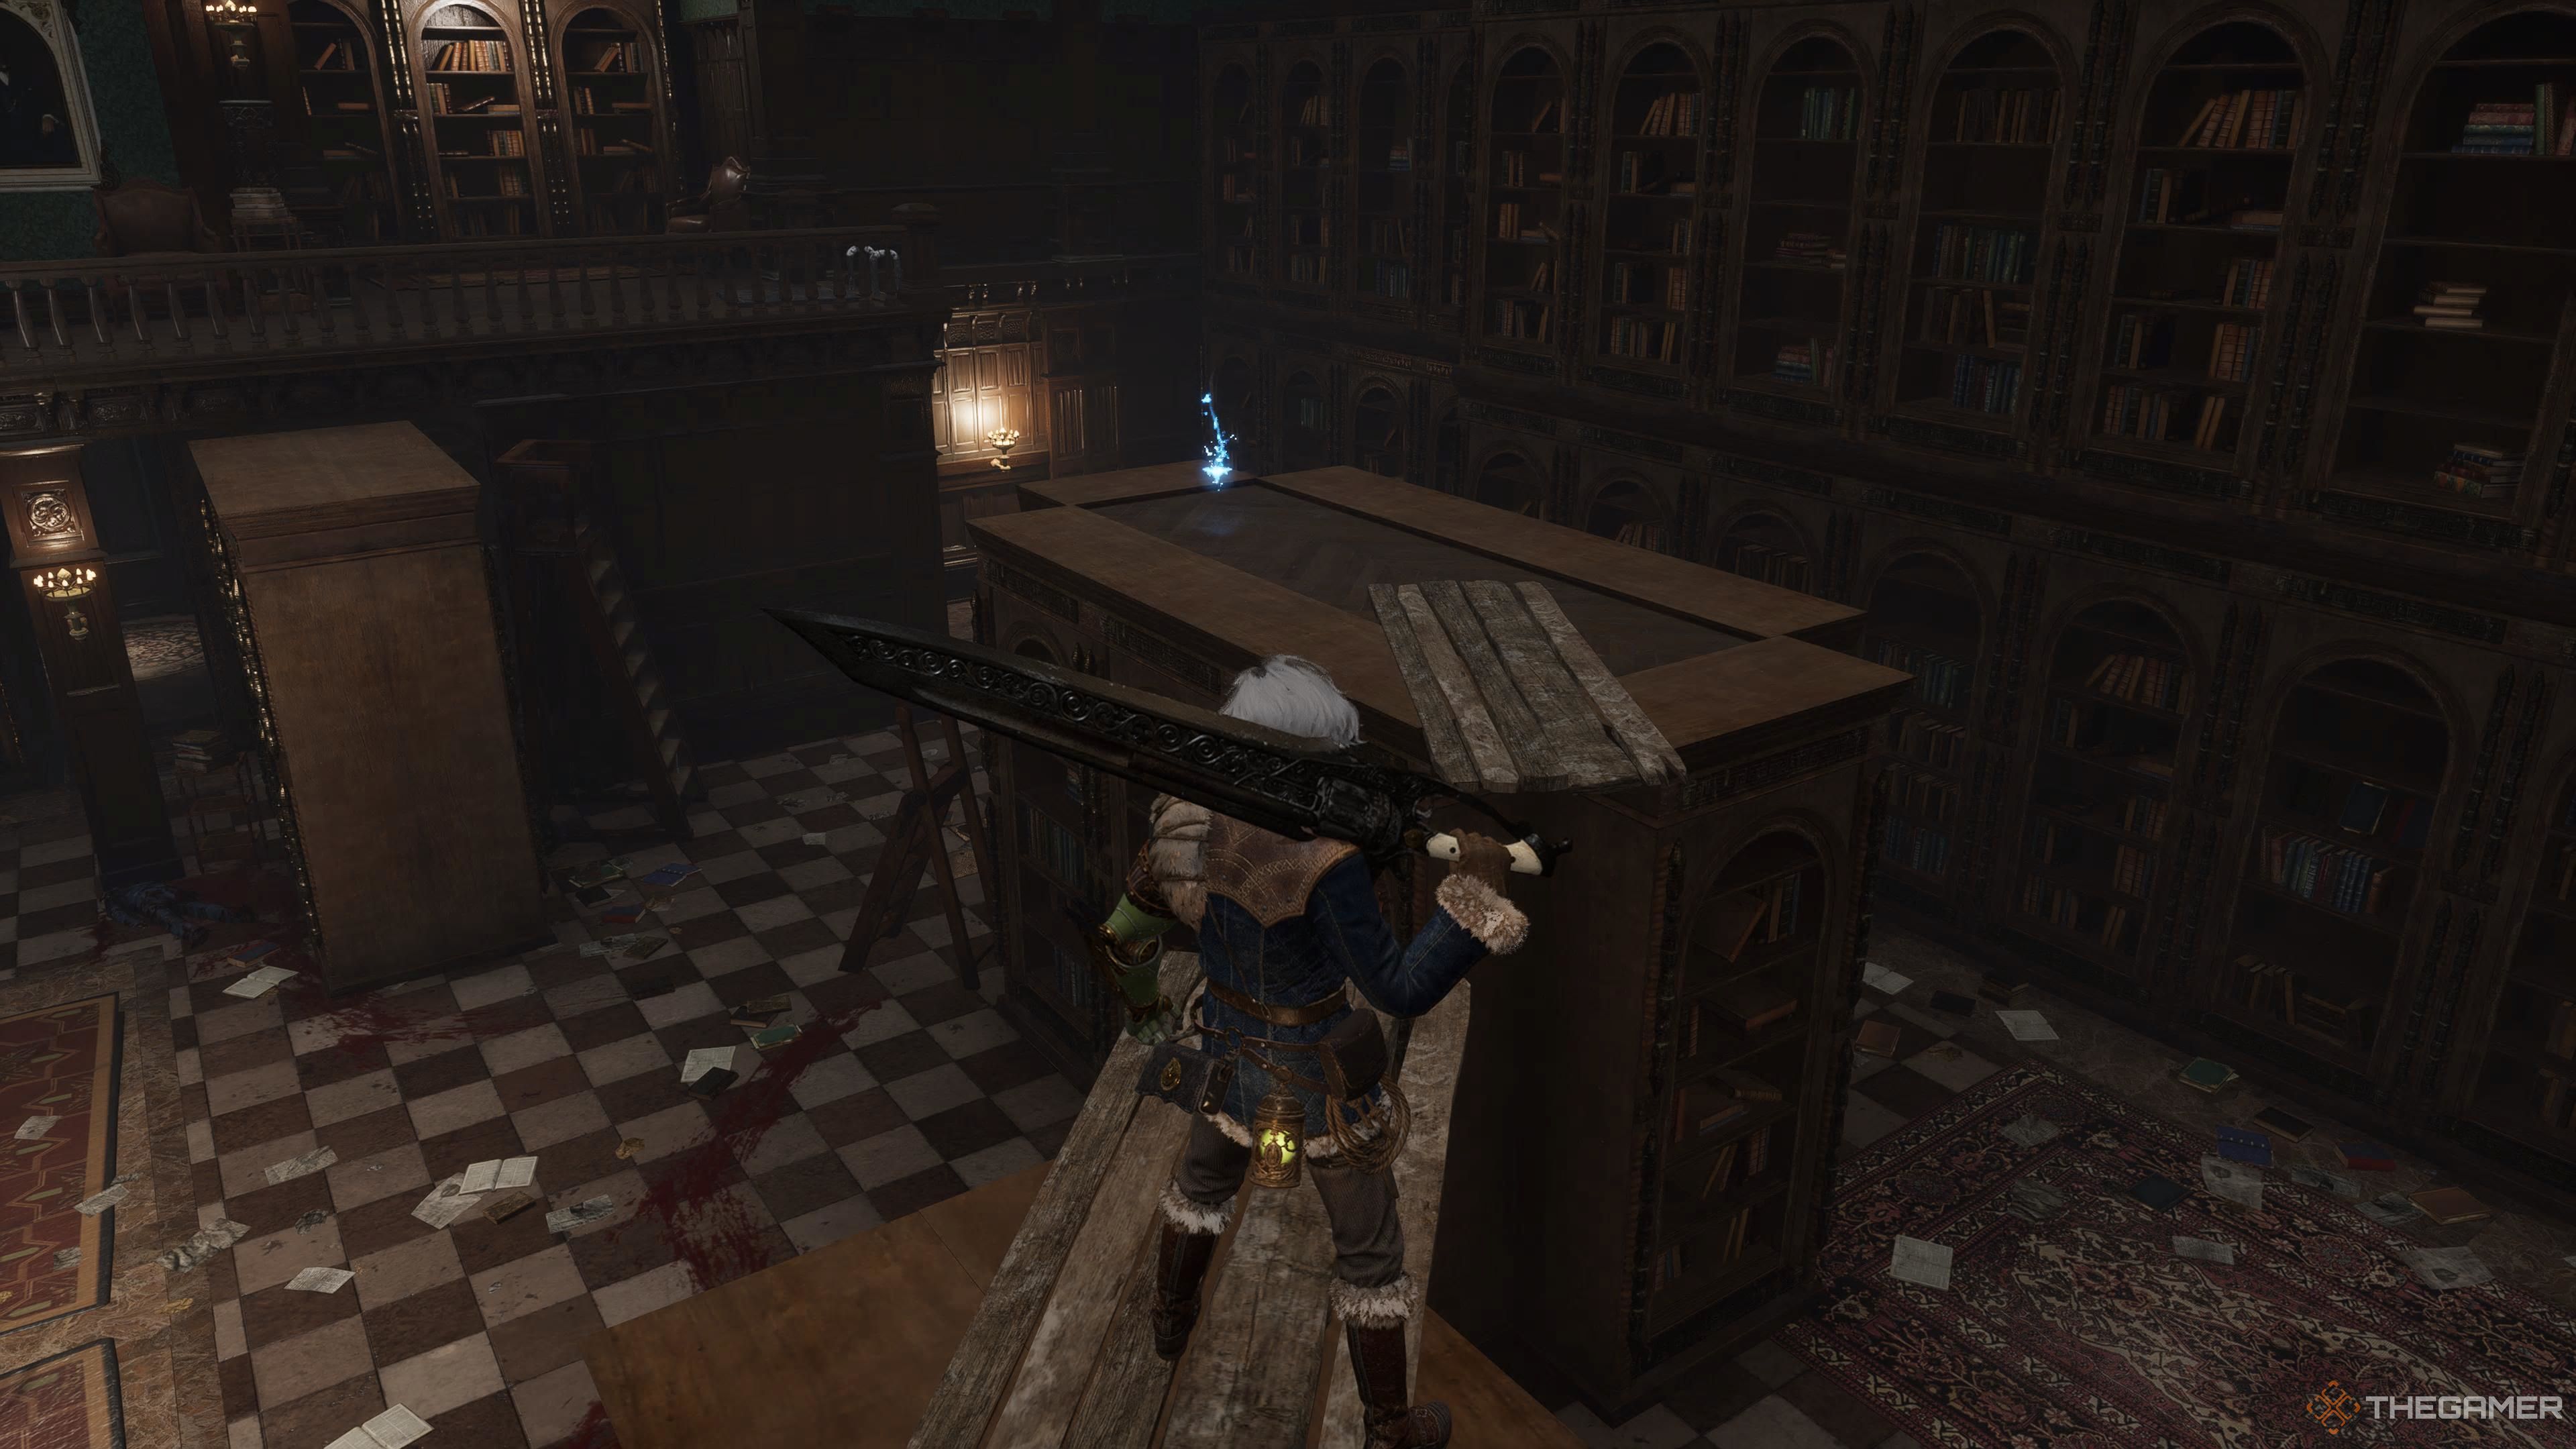
Return upstairs and cross the newly created bridge. Notice an item atop the bookshelf on your left…
Reaching the Item on the Bookshelf in the Monad Charity House
If you’re uncertain how to reach this inaccessible item, you may be surprised to learn that you need to jump for it. This might be the first instance where you actually need to utilize the jump feature, as it’s rarely employed.
To successfully jump, sprint and press the left stick midway through your sprint for a forward leap. Run towards the first plank and execute the jump at the edge; you’ll receive a Miraculous Enhancement Ampoule as a reward.
Finding the Second Statue Switch
Once you collect the Miraculous Enhancement Ampoule, you will have nearly explored the Monad Charity House. Continue forward towards the exit. Head back, cross the bridge, and move ahead until you reach the next room. Here you’ll find a Resplendent Ergo Chunk along with another statue.
Activate the switch on the statue to shift the bookshelves again. Drop down into the area below and brace yourself, for one last challenge awaits before the final boss: you’ll face another miniboss.
The Axe-Wielding Mutant Miniboss
This colossal mutant, armed with an axe, is just as imposing as he appears, featuring hard-hitting and long-range attacks while also being slow and predictable. His moves include…
- A three-hit combo featuring three heavy swings of his axe.
- A furious attack where he winds up for a spinning backhanded strike, used after the three-hit combo once he’s been damaged.
- A leaping attack followed by three vertical slashes, the third being a furious strike.
The fight takes place in a confined space, eliminating the possibility of spacing out against his far-reaching moves. The key to victory is simply to… parry his attacks (which might sound easier than it is). Fortunately, his moves are quite predictable and lack fake-outs. If you parry his furious attack that ends the leaping sequence, you’ll stagger him. Should you need to heal, you can retreat into the hallway where he entered, but be cautious, as it’s a dead end.
If you’re finding this miniboss to be tough, consider switching your Legion Arm to the Cataclysm shotgun. Due to the predictability of his movements, you can easily counter his attacks with a shotgun blast, dealing significant damage while keeping a safe distance.
Defeating this final miniboss rewards you with a Quartz and the Rose Garden Key, which you’ll need to access the last Stargazer. This marks the end of the DLC content, so ensure you wrap up any remaining quests. Once you proceed, you’ll face the ultimate boss of the game: Arlecchino. For strategies on overcoming this formidable final foe, refer to our complete guide below.


