Select Language:
In The Elder Scrolls 4: Oblivion Remastered, certain quests present you with significant choices that can greatly affect the outcomes. Many of these quests immerse you in moral dilemmas, prompting you to question whether you’re making the right decisions.
The quest “Two Sides of the Coin” exemplifies this. Although it’s fairly straightforward, the tough decisions involved make it stand out among the game’s quests.
How to Start the Two Sides of the Coin Quest
You can initiate the “Two Sides of the Coin” quest by asking locals for rumors in Bruma. They’ll share that Arnora and Jorundr were once a happy couple until Jorundr, after committing a robbery, hid all their gold before getting caught by the guards.
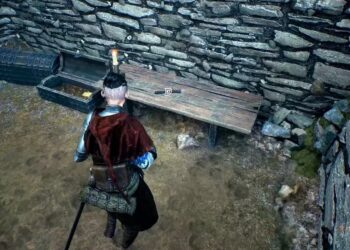
Your task involves speaking with Arnora to gather more details about the incident. Her house is located next to Jearl’s in the southern part of Bruma. Arnora won’t open up about Jorundr right away, so you’ll need to persuade her.
Two Sides of the Coin Quest Walkthrough
After successfully convincing Arnora, she reveals that she and Jorundr used to carry out robberies until Jorundr killed a guard and hid their gold before being apprehended. She then asks you to talk to Jorundr and persuade him to disclose the location of the gold.
Arnora offers to split the gold with you once you find it, but cautions that persuading Jorundr won’t be easy, as he’s changed significantly since she last saw him seven years ago.
Convincing Jorundr
Gaining Jorundr’s trust is challenging. You’ll need to visit the Bruma Dungeon, accessible through the Bruma Castle. Upon entering, head right to find the Bruma Barracks; there’s a door from there that leads to the dungeon.
Immediately to your right as you enter, you’ll see stairs going down. The jailor sits at a desk downstairs. Speak to the jailor about visiting a prisoner, and he will guide you to the cells.
Once inside, converse with Jorundr about the stolen gold, but he will refuse to cooperate. You’ll hear him mention a guard named Tyrellius, who tries to get Jorundr to divulge the whereabouts of the hidden stash.
Getting Thrown in Jail
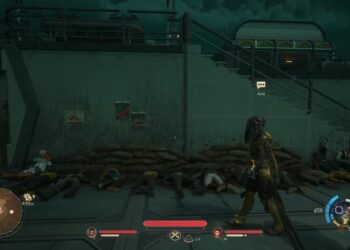
To earn Jorundr’s trust, you’ll have to get yourself locked up. You can commit a minor crime or even strike the jailor; he’ll throw you in jail. Once you’re inside, you’ll find Jorundr in discussion with Tyrellius, who pressures him to reveal the stash’s location, but Jorundr stays silent.
Speaking to Jorundr in his cell, he shares that it was actually Arnora who killed a guard and told the Bruma guards where their hideout was, leading to his arrest. Fortunately, he managed to conceal the gold beforehand.
Jorundr then tasks you with killing Arnora and bringing him her amulet as proof. He also notes that you can keep all the loot in his hidden stash once you prove she’s dead. You can rest and wait out your sentence in jail.
When you approach Arnora, she firmly states there’s no need for violence and offers you her genuine amulet, implying you can deceive Jorundr into thinking you’ve killed her. Doing so will prompt him to reveal the stash’s location.
Siding with Jorundr and Killing Arnora
If you choose to kill Arnora, you’ll find her amulet on her body. However, it’s not the real one. If you present this fake amulet to Jorundr, he’ll immediately recognize it as a trick and understand Arnora played you.
The genuine amulet can be located in a chest next to Arnora’s bed. You can access this chest after taking the key from her corpse. Bring the authentic amulet to Jorundr, and he’ll finally share the stash’s location, which is just outside Bruma, near the North Gate.
Follow the Quest Marker to reach the stash and collect its contents, which completes the quest.
If you present both the real and fake amulets to Jorundr, he’ll commend Arnora’s cleverness, allowing you to complete the quest effortlessly.
Siding with Arnora and Tricking Jorundr
If you opt to align with Arnora, she’ll provide you the key to the chest by her bed, which contains her authentic amulet. Show this amulet to Jorundr in the Bruma Dungeon, and he will disclose the stash’s location, leading you outside Bruma to near the North Gate.
However, before you reach the stash, you’ll run into Tyrellius. He’ll reveal that he overheard your conversation and has already killed Arnora to keep the gold for himself.
You’ll need to fight and defeat Tyrellius. Afterward, loot his armor and weapon. Claim the gold from Jorundr’s stash, then return to Arnora’s home to verify Tyrellius’ claims about her fate.
When you enter, you will find Arnora lifeless, marking the end of the Two Sides of the Coin quest. You can keep whatever you find in the chest, without sharing it.
No matter what choice you make, the contents of Jorundr’s stash remain unchanged.