Select Language:
The Elder Scrolls 4: Oblivion Remastered features an array of challenging bosses, but few are as fearsome as Umaril the Unfeathered, the Ayleid King touched by Daedra, who embodies the wrath of Pelinal Whitestrake. To conquer him, you’ll face him not just once, but twice.
Equipping yourself with every powerful artifact and summoning your courage are essential steps to take down this fierce adversary. Luckily, you won’t have to face this battle alone. With your companions, the prophet, and the guidance from this guide, you’ll have everything needed to transform this unfeathered fiend into a crispy Ayleid roast.
Securing the Blessing of Talos
Before embarking on your quest to face Umaril, collect all eight artifacts of Pelinal Whitestrake:
- Cuirass
- Sword
- Shield
- Mace
- Greaves
- Boots
- Gauntlets
- Helm
After reclaiming the sword and re-consecrating it at the Chapel of Arkay in Cheydinhal, head back to the Priory of the Nine.
If you find yourself lost in Underpall Keep while on the Sword of the Crusader quest, you might have overlooked the entrance to the Underpall Reflecting Chamber.
To find it, go inside the keep through the cave. Once you enter the large room, look to your left; the entrance to the chamber is on the same wall you came in from, just around the corner.
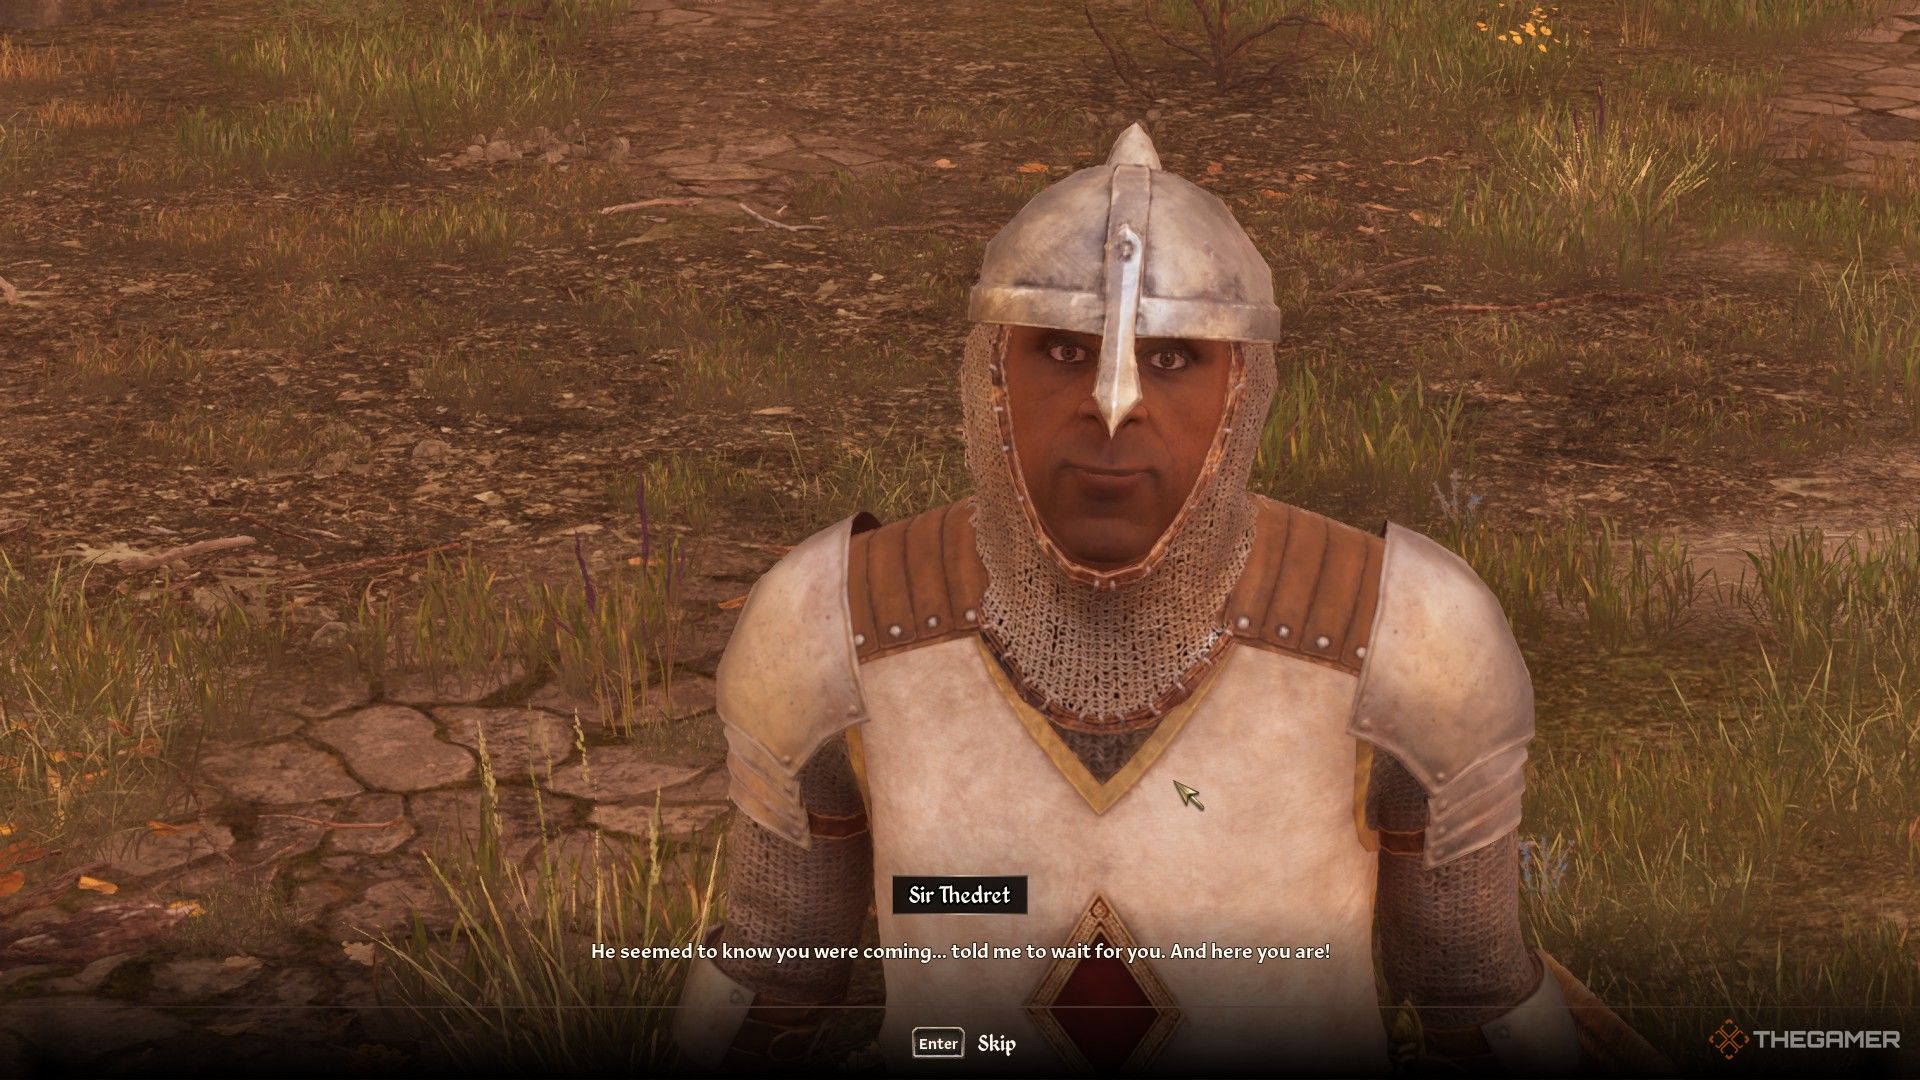
If you’ve met all the necessary conditions, Sir Thedret will inform you that the Prophet has arrived. Enter the chapel beside the priory to verify this truth.
Talk to the Prophet and go through his dialogue until he grants you the Blessing of Talos. This blessing will remove the Curse of Stendarr that you suffered after acquiring the gauntlets.
While you’re in the chapel, you can speak with two individuals, Geimund and Brellin, who can be recruited (along with Geimund’s followers) into the Knights of the Nine.
Finding Umaril The Unfeathered and Clearing Garlas Malatar
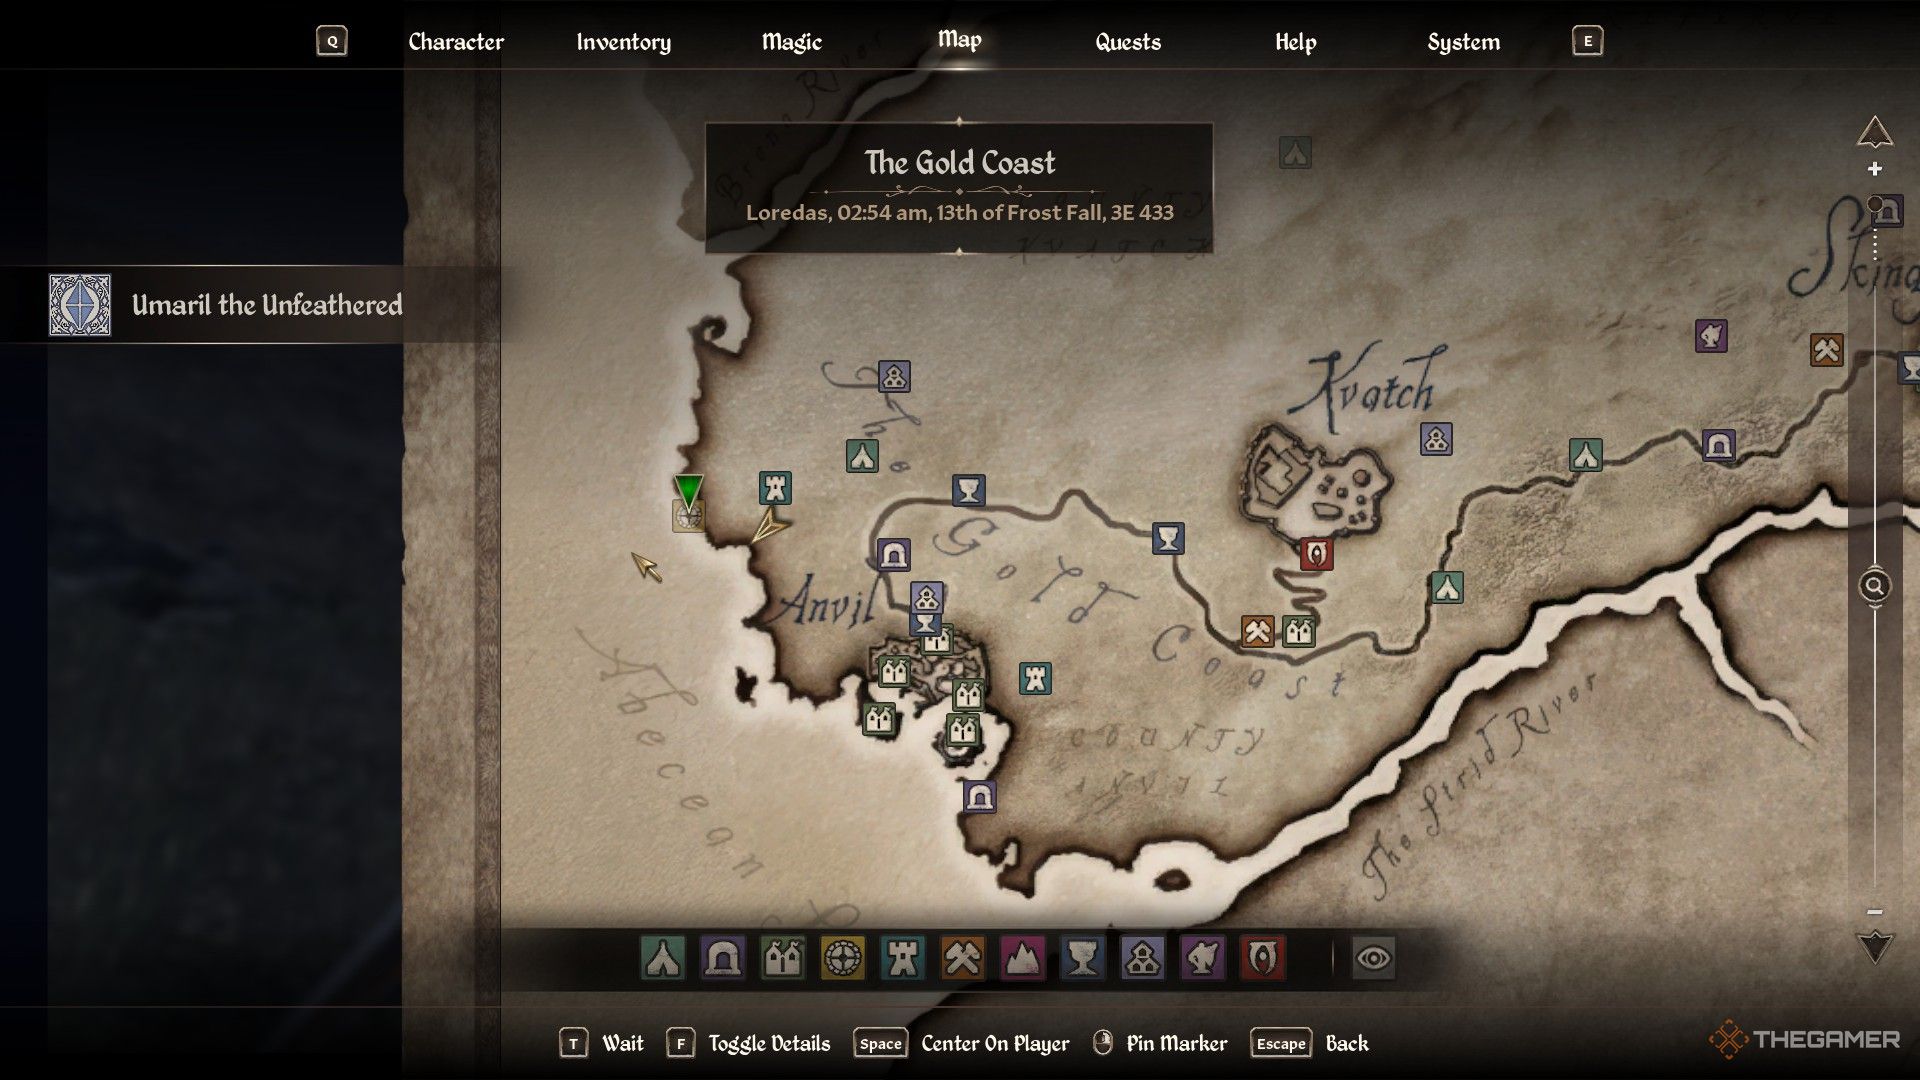
After receiving your blessing, travel to Garlas Malatar, located west of Anvil, along the coast of the Abecean Sea. This Ayleid ruin can be accessed by crossing its bridge to enter through the stone door.
The easiest way to reach it is to fast travel to Crowhaven and descend the smooth hill near its entrance down to the beach.
Upon entering the temple and descending the steps into the first room, your recruited Knights of the Nine will appear.
Defeat the Aurorans in the room, then press a block next to the left coffin (from the entry door) before proceeding through the door to the east at the top of the far staircase.
Keep in mind that while the knights will engage the Aurorans, hitting any of the knights may turn them hostile towards you or each other.
On the far side of the room, ascend the stairs to the north. There will be a gate ahead that will open if you walk forward far enough, triggering an unseen trap.
In this new room, take the door to the Ceysel on your right.

The area leading to the reliquary is blocked by two gates. To lower them, you must press the block on the wall located between them.
Go through the newly opened gates and you’ll find yourself in a vast room with a bright light shining from the pedestal in the center.
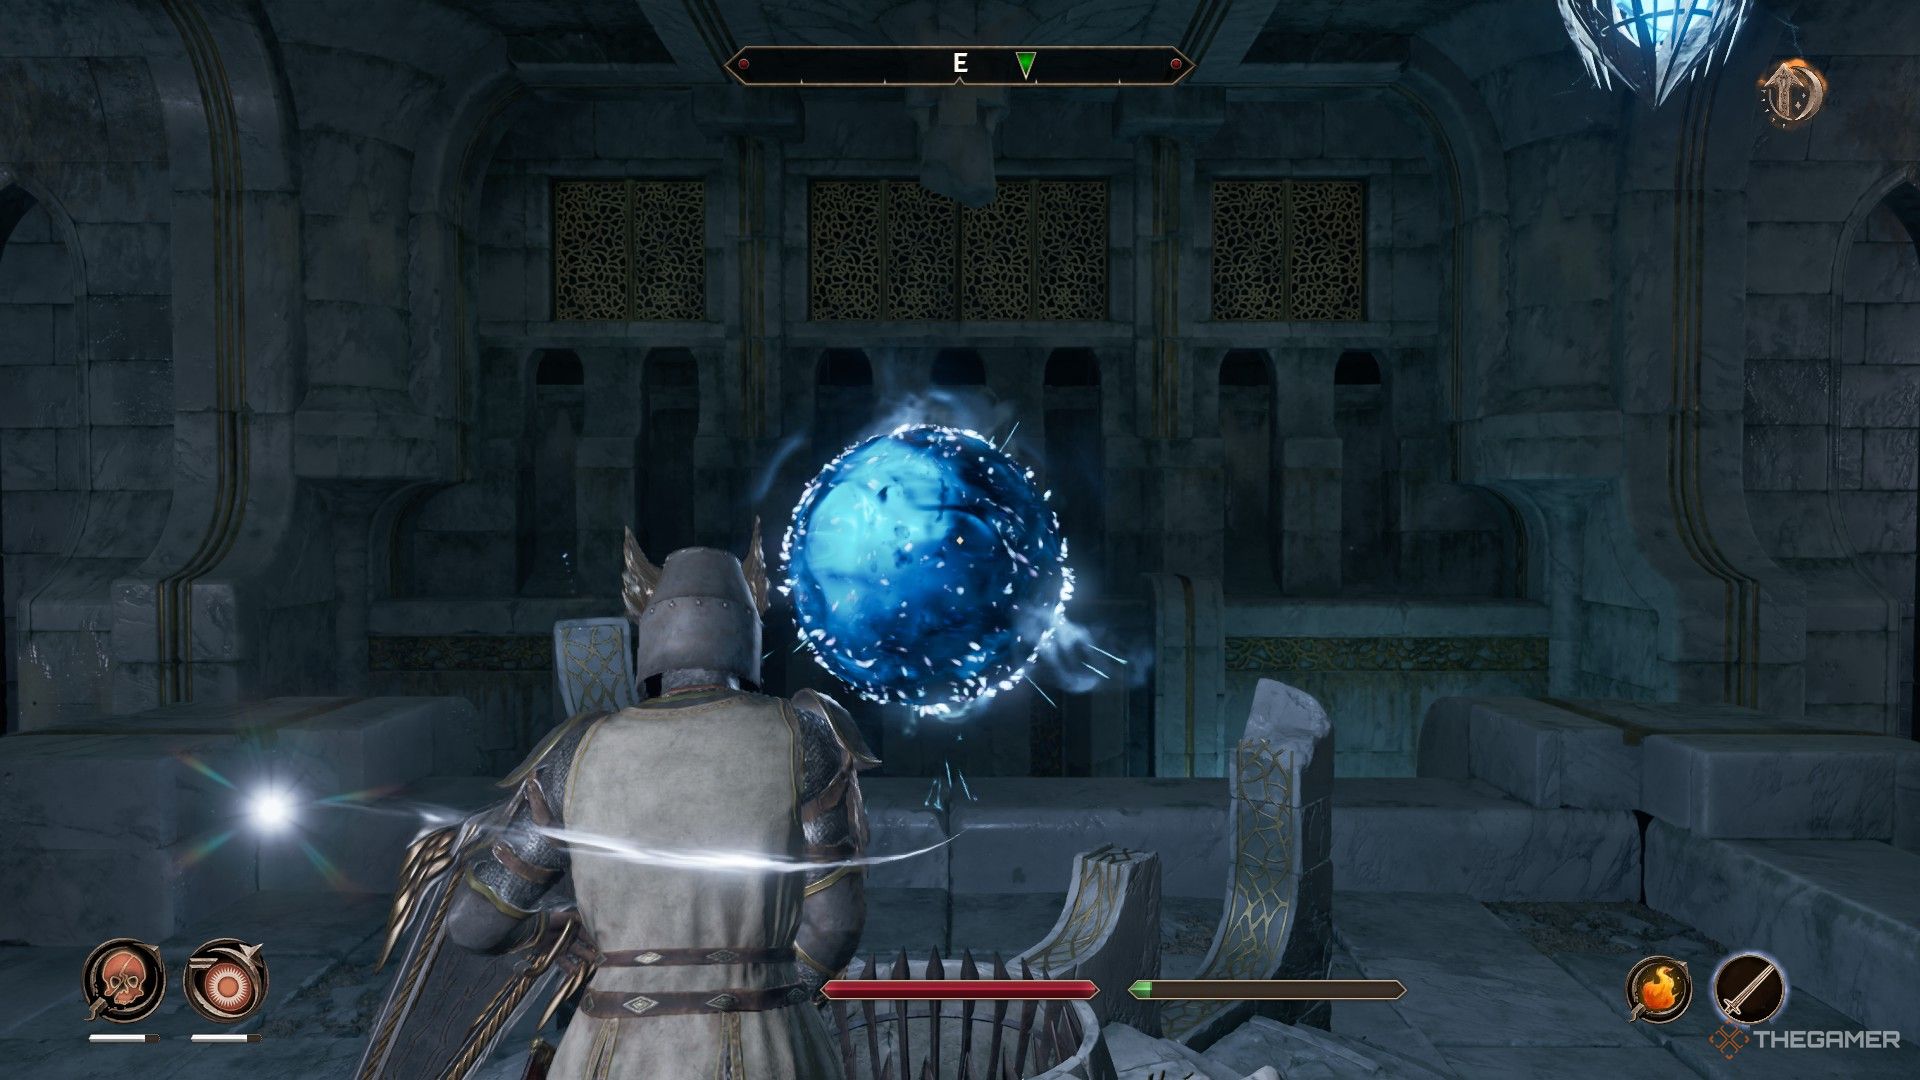
You’ll encounter several Aurorans here, but it’s best to ignore them. They respawn infinitely in this area.
Instead:
- Dash to the far side of the right side of the room; take a left when you reach one of the braziers.
- Climb each staircase you come across, sprinting past all enemies until you reach the glowing orb.
- Interact with the orb to destroy it, ending the battle and eliminating all Aurorans.
Fighting the Aurorans unnecessarily can lead to the knights downstairs being defeated. Any knights who remain alive by the time you reach the orb will be saved.
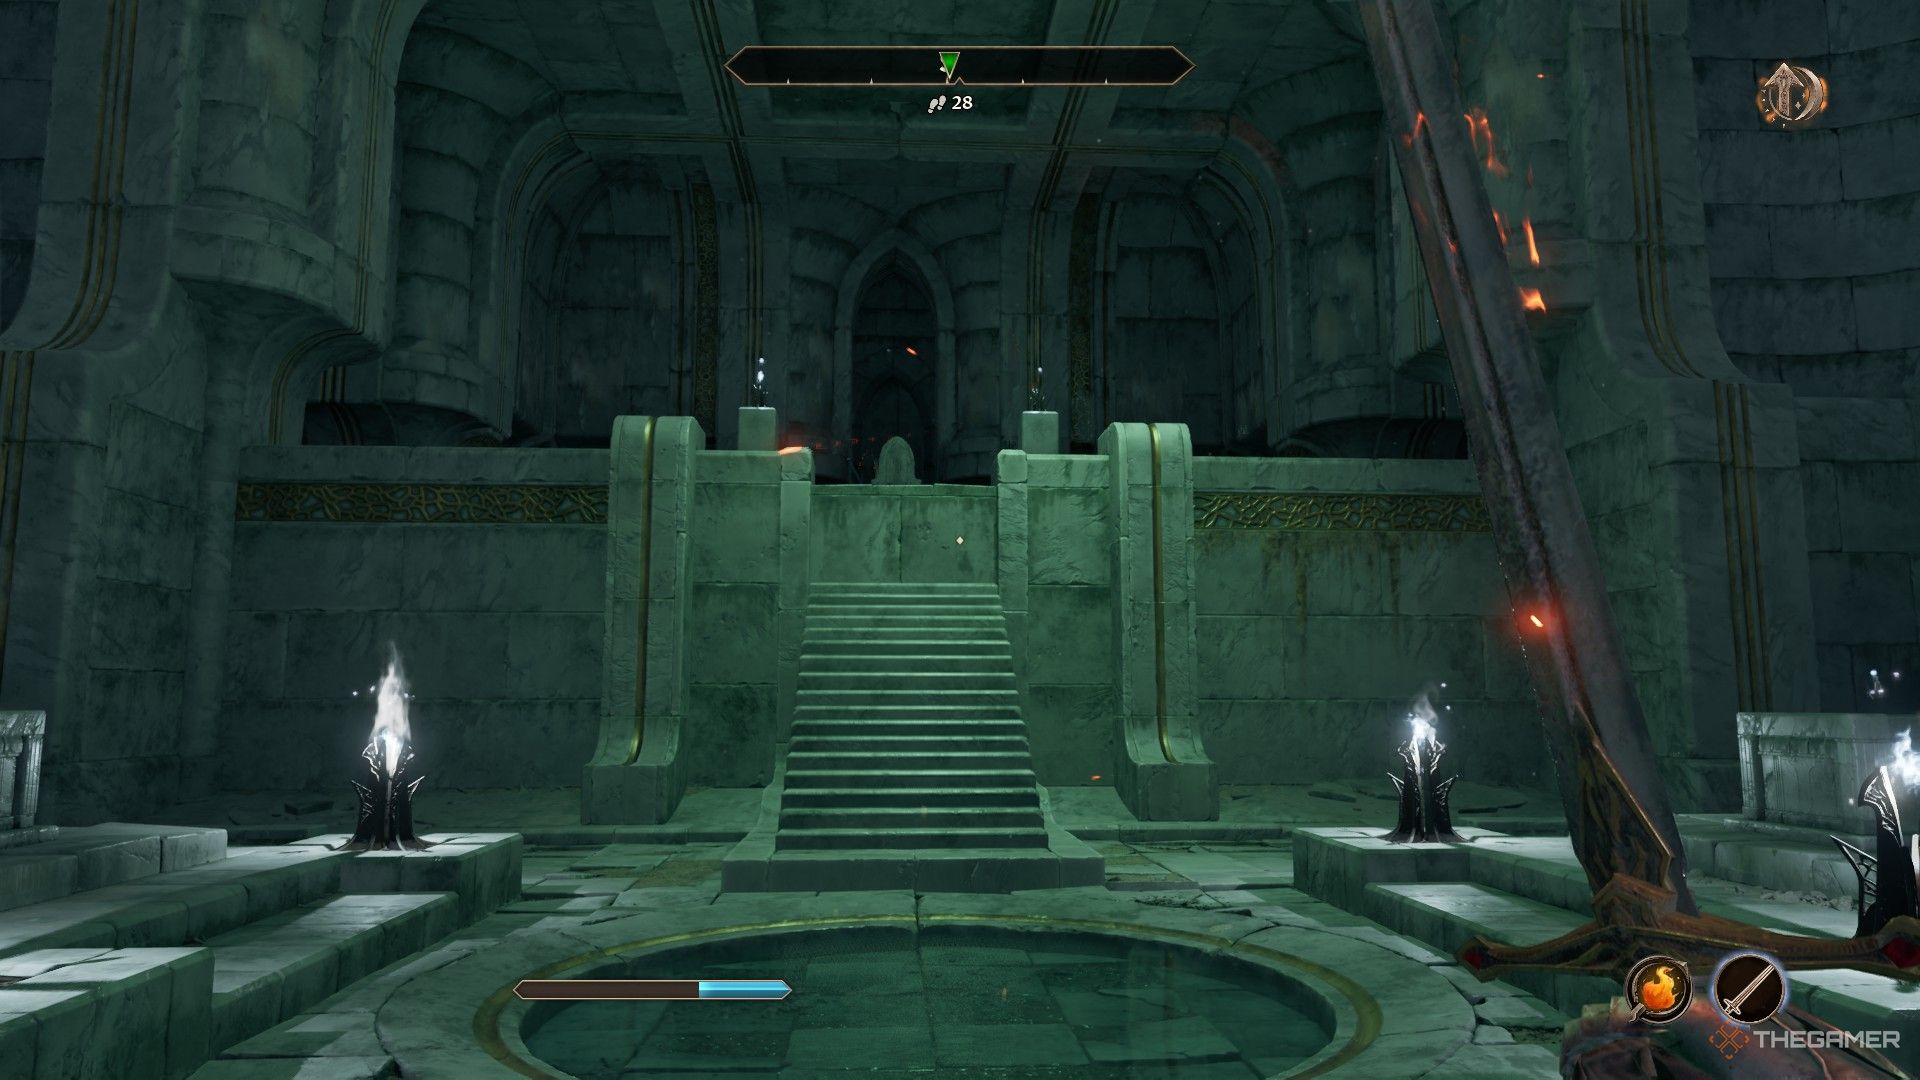
After defeating the orb, you’ll be teleported to a new area with a clear path ahead. Continue down it, engaging any Aurorans you encounter, until you reach a large chamber.
As you enter, pedestals near you will begin to glow, and a staircase will rise. Climb the staircase and make any needed preparations. Umaril will emerge from behind the throne at the top.
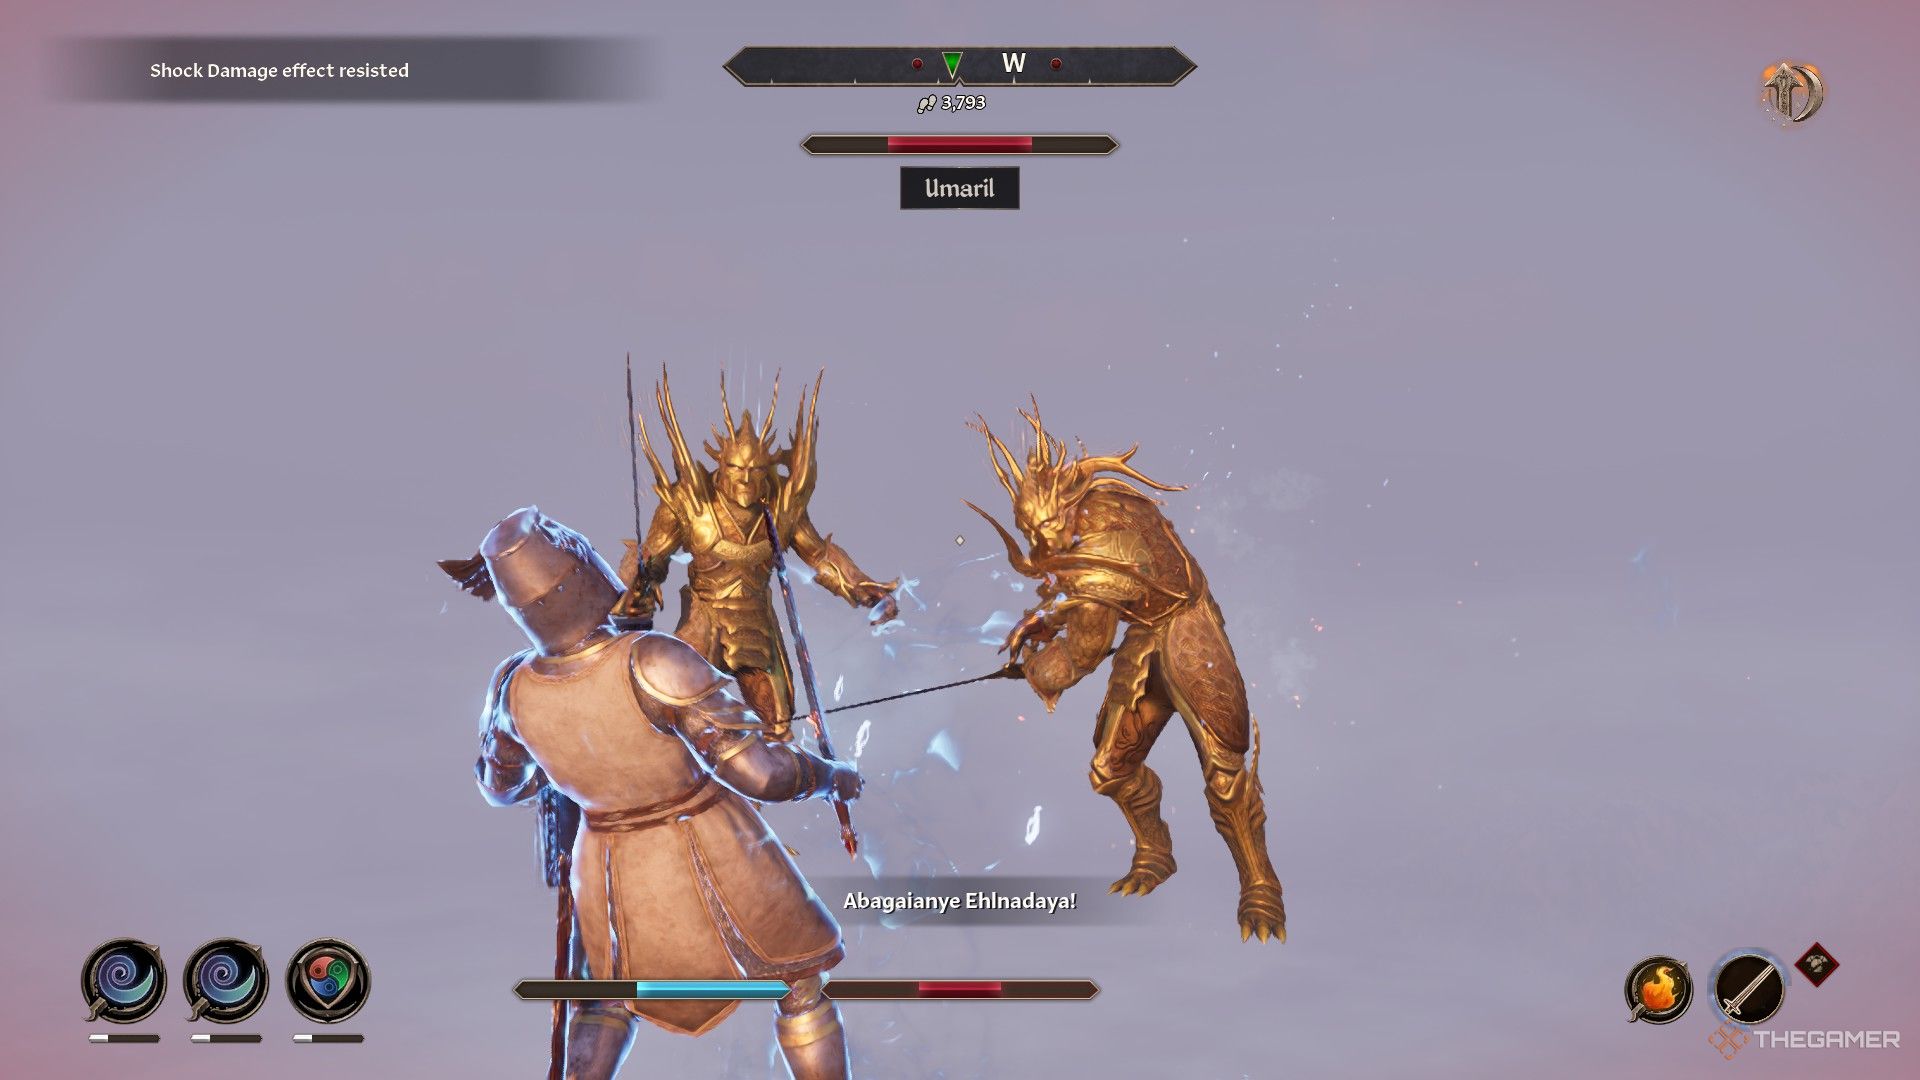
Defeating Umaril the Unfeathered
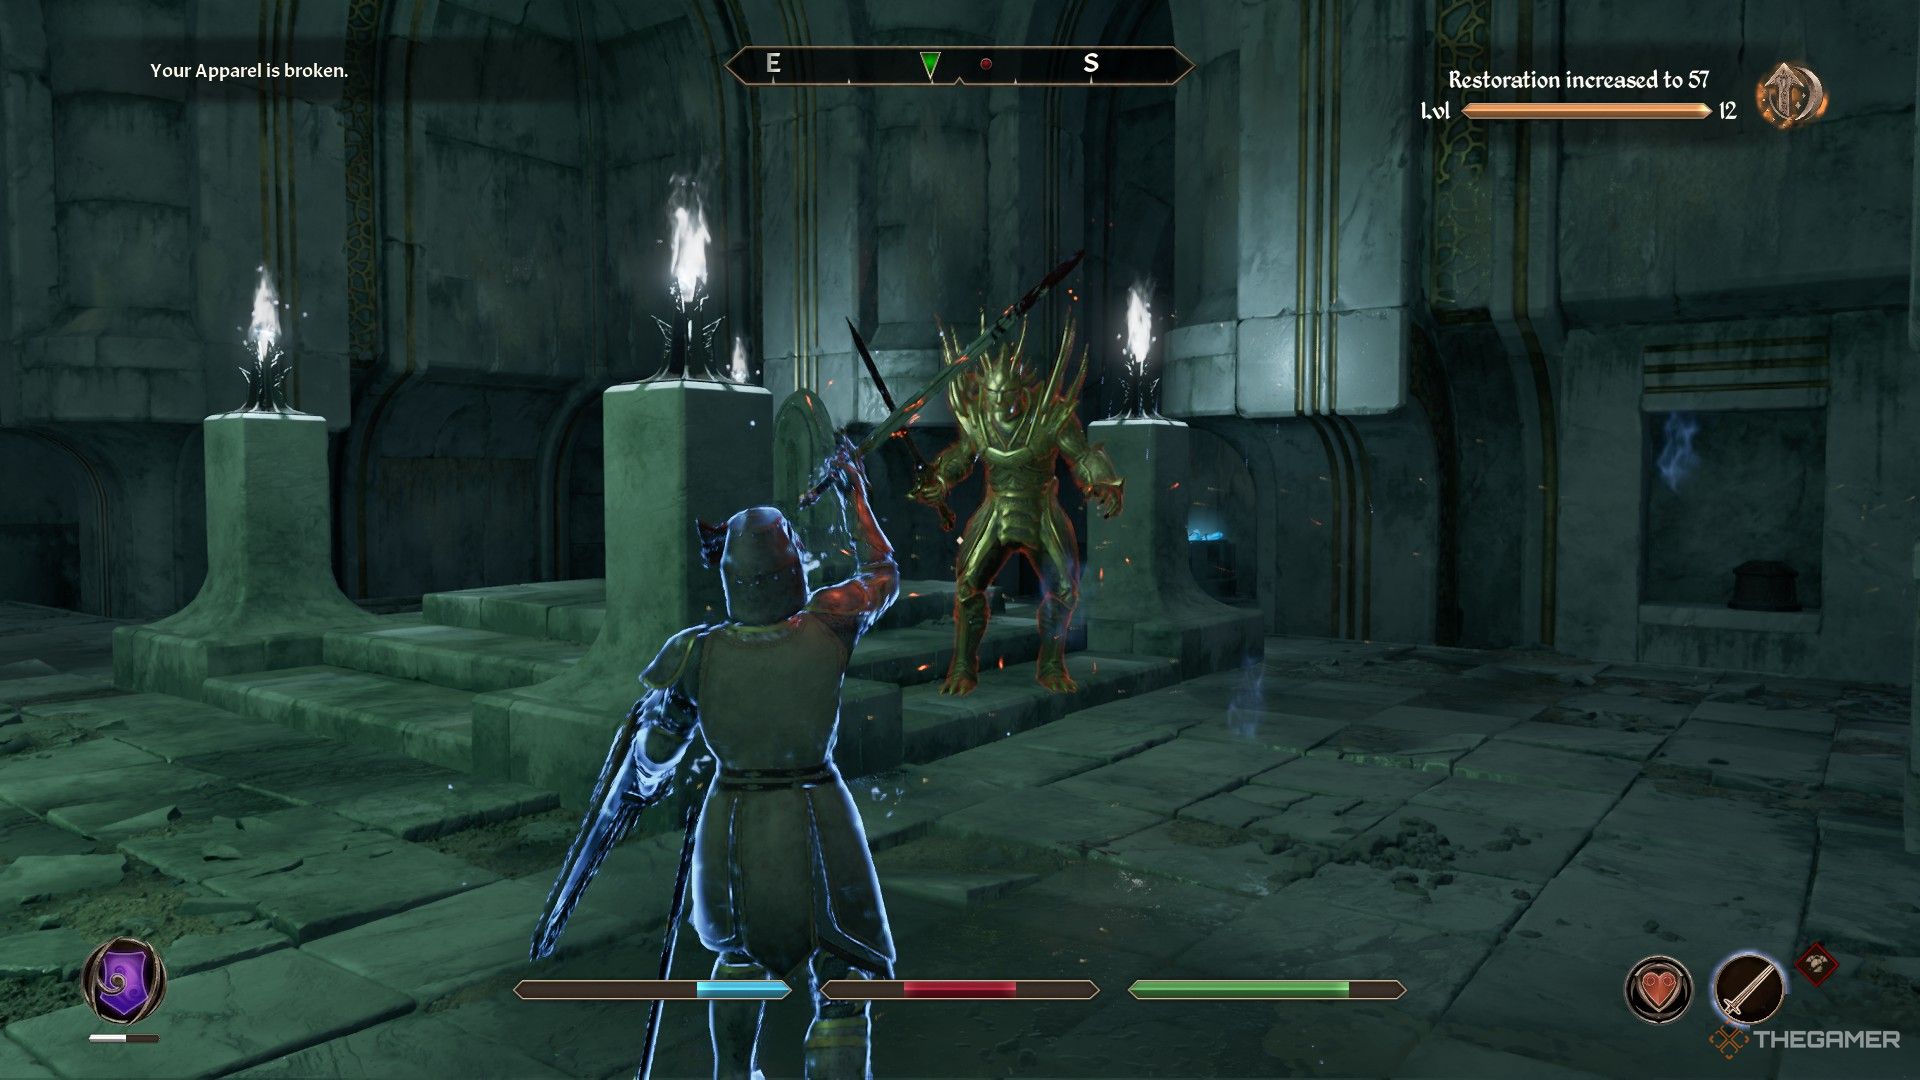
Umaril is no easy opponent; he can deal massive damage while draining your stamina. Additionally, he possesses 33 percent Spell Absorption along with the following resistances:
|
Resistances |
||
|---|---|---|
|
Magicka |
Shock |
Fire |
|
33% |
100% |
33% |
Since the Sword and Mace of the Crusader deal Fire damage (with the sword also dealing Magicka), we suggest having the Weakness to Fire and/or Weakness to Magic spells handy for optimal effectiveness.
When battling Umaril in Garlas Malatar, consider these strategies:
- Use the throne and nearby pedestals to create distance. Dash around them when you need a moment to heal, change spells, or switch equipment.
- Focus your attacks on Umaril, favoring weapons over magic due to his Spell Absorption.
- Consume up to half of your available potions but don’t exceed that limit.
Umaril can be soul-trapped, but only in the second fight mentioned below.
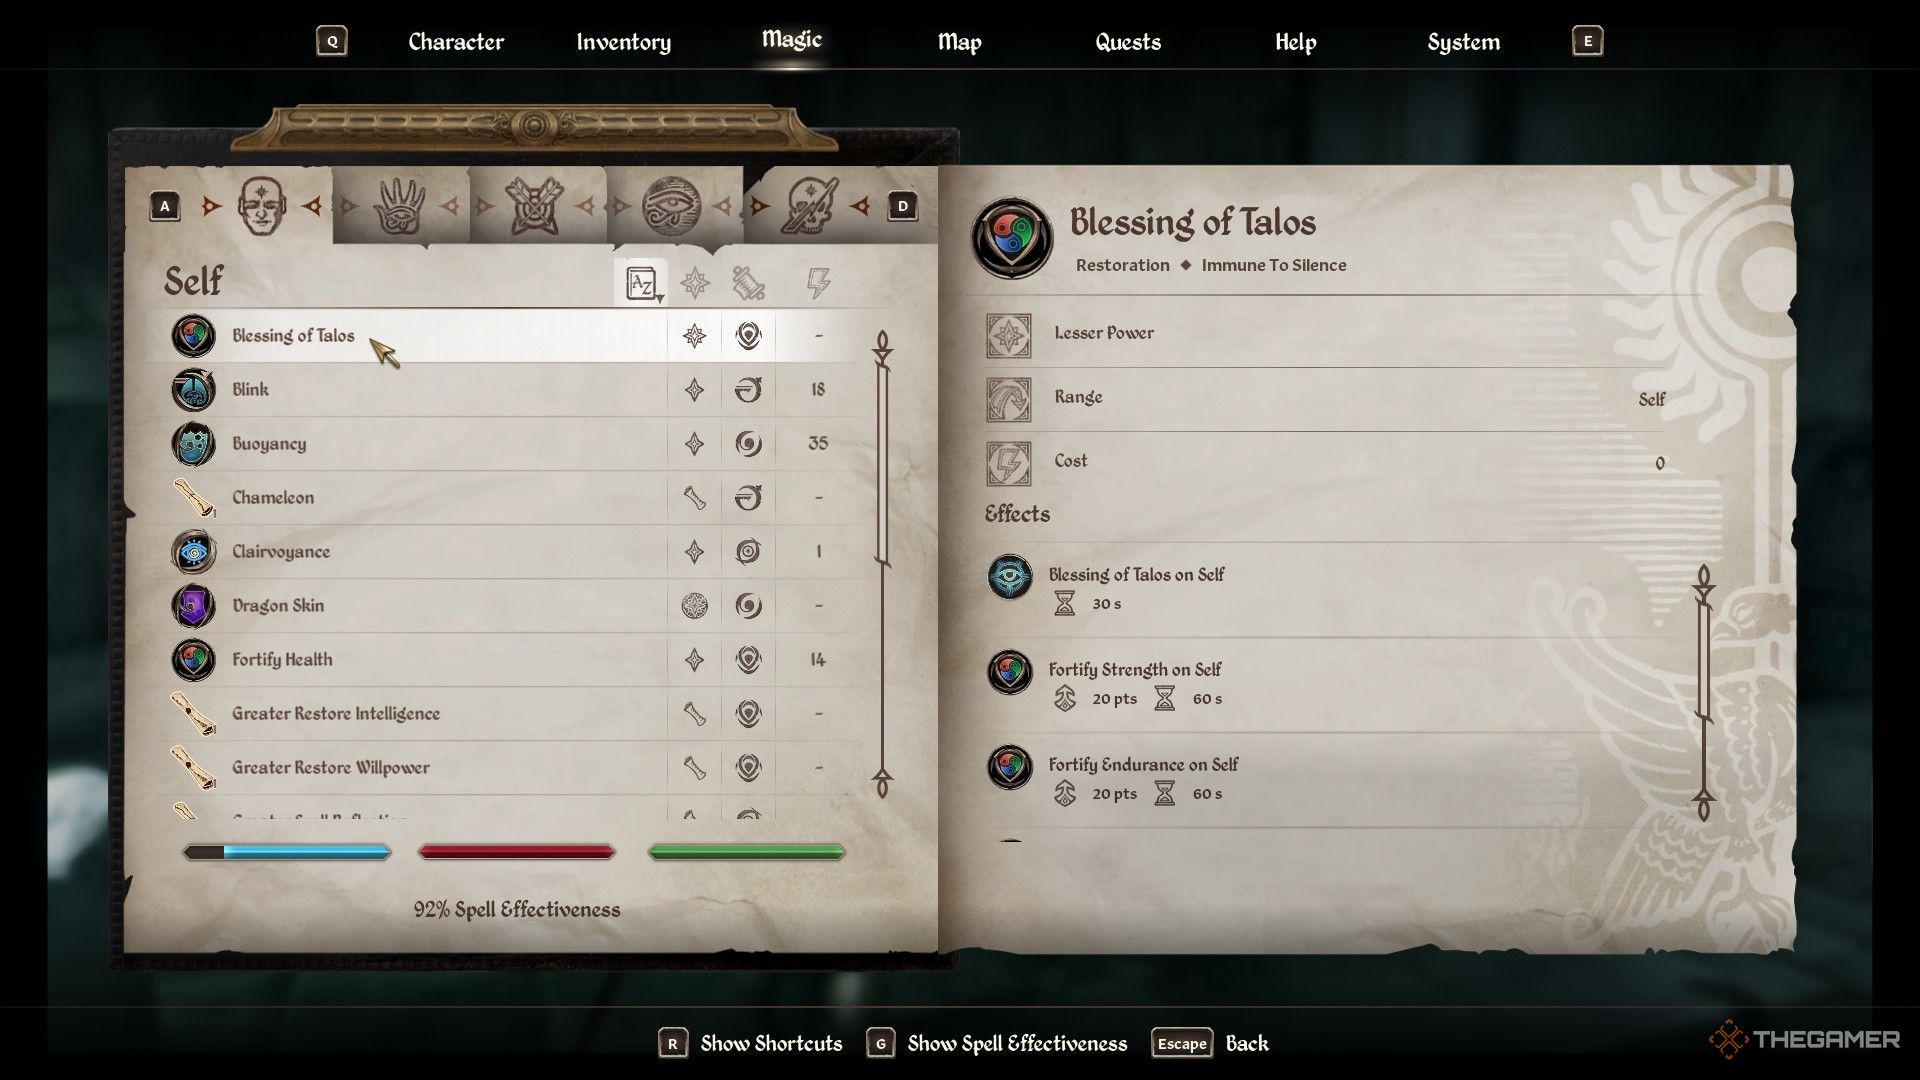
Once Umaril is defeated, loot his body (especially his sword) along with the two Varla Stones from the room first. Once satisfied, check your Magic inventory for the Blessing of Talos spell.
Cast the spell to be transported into a new skybox area where you’ll face Umaril once again.
Use the same tactics as before, but when you need to create distance (since there isn’t a throne to help), simply sprint to the far edge of the map, and you’ll be safe.
Oddly, during our playthroughs, we encountered two Umaril simultaneously in this skybox. Both were capable of dealing damage and retained full Umaril stats. The trigger for this situation is unclear.
If this happens to you: stay calm. You only need to kill one Umaril, so focus your attacks on one until it falls.
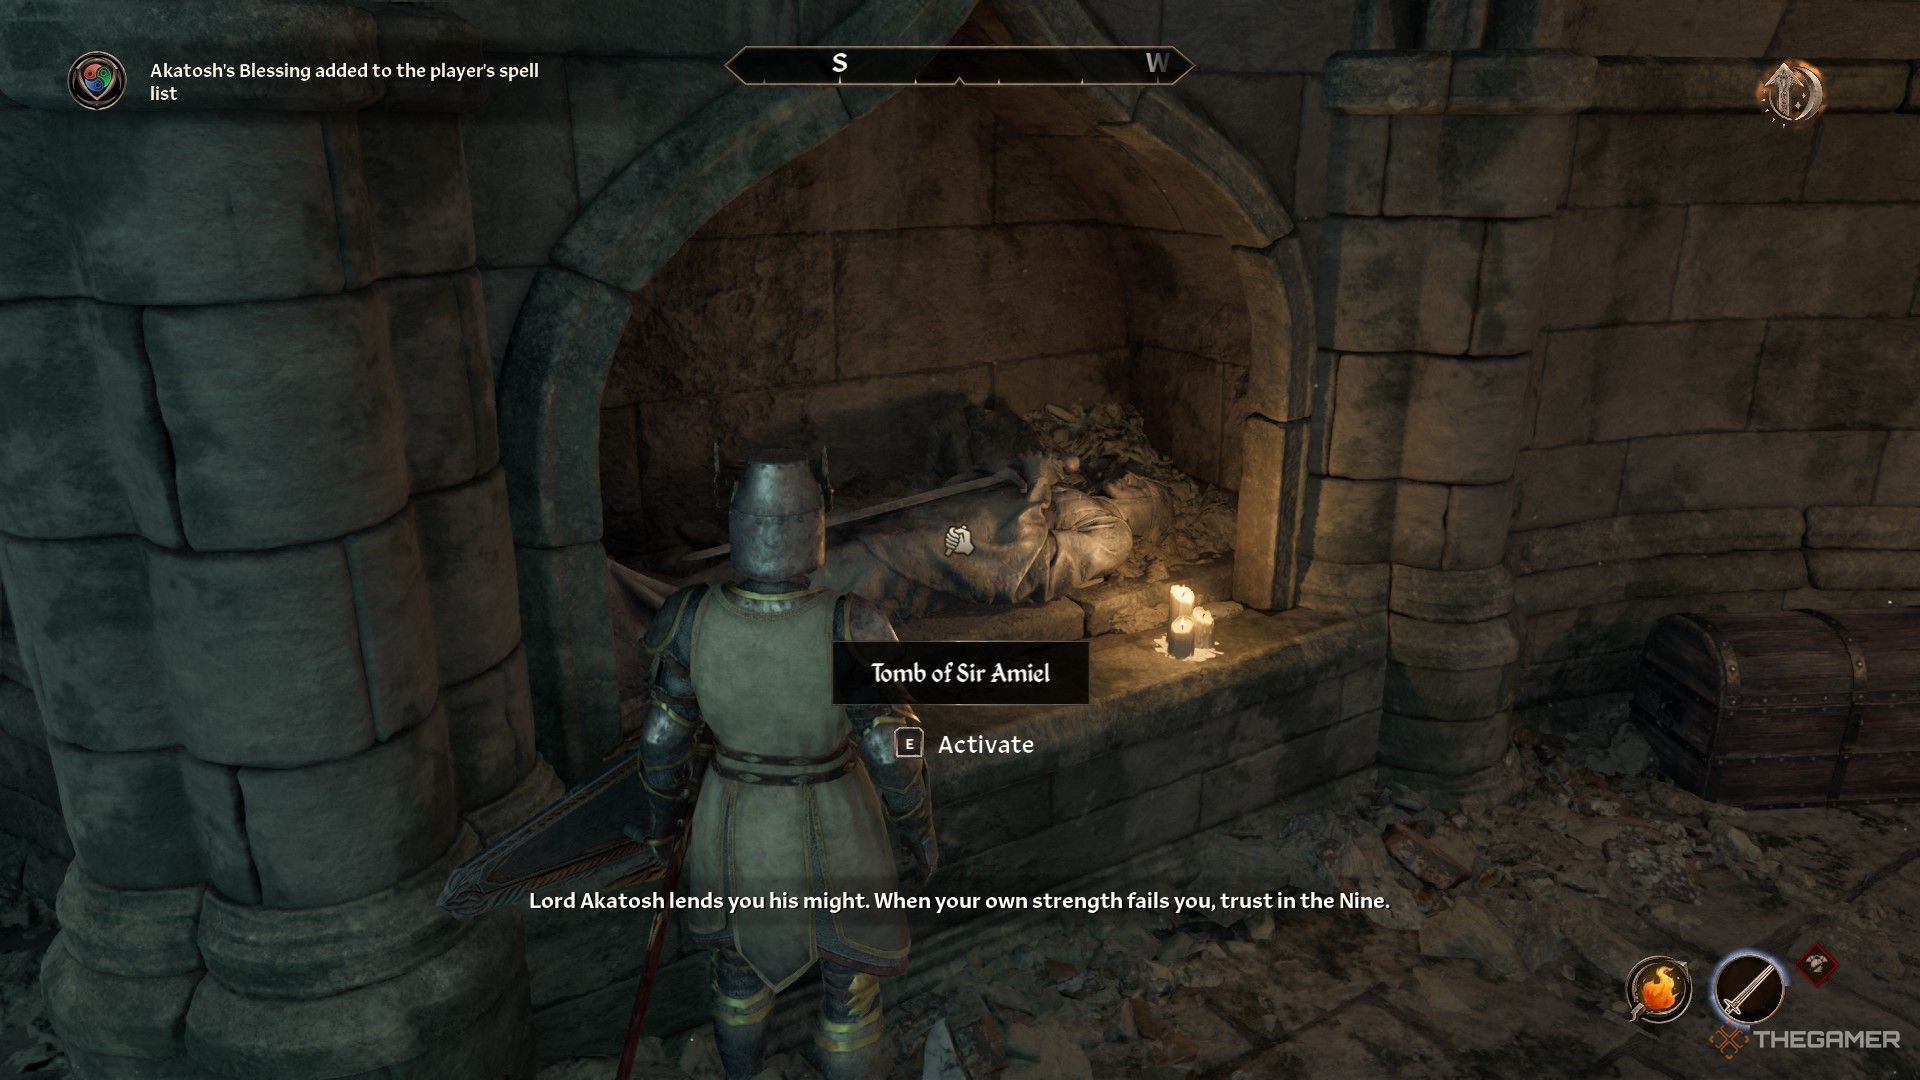
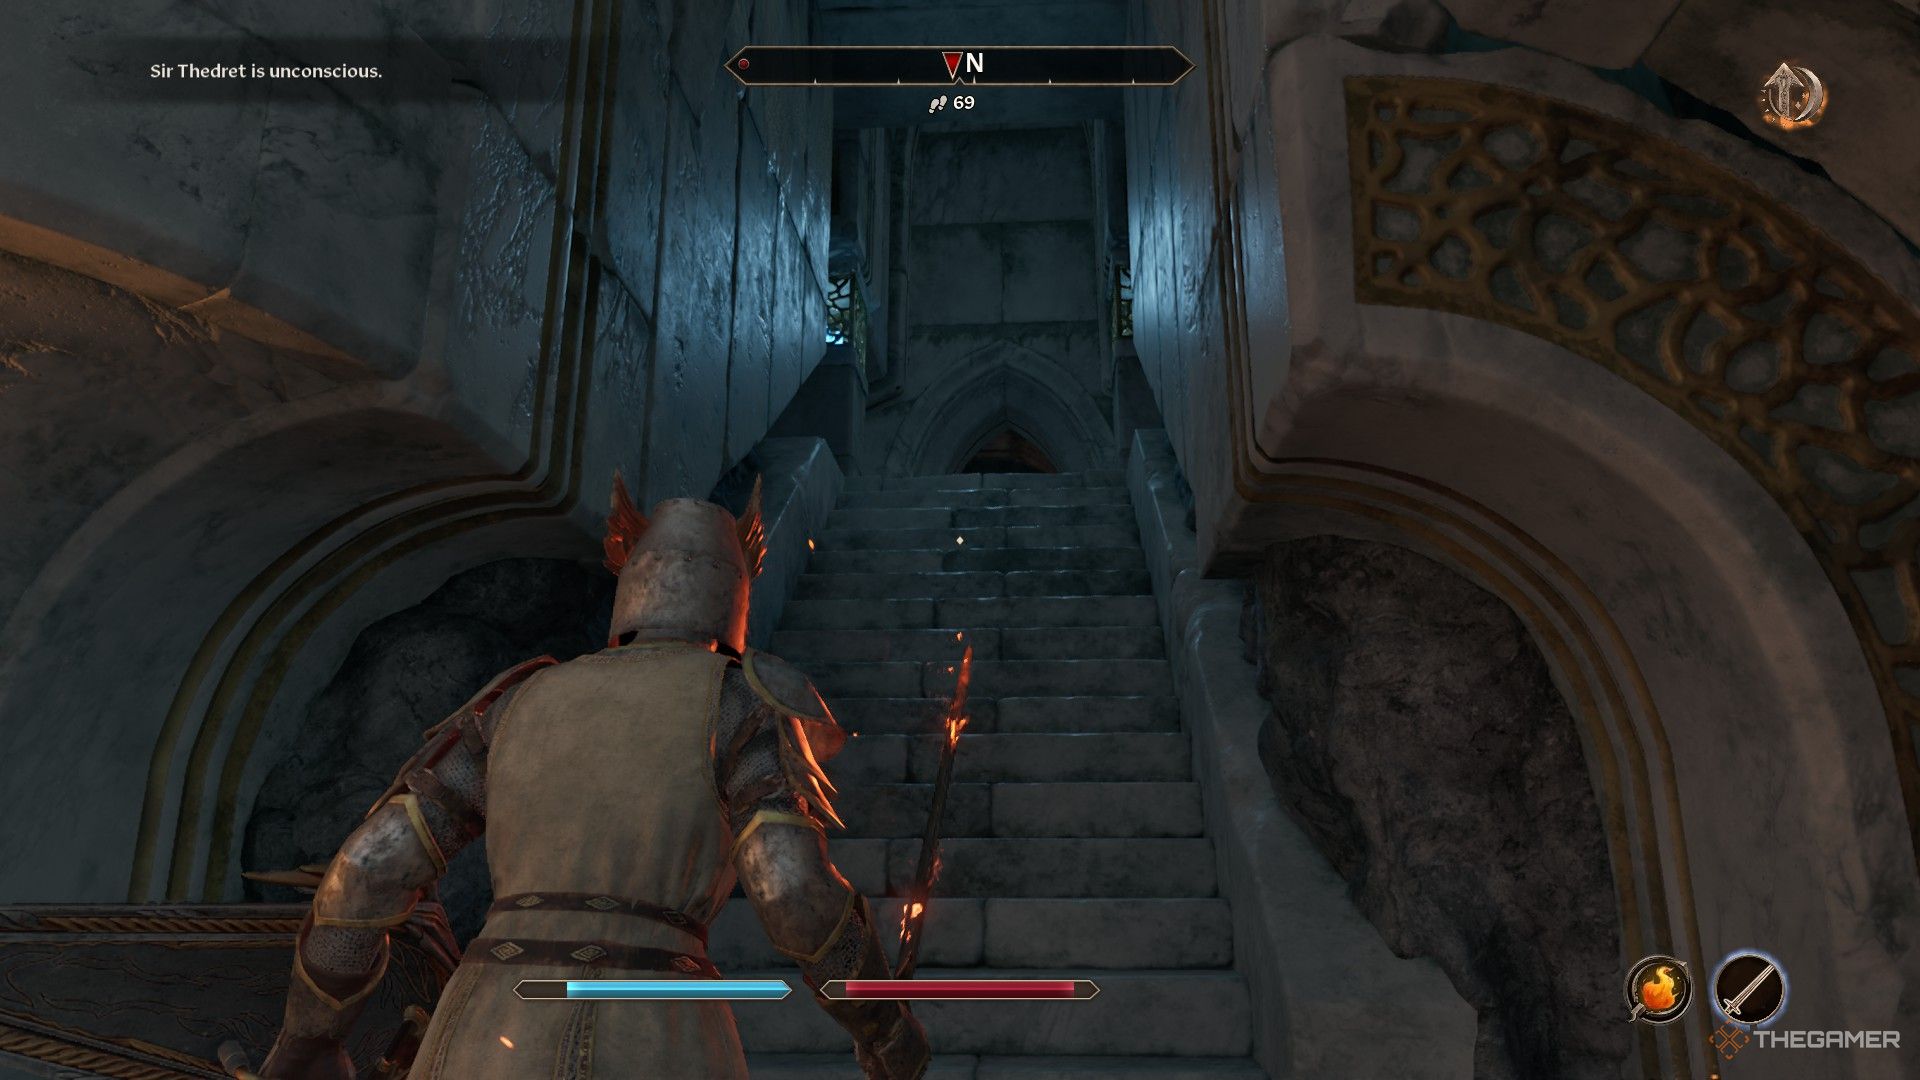
After defeating Umaril, you’ll find yourself falling through the floor and will be returned to the basement of the Priory of the Nine.
Speak to Sir Amiel until all the ghosts vanish, and, if you wish, converse with Sir Berich for his gratitude.
Once all the spirits have departed, you can interact with their tombs in the basement for a unique blessing: Fortify Attribute (+5). Each tomb allows you to choose a specific attribute.
|
Sir Amiel |
Strength |
|---|---|
|
Sir Caius |
Agility |
|
Sir Casimir |
Endurance |
|
Gregory |
Personality |
|
Henrik |
Intelligence |
|
Juncan |
Speed |
|
Ralvas |
Luck |
|
Torolf |
Willpower |
The Fortify Attribute blessing will count against an attribute level’s 100 cap if that level is 95-99, potentially preventing you from raising your attribute further.
However, if the attribute was already above 95 (or 100), the blessing allows you to exceed the cap up to 105.
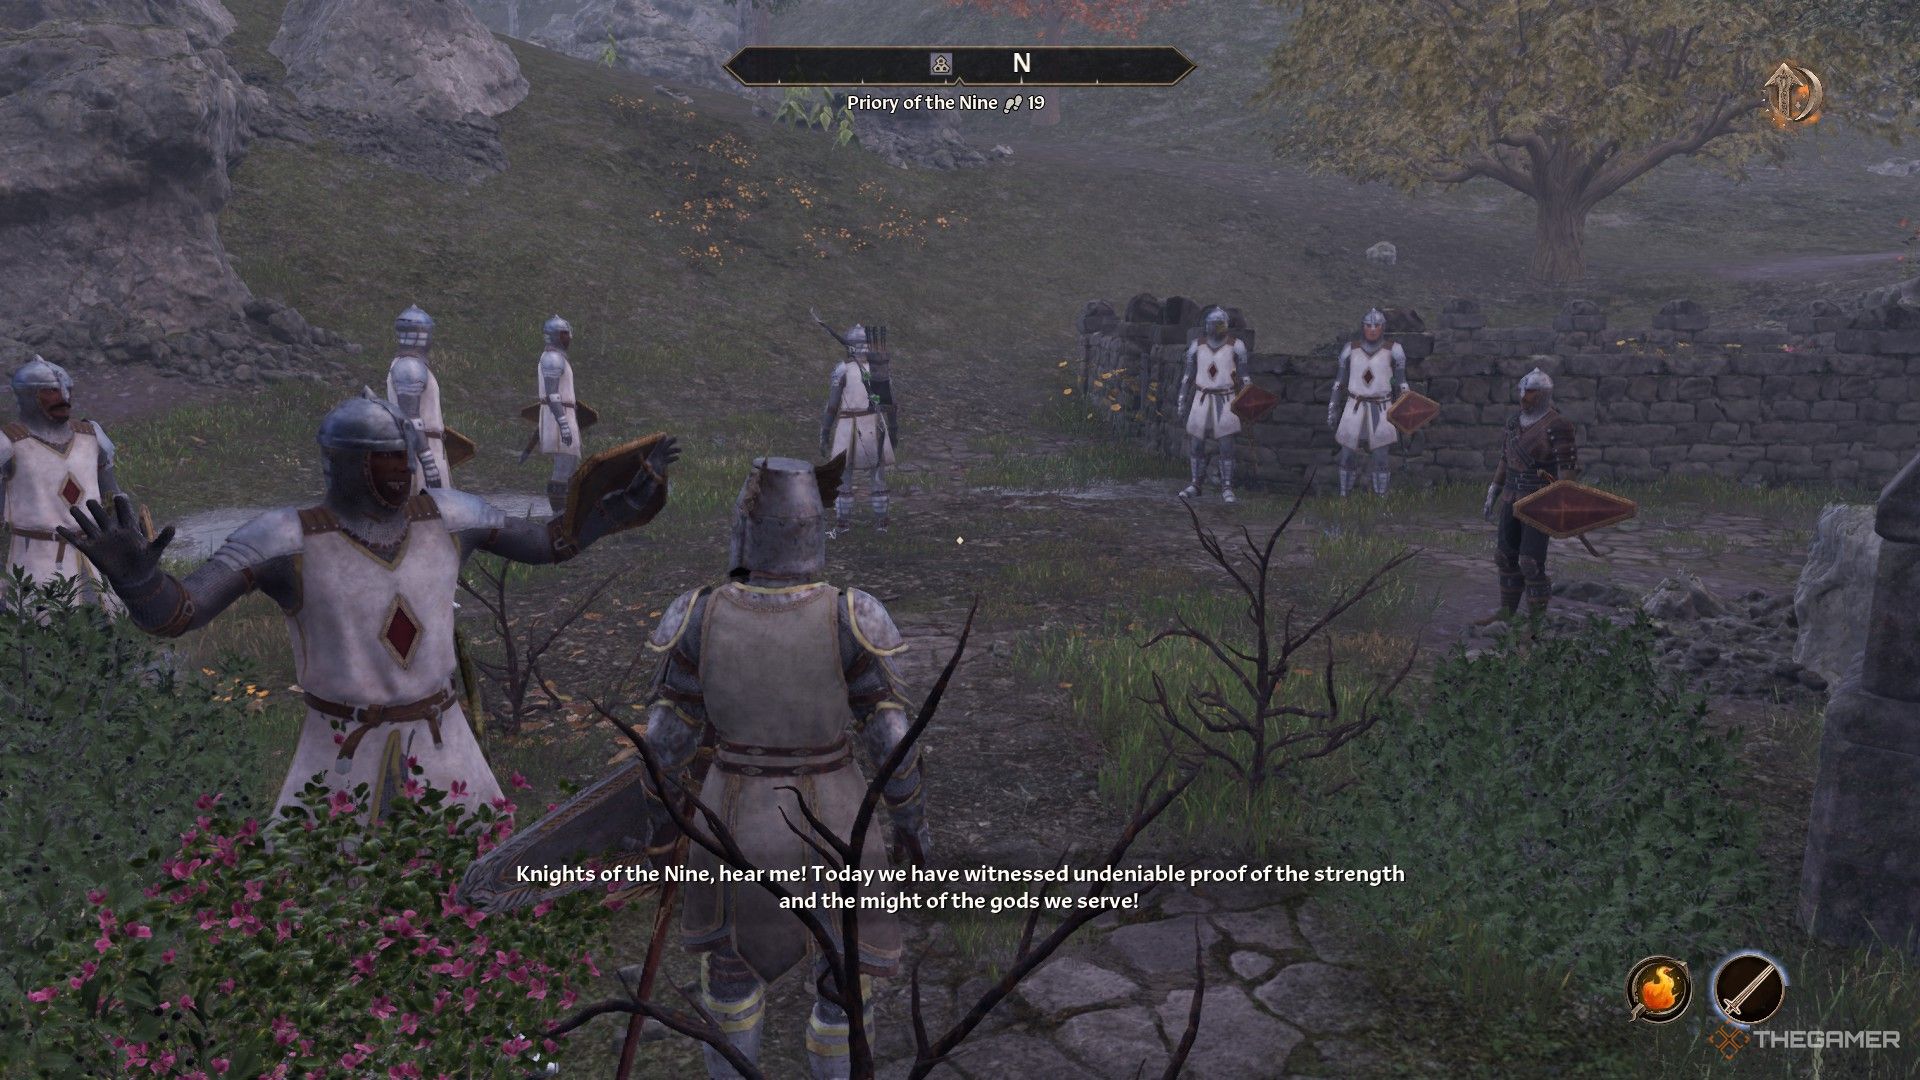
Head upstairs to meet Sir Thedret, who will joyfully exclaim that you have somehow survived.
Follow him upstairs and outside to join the waiting Knights of the Nine, and enjoy a joyful celebration for your valiant efforts along with the following hidden benefits:
- You’re welcome to take any of the knights with you as a companion whenever you wish.
- Use the forge downstairs for repairing weapons and armor.
- All deceased or missing priests in the chapels will be replaced with new characters, including new trainers.
- The armor stand in the basement allows you to place and upgrade your Crusader’s Gear.
Using the armor stand in the basement will upgrade your weapons and armor to your level. This means you should come back here whenever you level up past a challenge rating threshold to enhance your equipment.