Select Language:
If you’ve ever envisioned taking down foes from the shadows in Tainted Grail: The Fall of Avalon, this Archer build is exactly what you need. It transcends the usual sneak and shoot strategy. With the right combination of stats, skills, and equipment, you’ll master headshots, unleash magical arrows, and immobilize groups of enemies—all while maintaining your agility.
In the following sections, we’ll guide you through unlocking the Archer path, which attributes and skills are essential, and the best bows, armor, and accessories to acquire as you progress from early to endgame.
Build Overview
While most archers focus on Dexterity, this build incorporates Strength to handle heavy bows like the Giant Bow and Thunderous Great Bow. It’s an adaptable, high-damage setup that balances stealth, critical hits, and area damage, all while keeping you quick and nimble with stamina and draw-speed bonuses.
This archer build favors a more assertive playstyle—targeting crucial enemies, causing freeze or bleed effects on groups, and applying continuous pressure with rapid fire. It feels more like a ranged assassin than a fragile glass cannon.
How to Unlock the Archer
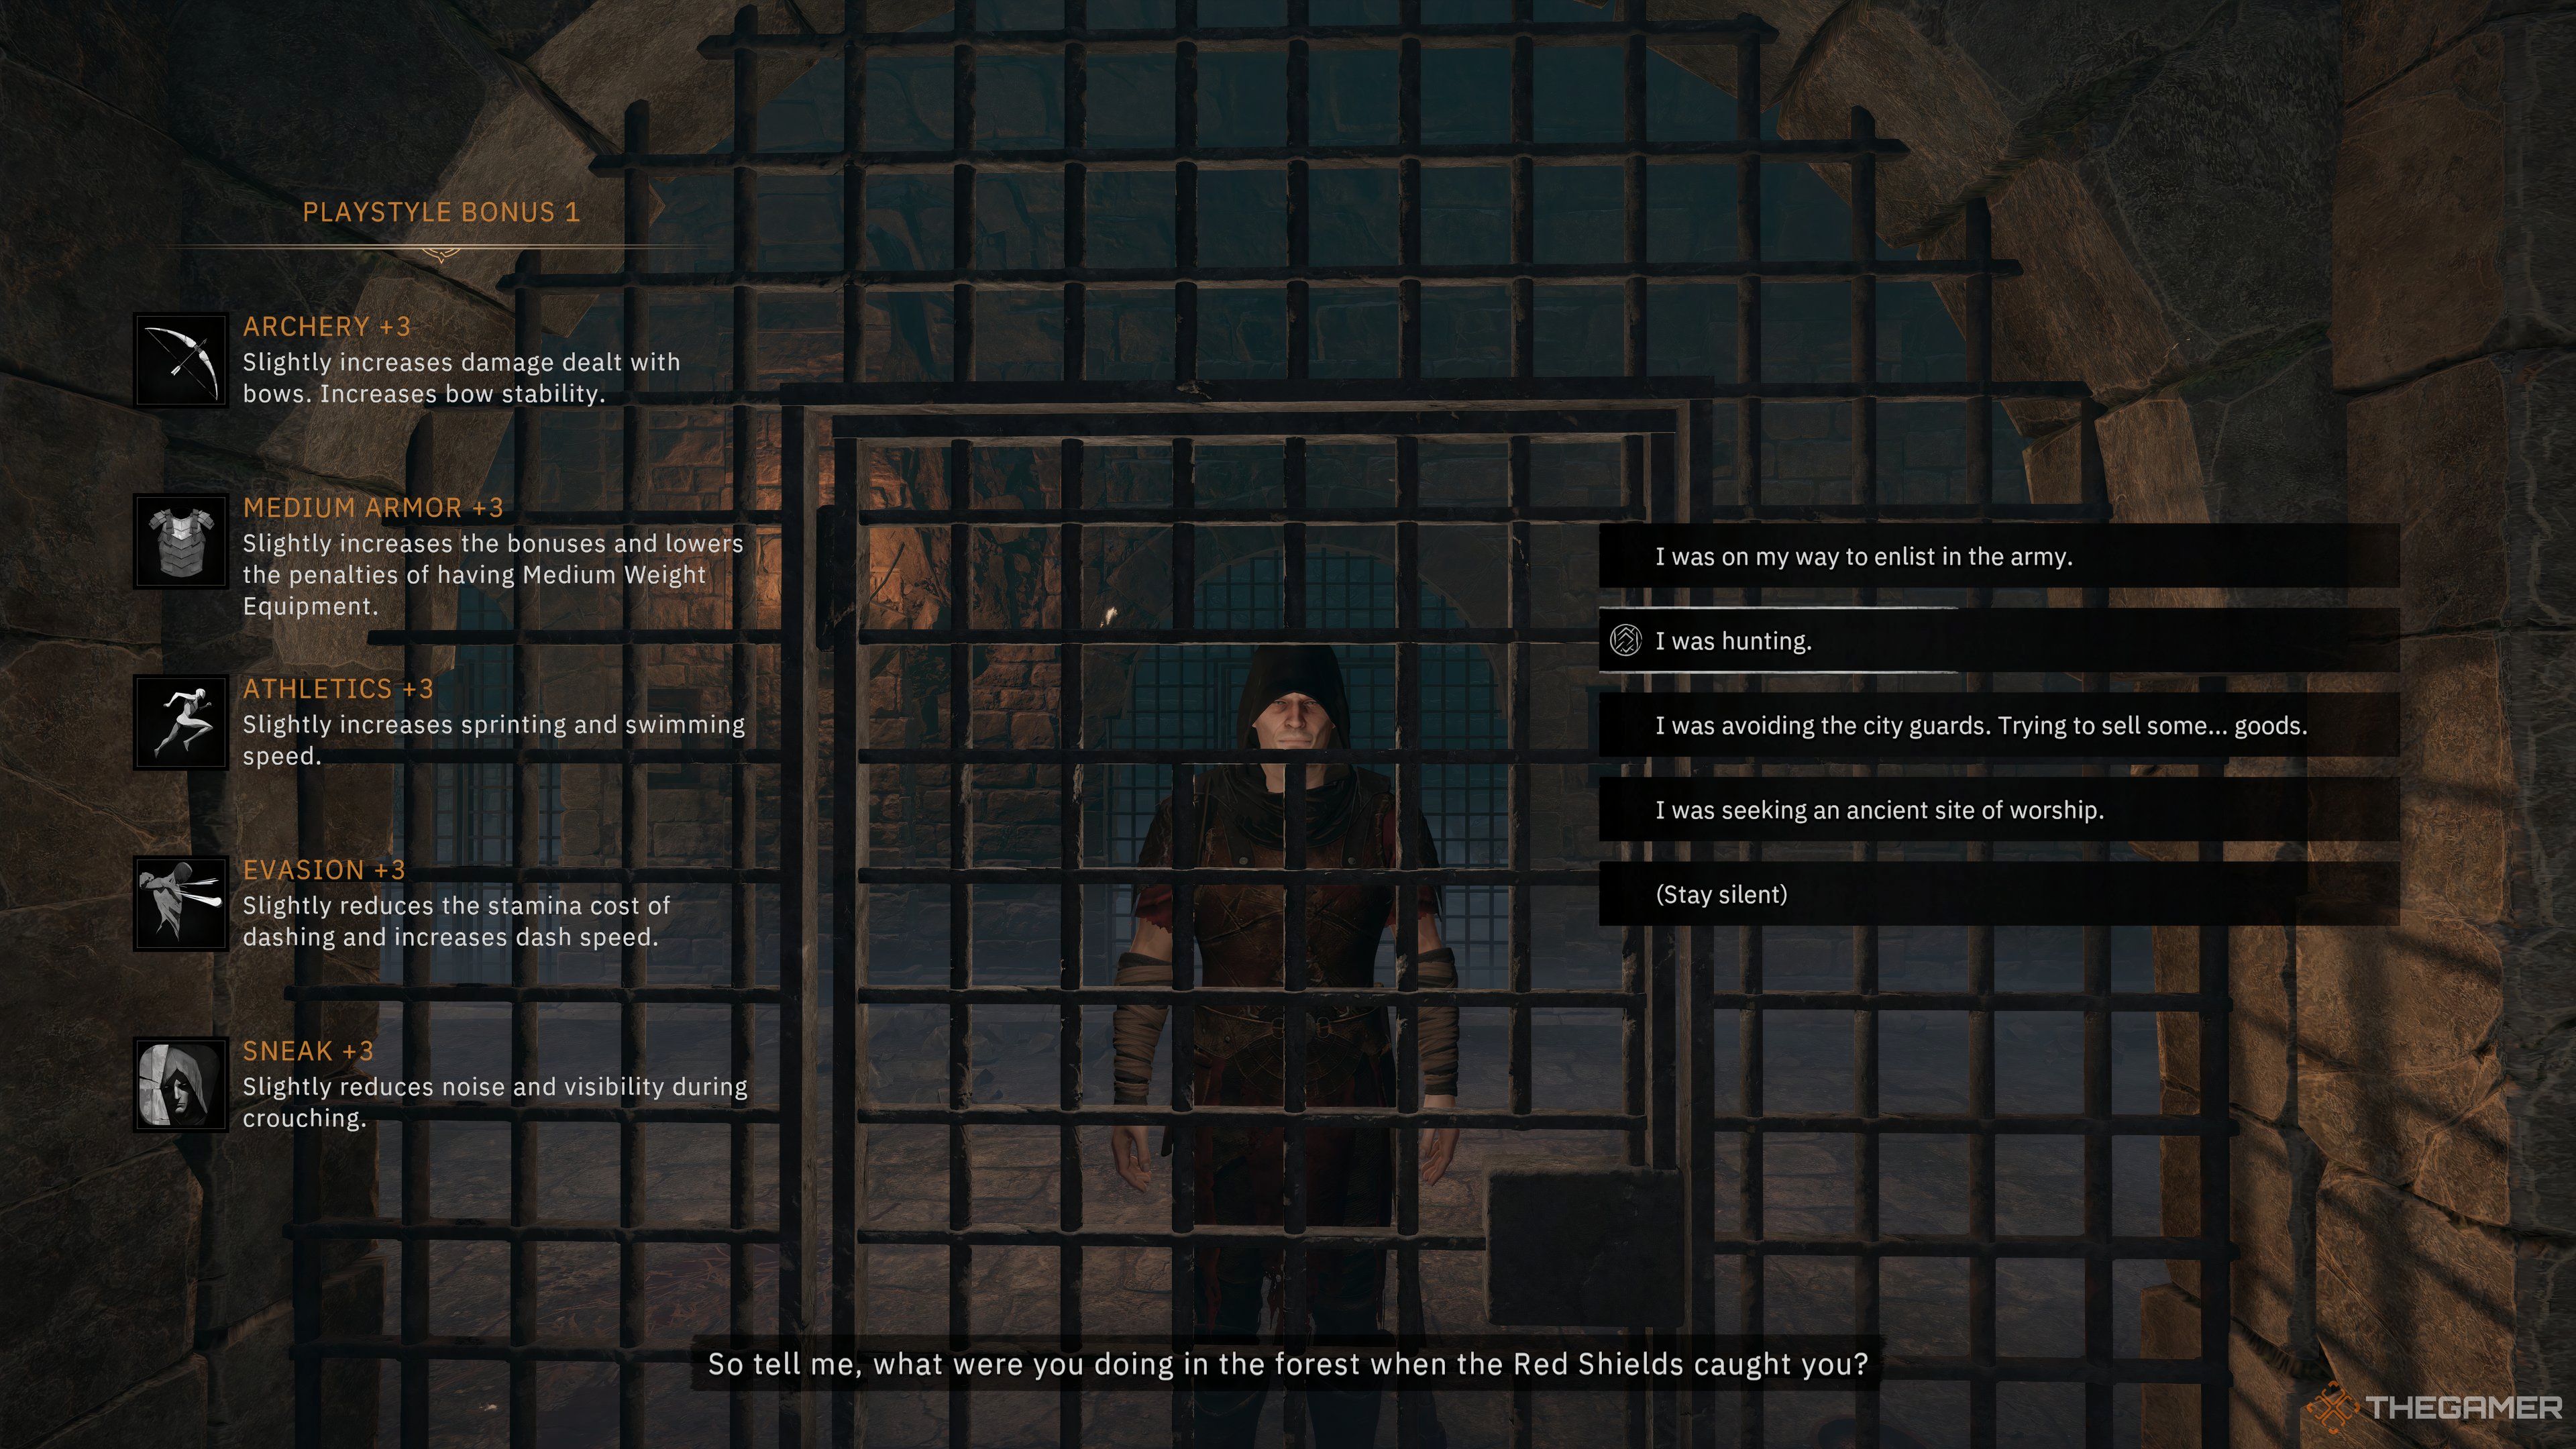
To initiate the Archer archetype, pay careful attention to your dialogue choices during the initial prison sequence. When the guard inquires about your activities before capture, respond with “I was hunting.” Then follow up with “I… use the fur to make clothes.” This unlocks the Archer starting path and grants you early bonuses: +3 Archery, +3 Medium Armor, +3 Sneak, +3 Athletics, and +3 Evasion. You will also receive a significant bonus to Handcrafting (+9) and unlock leather armor recipes, setting you up with useful gear from the get-go. This solid foundation will allow you to explore Strength or Spirituality later on, depending on your chosen bow.
Attributes
| Priority | Attribute | Why It Matters |
|---|---|---|
| 1 | Dexterity | Main stat for ranged damage, attack speed, and stealthy movement. |
| 2 | Perception | Boosts critical hit chance and damage, enhancing sneak attack effectiveness. |
| 3 | Endurance | Increases stamina pool and recovery. |
| 4 | Strength | Needed for heavy bows like the Giant Bow and improves stamina capacity. |
| 5 | Spirituality | Facilitates the use of magical bows and abilities, such as Rapid Shooter’s Mixture for faster draws. |
| 6 | Practicality | Enhances crafting efficiency and resource management. |
This distribution allows you to wield all major bows, including the Hex, Giant, and Thunderous. Dexterity and Perception work together for remarkable crits and weak spot hits, while Endurance helps you maintain stamina during extended battles. Strength enables you to use heavy bows earlier, and investing points in Spirituality allows you to maintain Rapid Shooter’s Mixture for quick volleys. Practicality is crucial for crafting arrows on the fly and optimizing your resources in every area.
Skills
| Endurance | Stamina | Frequent Exercise, Gaining Momentum, Back into the Fray |
|---|---|---|
| Dexterity | Bows | Strong Arm of the Bowmaster, Marksman, Strong Back, Rack them Up, Proper Draw Techniques, Lucky Shot, Deadly Aim |
| Perception | Stealth | Silent Hunger, Cheater’s Gambit |
| Critical Hits | Extra Lucky, Respite in Cruelty | |
| Practicality | Crafting & Trading | Mercantile Skills, Reusable Resource, Crafty |
When you’re ready, focus on Dexterity at the bonfire. Skills like Strong Arm of the Bow Master, Marksman, and Strong Back are essential. They enhance your bow’s damage, speed up draw time, and reduce the stamina cost per shot. Marksman also offers arrow refunds on critical hits, while Strong Back allows faster follow-up shots after eliminating enemies, making crowd control much easier.
For Perception, grab Silent Hunter to amp up sneak damage and build on critical hit bonuses early. Perks linked to critical strike chances, bonus crit damage, and bleed effects fit well with a fast and accurate playstyle, especially if you’re using the Composite or Thunderous bows. Don’t overlook Stamina on Kill from Endurance; it maintains your agility and firing rate in fights. Lastly, investing in Practicality for Reusable Resources lets you craft arrows quickly and increases damage to Ailmented Targets for elemental arrows like Chill or Burn.
If you have extra points, consider picking up Critical Aegis for added defense during crit hits, and Swift and Fierce for a boost in attack speed after dodging.
Spells

Even if your build isn’t primarily magical, certain spells enhance the Archer’s effectiveness. Hailstorm, a tier one cold spell, quickly applies Frost and can effectively chill enemies. This spell is excellent for weakening foes before landing powerful arrow hits and is one of the best choices for early-game play. By frequently using its light version, you can manage enemies from a safe distance.
Blood Transfusion adds sustainability to your build. The light cast applies Bleed, while the heavy version drains health from enemies to restore your own. This synergizes well with Frost effects, allowing you to soften foes and heal from the damage without switching to melee weapons or using consumables.
A powerful, albeit non-essential consumable to acquire is the Rapid Shooter’s Mixture, a potion that provides +100% bow draw speed at the cost of five mana per second. This significantly boosts your DPS, allowing for a fast barrage of arrows. Pair it with the Arcane Weaver’s Prisma, which regenerates two mana per second, and allocate a few points into Spirituality for enhanced mana capacity.
Gear
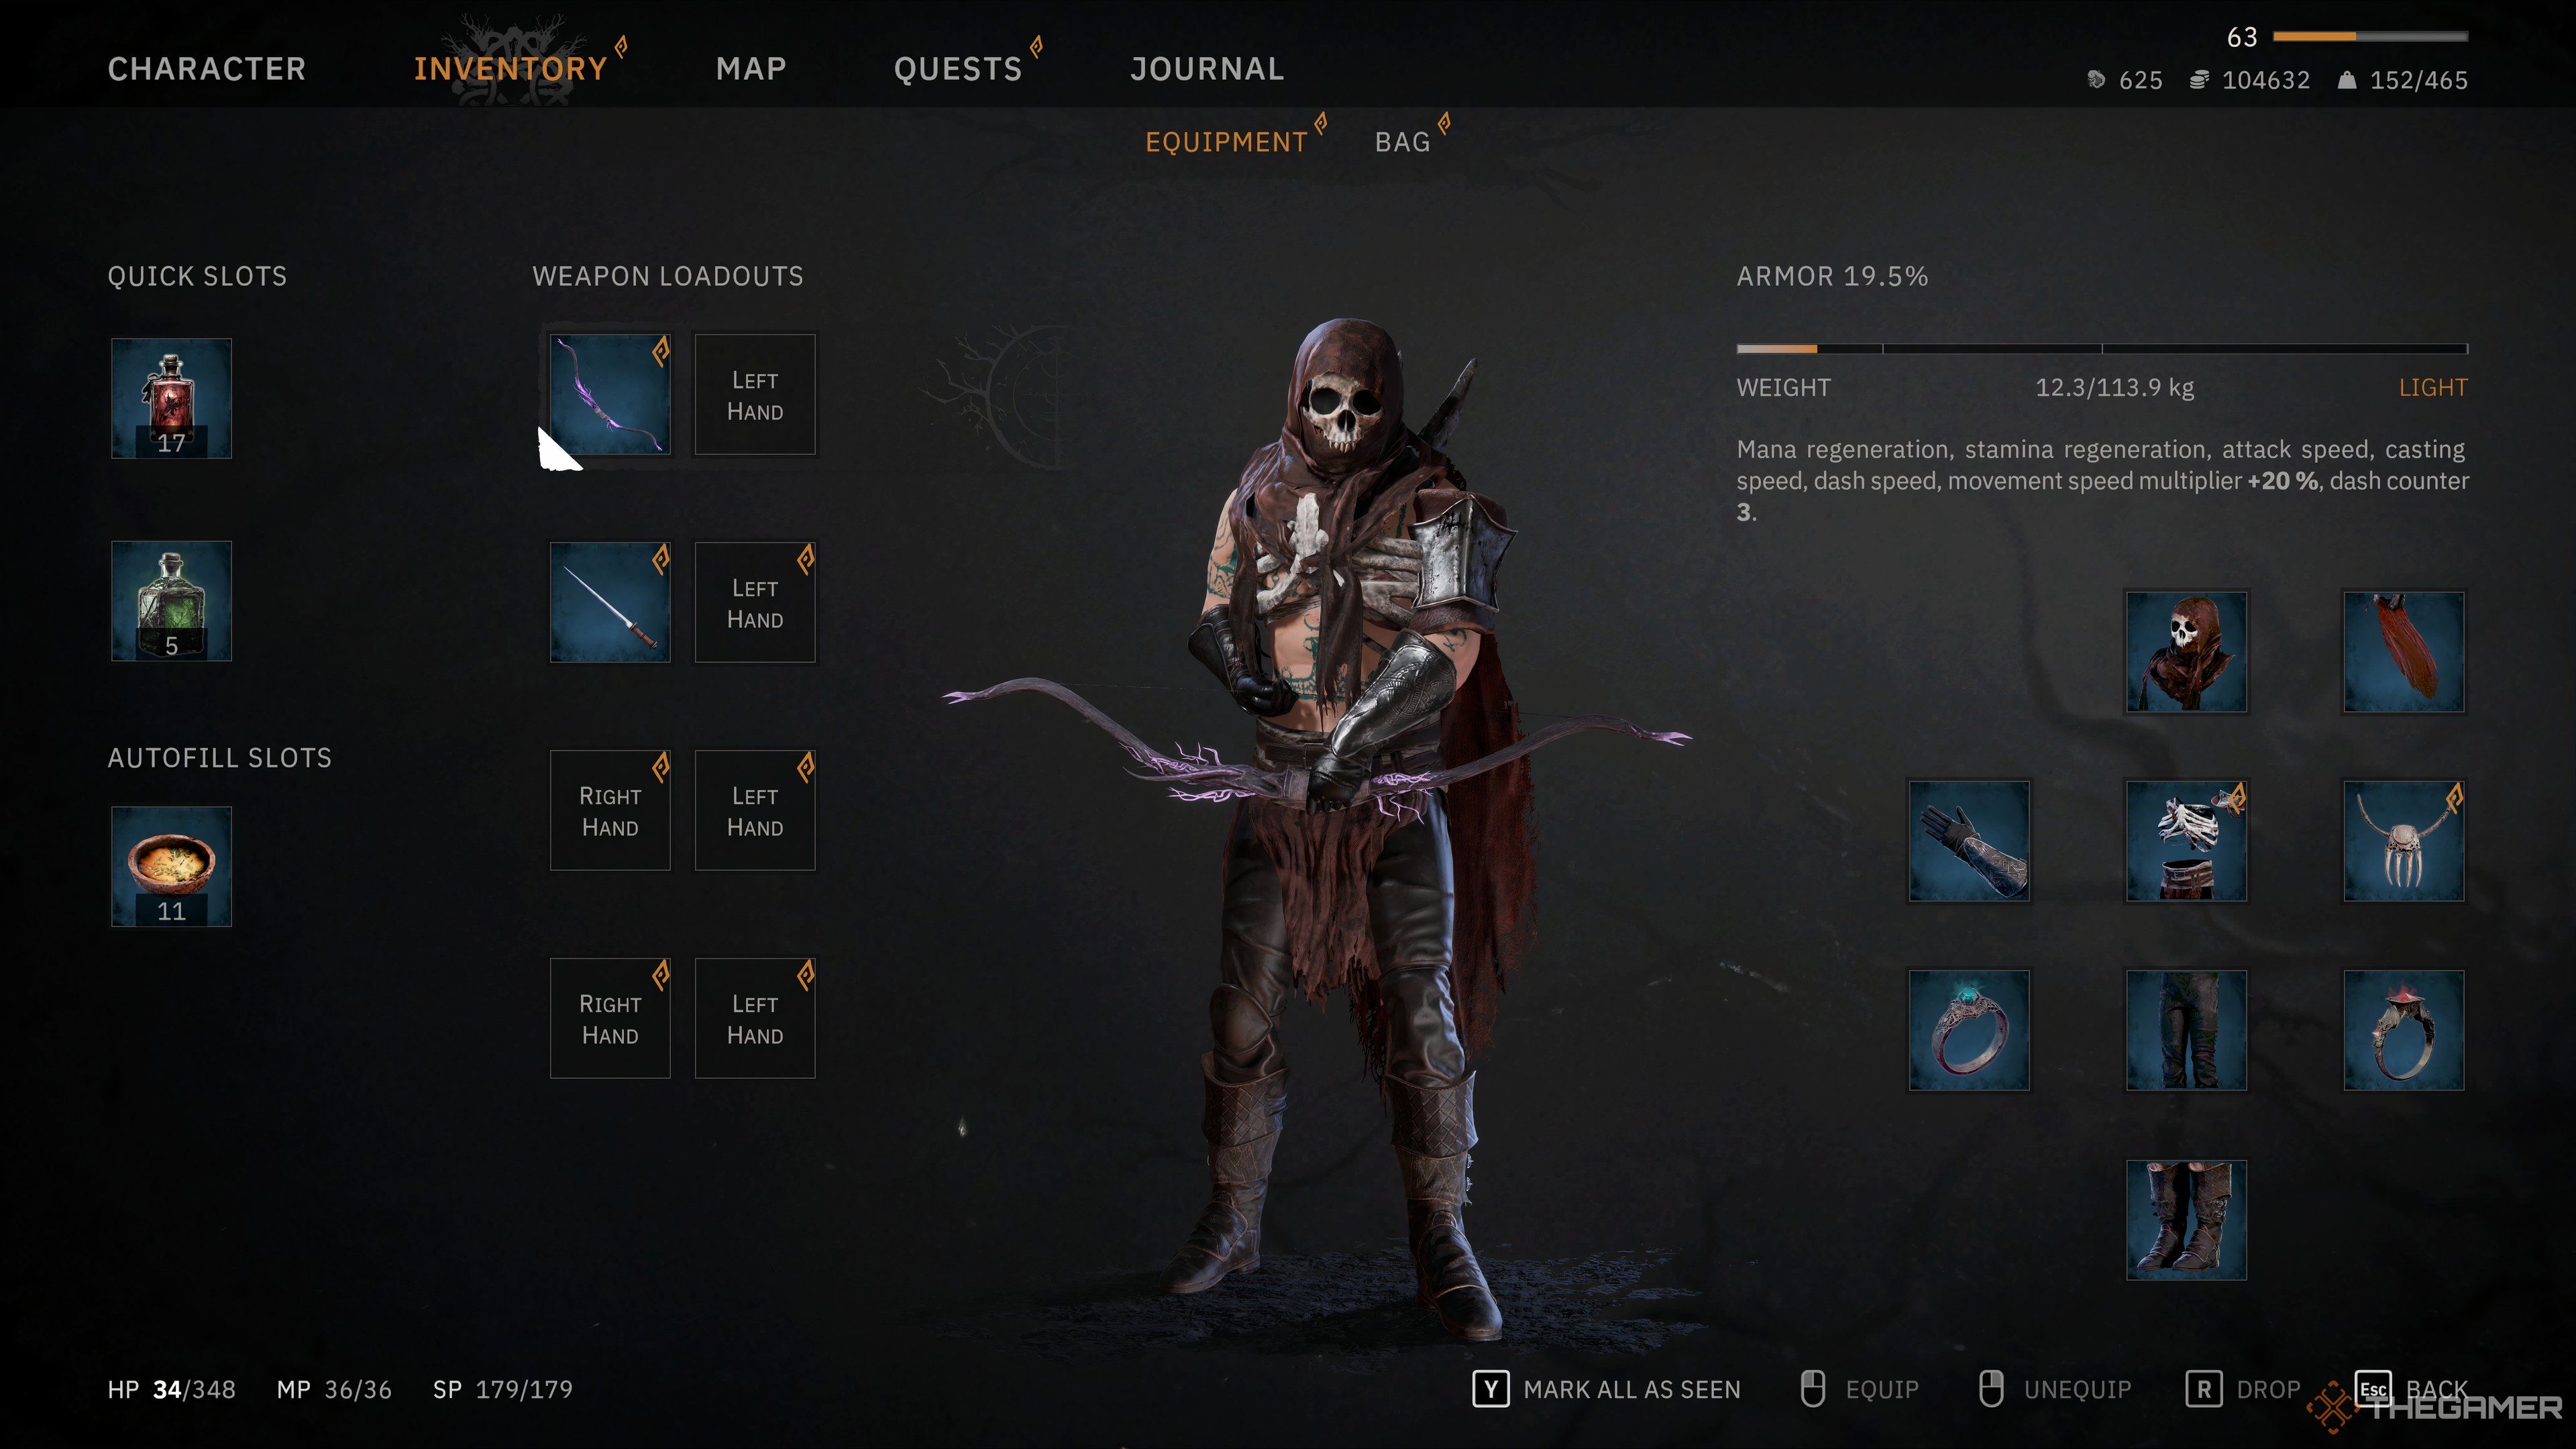
Equipment is critical for maximizing your Archer build’s effectiveness, from lightweight armor that boosts stamina and stealth to high-damage bows and accessories that enhance crit damage and reduce draw time. This section details the best armor, weapons, and jewelry to ensure you remain lethal and efficient.
Armor
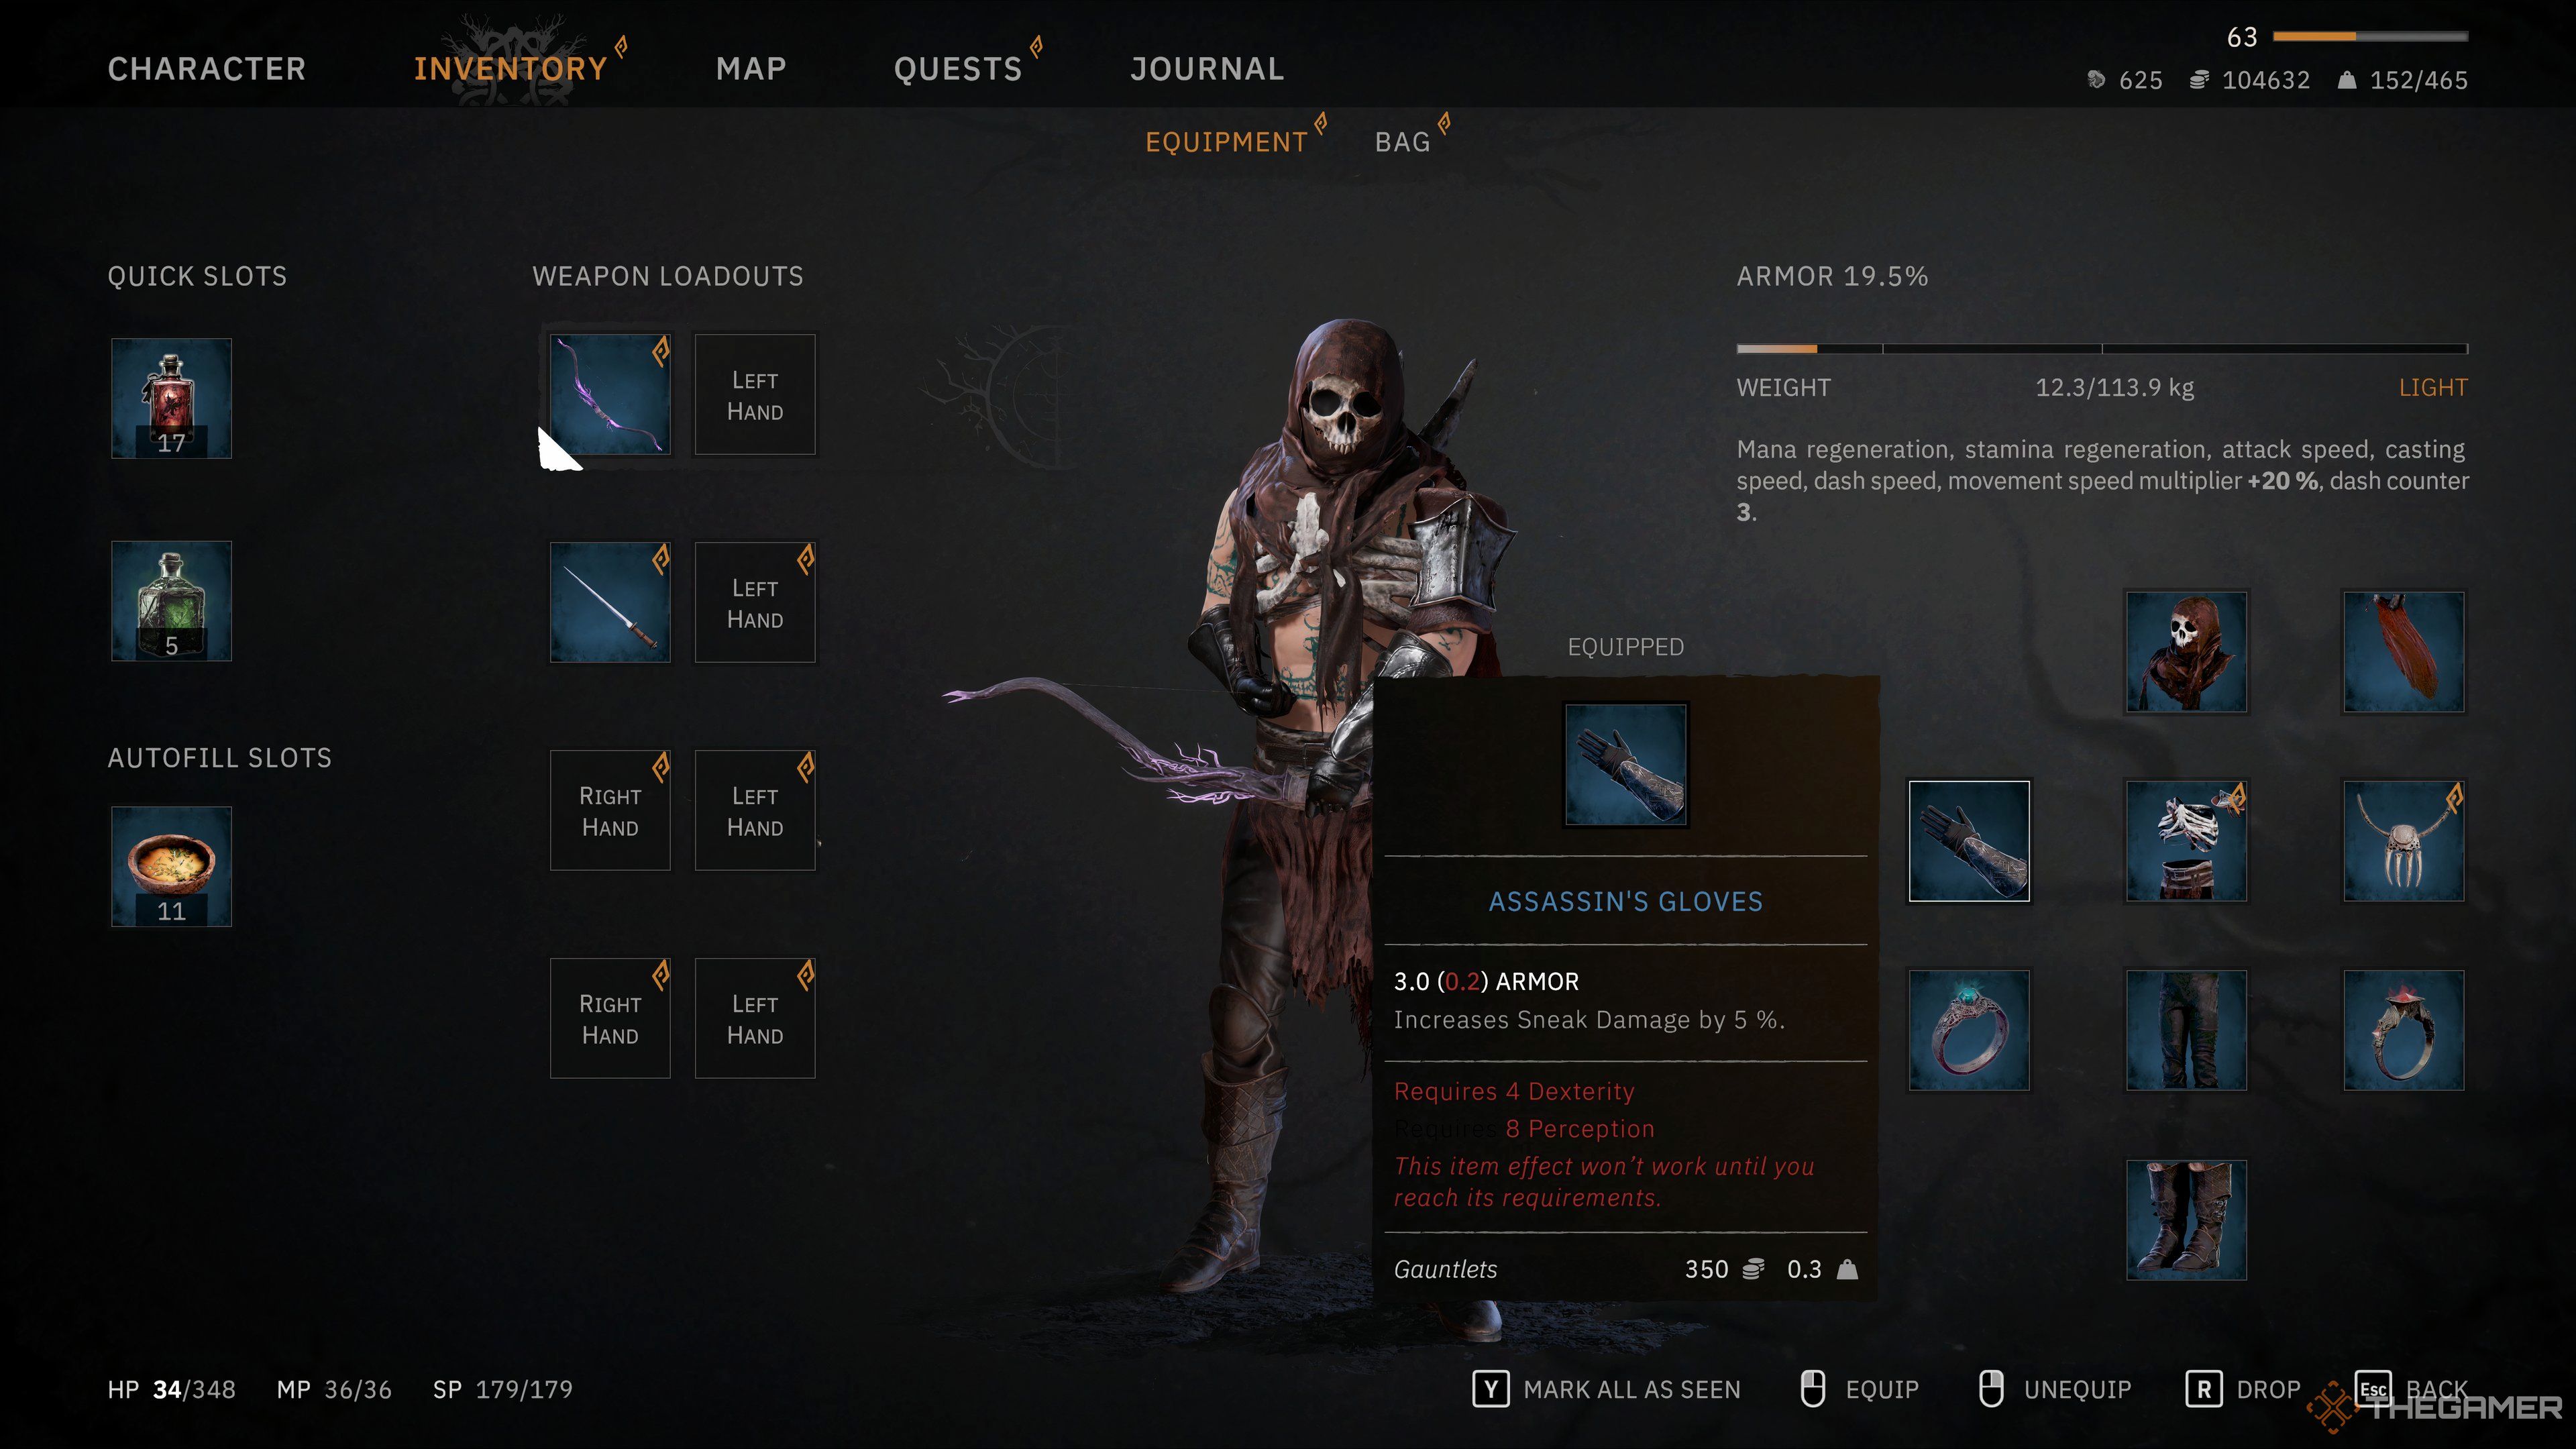
In the early game, focus on medium armor pieces that enhance ranged damage and dexterity while maintaining mobility. The Hunting Set, obtainable in Act One through chests or from looted enemies, grants a useful +10% ranged damage bonus. Pair it with Archer’s Quicken Gloves to enhance bow draw speed. This combination provides decent protection (around three to four armor) along with utility for your playstyle.
As you delve deeper into the game, seek the Assassin’s Armor Set. This heavier medium armor reinforces stealth and critical damage. You can obtain parts by defeating the assassin Silent Silia at the Abandoned Stronghold in Horns of the South. This set offers a substantial +30% to Sneak Damage across all components, making it ideal for an archer focused on stealth and critical strikes.
By mid to late-game, gear that scales with your high Dexterity and Perception becomes crucial. Legendary medium sets like Waning Moon or Crow (available in Act One from reinforced chests or unique NPC drops) provide powerful conditional bonuses such as increased mana regeneration or boosts to ranged critical chance. With improved survivability and utility, these sets facilitate dodging, crowd control, and burst damage while maintaining effectiveness throughout the game.
Weapons
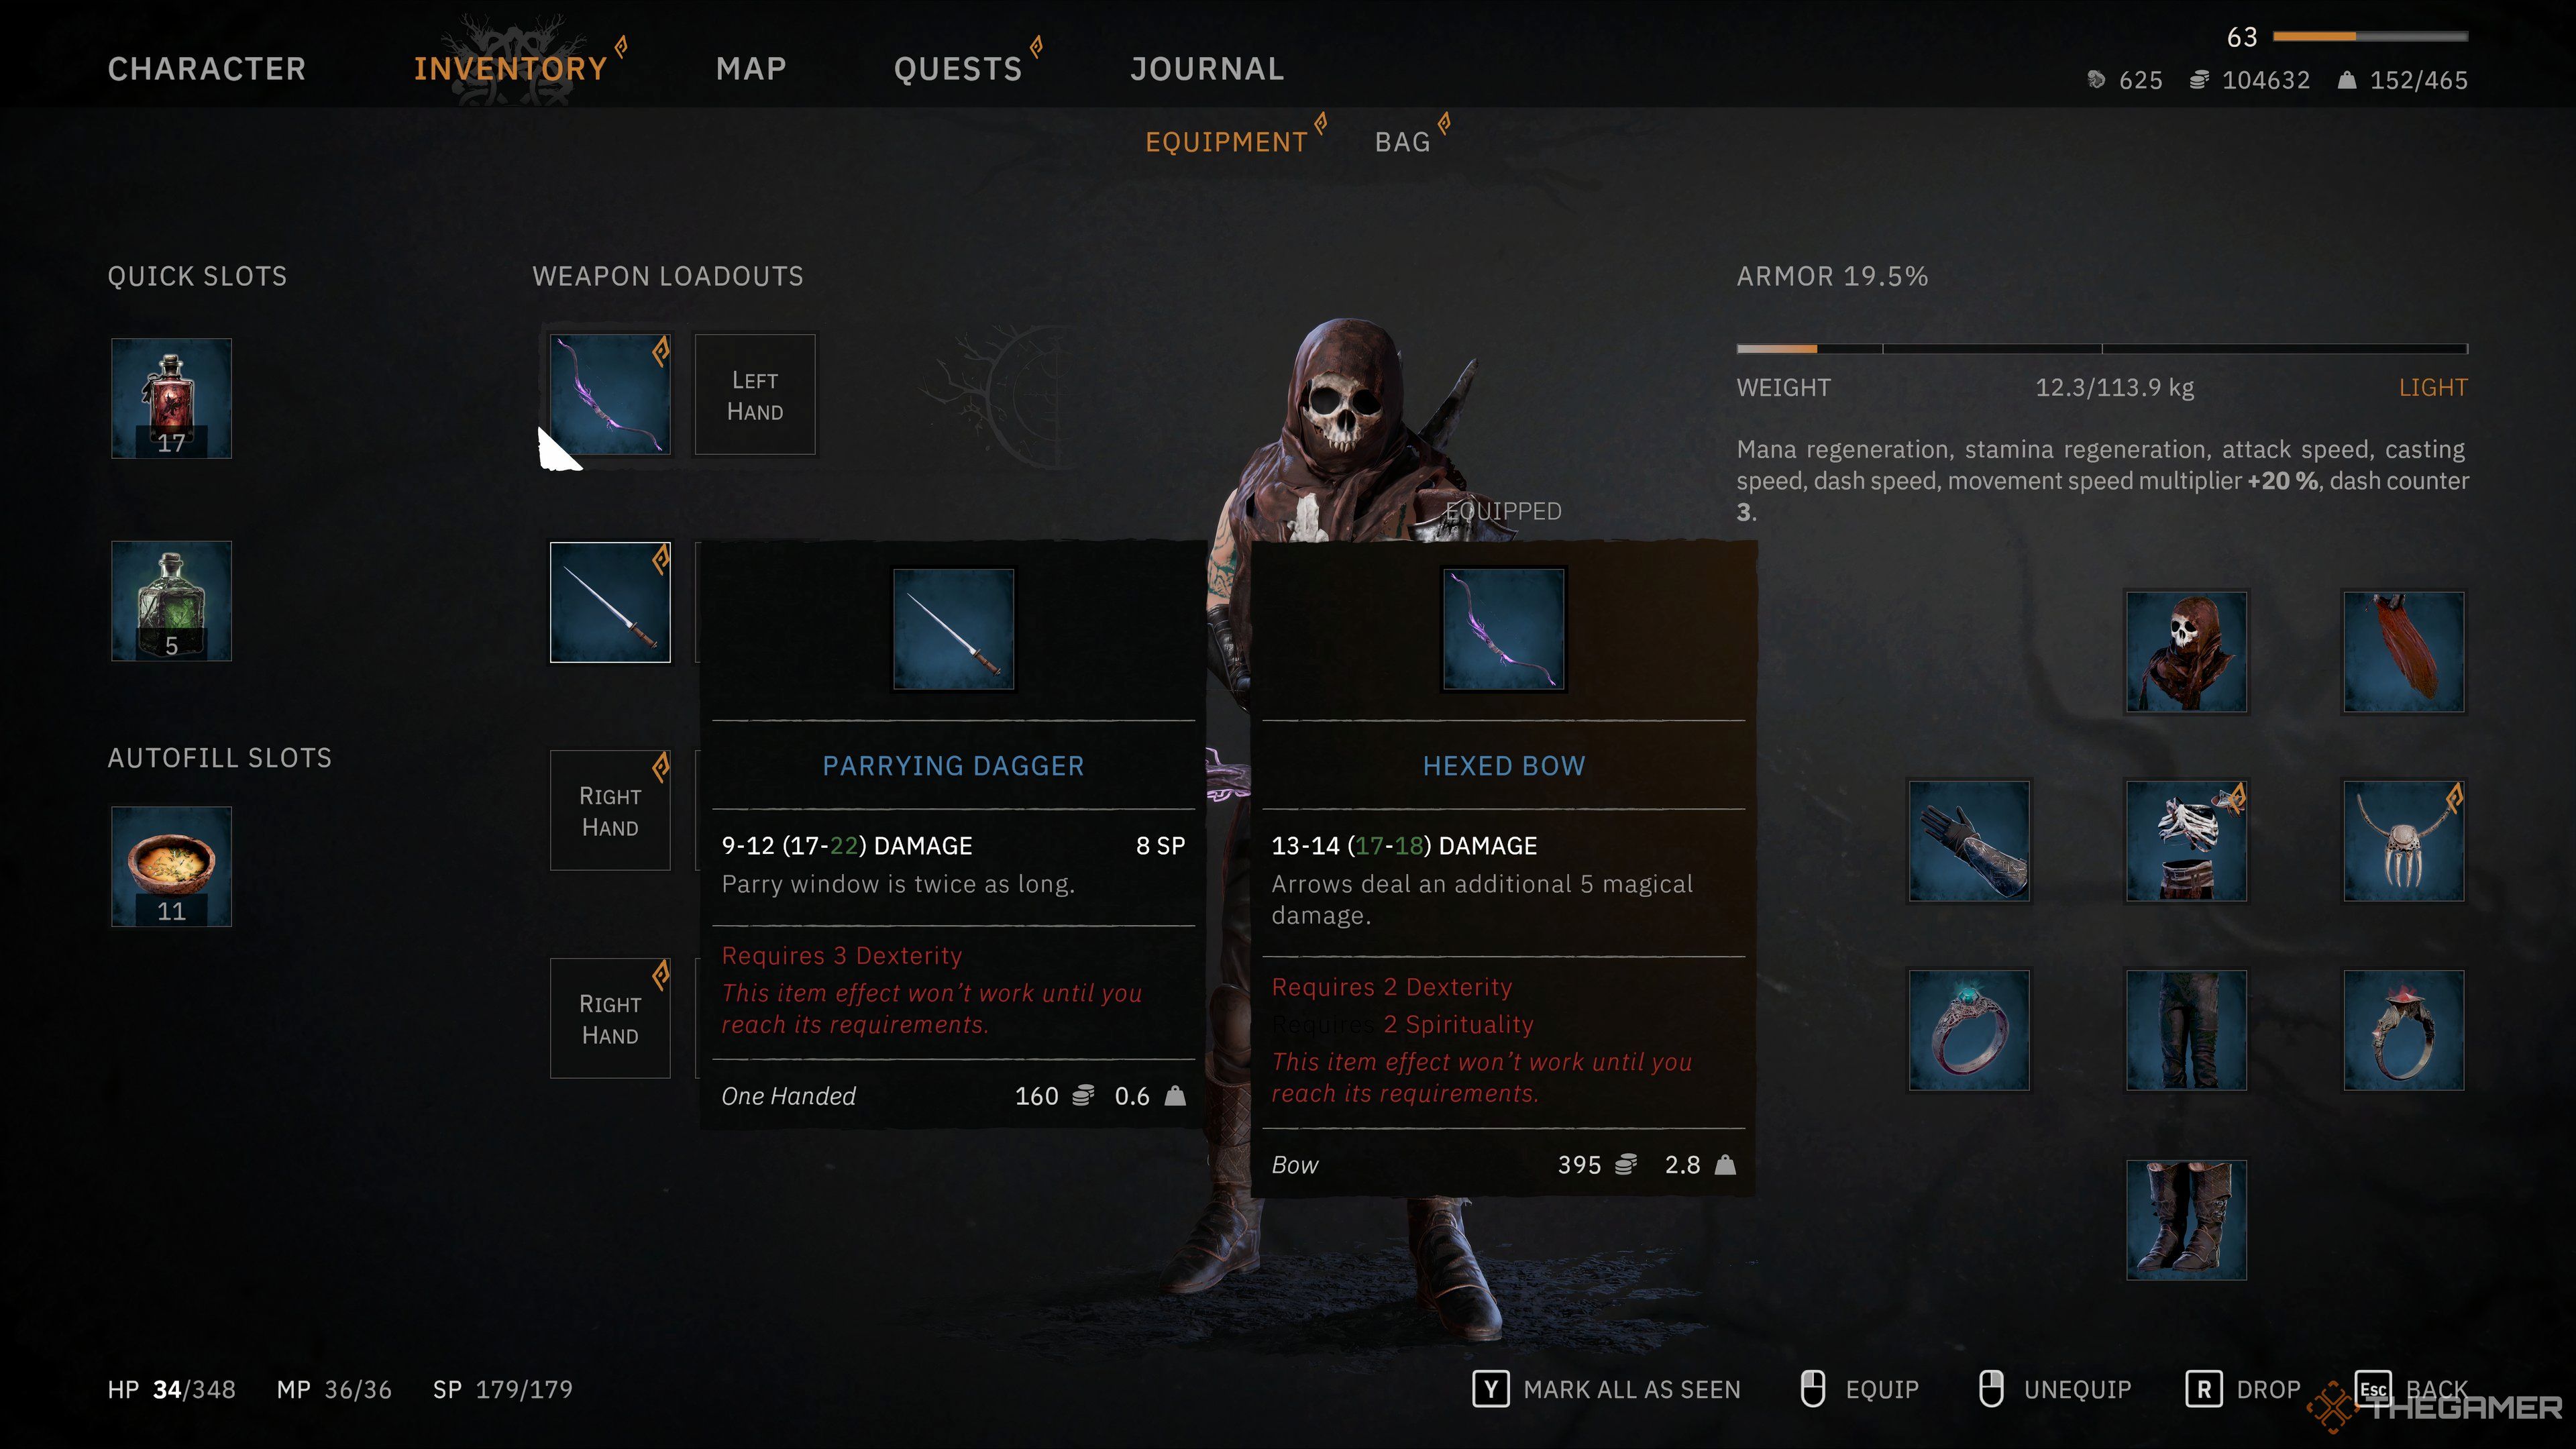
Beyond early-game bows from quests and drops, the Hex Bow is the first essential weapon to obtain, located early in a tower (the specific tower may vary with patches, so explore multiple towers near Horns of the South). This bow scales well and requires only a few points in Dexterity and Spirituality, making it ideal for early gameplay due to its reliable damage output.
Following that, the Composite Bow is well-regarded for its speed and single-target effectiveness. You can find it in the main town within an accessible tower in early Act One. Its rapid draw speed and solid scaling make this a dependable choice for regular encounters. As you progress, upgrade to the Thunderous Great Bow, which demands five Strength, four Dexterity, and four Spirituality. This bow is located at the far end of the Sunken Village, up a tower. It excels at eliminating priority targets with significant crits, especially when combined with stealth or surprise volleys.
For Area of Effect (AoE) or crowd control, consider the Giant Bow, requiring nine Strength and three Dexterity. It’s found in a chest atop the Hunter’s Camp tower. This bow is excellent for striking clustered enemies and pairs well with freeze or bleed effects. Also, pair it with the Tide Piercer, a magical hybrid bow dropped by a dungeon boss in the Screw Hideout.
This bow fires shockwaves at any distance, making it perfect for targeting flying enemies or dealing safe hits from cover.
Jewelry and Relics
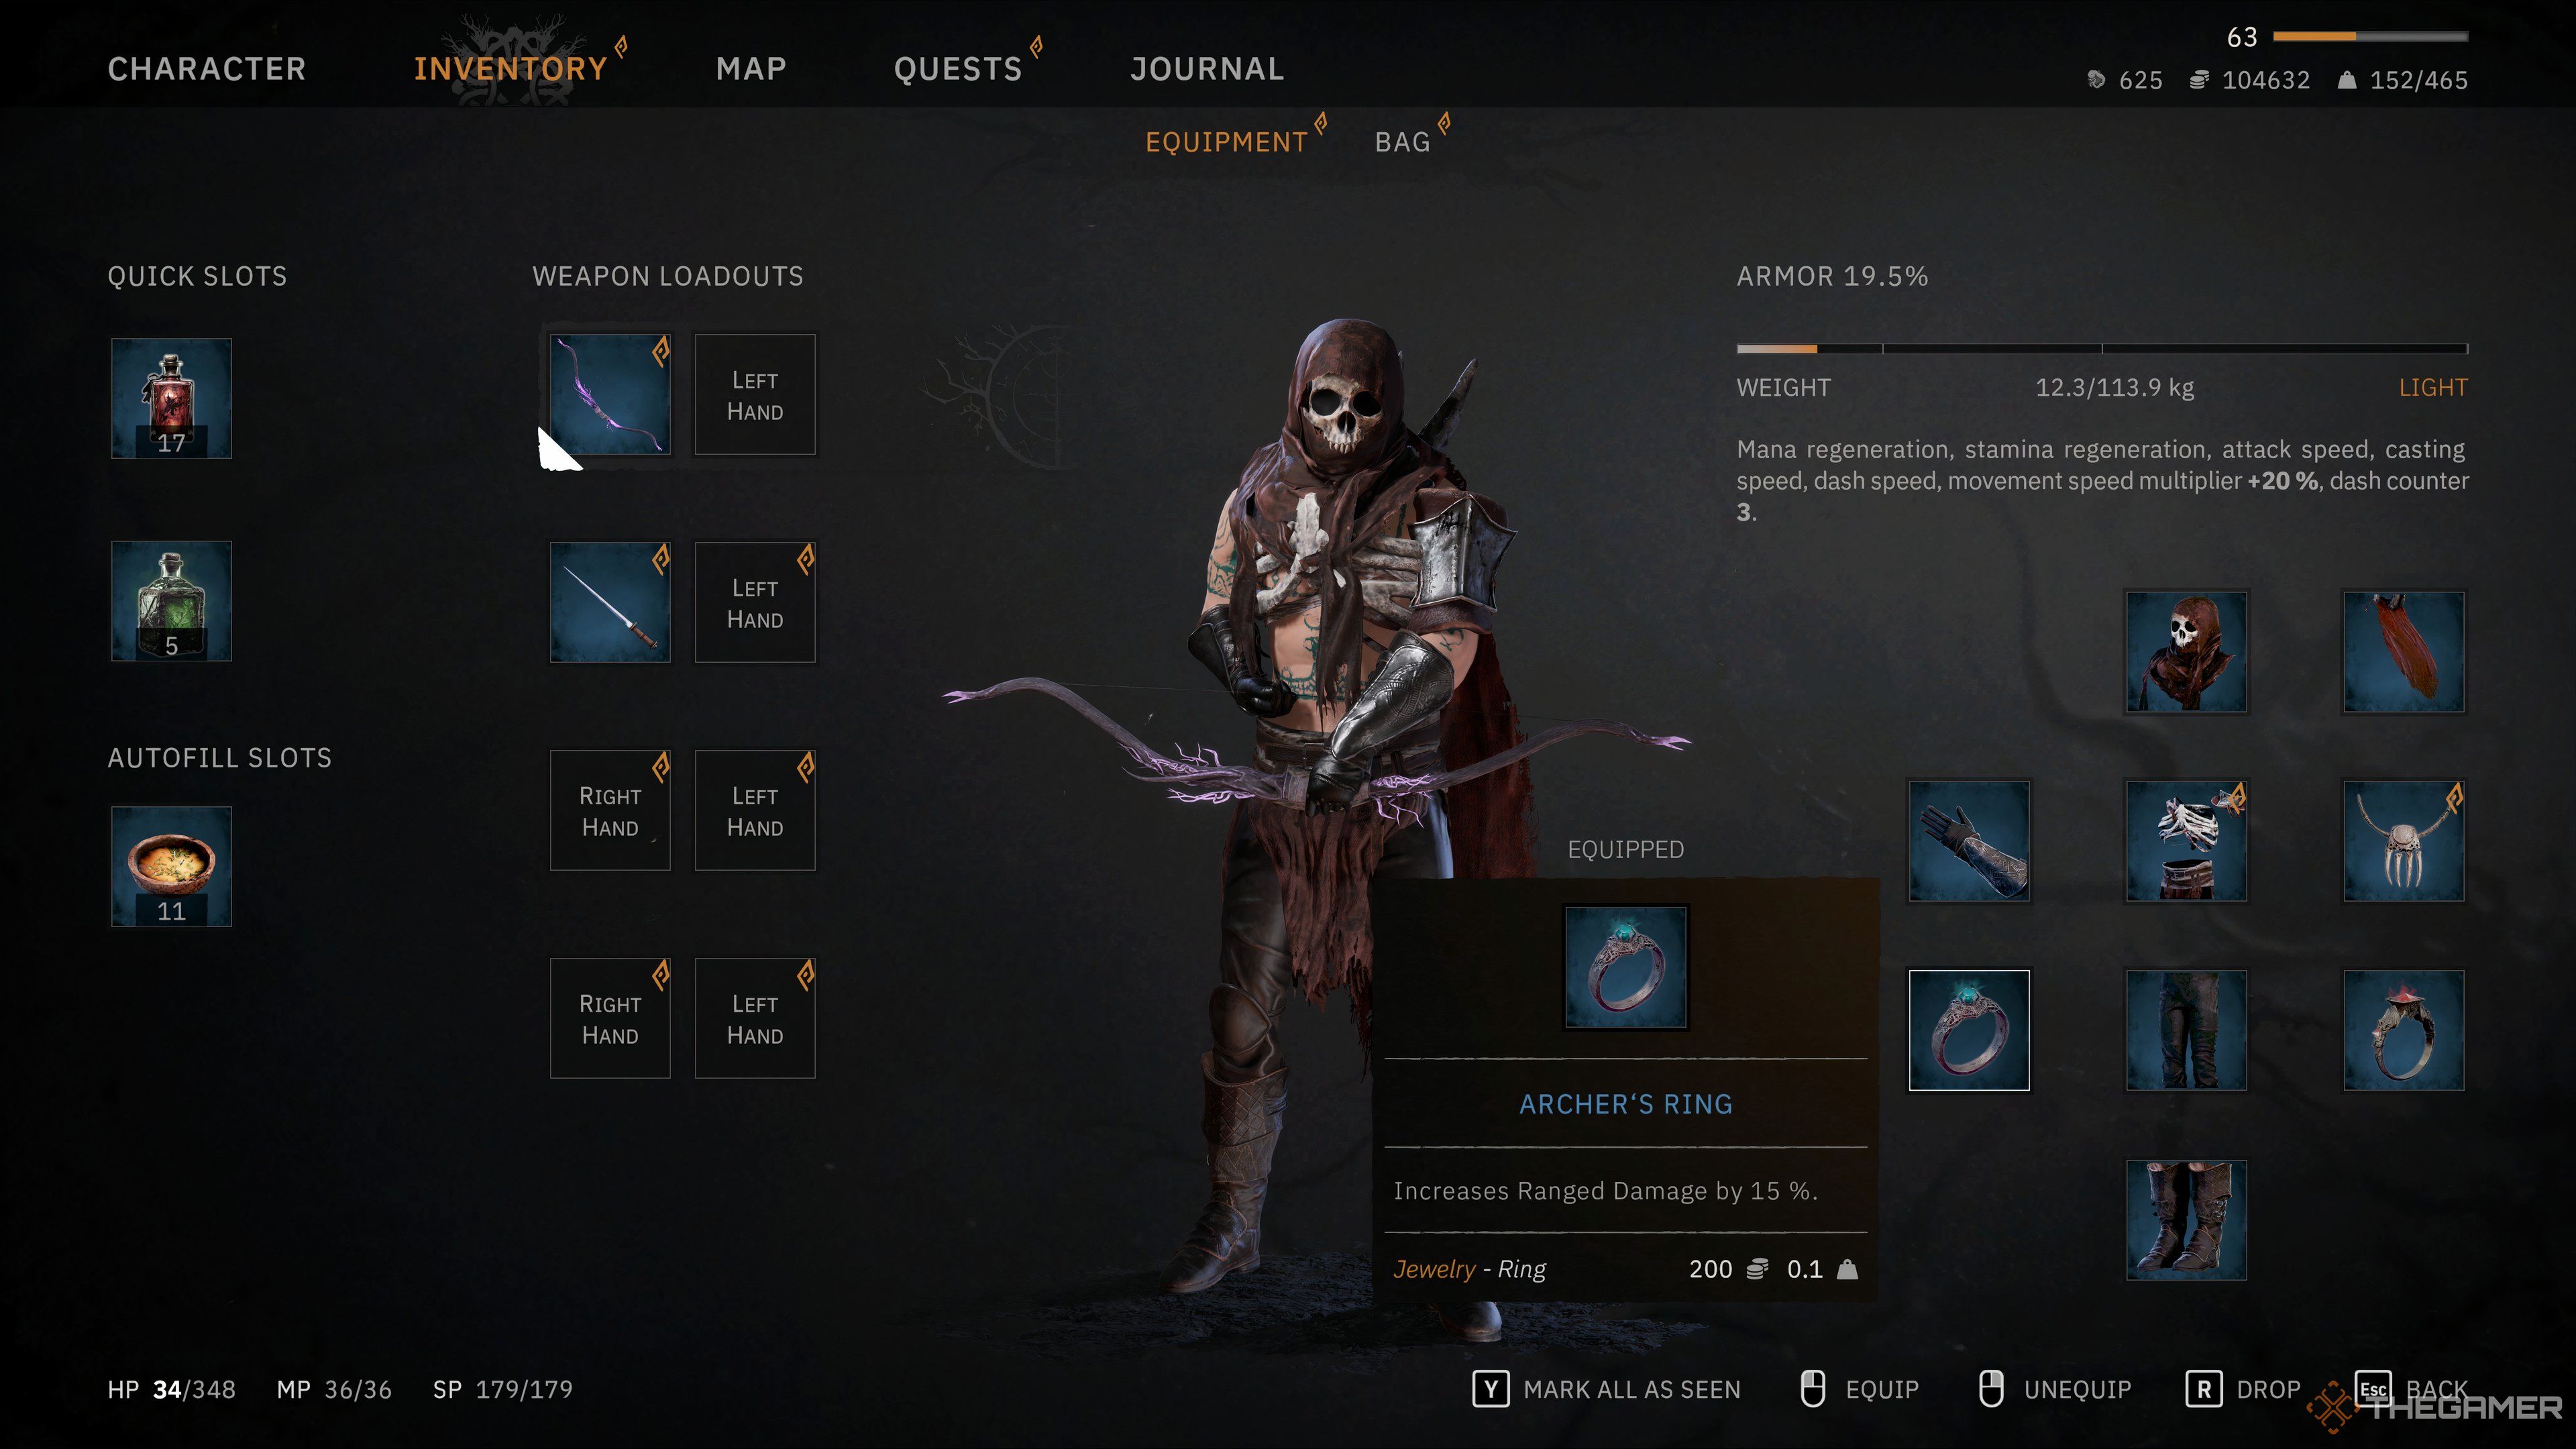
For jewelry and relics, prioritize draw speed, critical damage, and sustainability. Start with the Perilous Orb, a ring that reduces bow draw time, obtainable in a ruined chest in Ruined Broch. Another strong option is the Archer’s Ring, enhancing ranged critical hits, which you can find on a shipwreck off the coast of Asylum Island.
If you miss out on that ring, the Ring of Toughness is a worthy alternative, automatically awarded upon leaving the Asylum. It helps manage your encumbrance and stamina while your stats develop.
A rare but powerful ring is the Marksman’s Treasure, which boosts ranged critical chance by 25%.
For amulets early in the game, Kol’s Finger Necklace provides solid bonuses for mana and draw speed. Later, you can upgrade to the Arcane Weaver’s Prisma, which regenerates two mana per second to sustain the Rapid Shooter’s Mixture potion. This combination ensures your build maintains consistent rapid-fire uptime without relying heavily on consumables.
Regarding relics, the Starborn Egg offers a 10% boost to weapon damage overall and can be found in a hidden chest situated within the Ancient Cave. It’s one of the simplest ways to boost your damage output. Another solid choice is the Blood-Tainted Shell, which restores ten HP after every kill. This relic is dropped by a boss deep in the Blood Lake dungeon and is useful for surviving tougher encounters without frequently using potions.