Select Language:
Sure! Here’s a unique rewrite of the content in American English:
Navigating the Frozen Wasteland in Lies of P: Overture
As you journey through Lies Of P: Overture, you’ll encounter icy expanses as you traverse deserted ships. Expect to battle mutated fish, soldier puppets, and ruthless alchemists.
This guide will assist you in exploring various sections, primarily focusing on the fifth chapter of Lies Of P: Overture. There’s a wealth of loot to uncover, formidable minibosses to face, and one of the game’s most challenging levels awaits you. Let’s navigate it all together!
Discoverable Items in the Archon Fleet Shipwrecks Area
This guide goes beyond just the Archon Fleet Shipwrecks; we’ll navigate from the Sea Caves Stargazer all the way to the Lighthouse area. With plenty to explore, there are numerous items waiting to be collected.
| All Discoverable Items | |
|---|---|
| Documents | Letter to Family, Correspondence from Beyond the Sea, Madman’s Journal, The Order Alidoro Poster, Alchemist’s Orders, Mad Puppet’s Message, Mayor’s Journal |
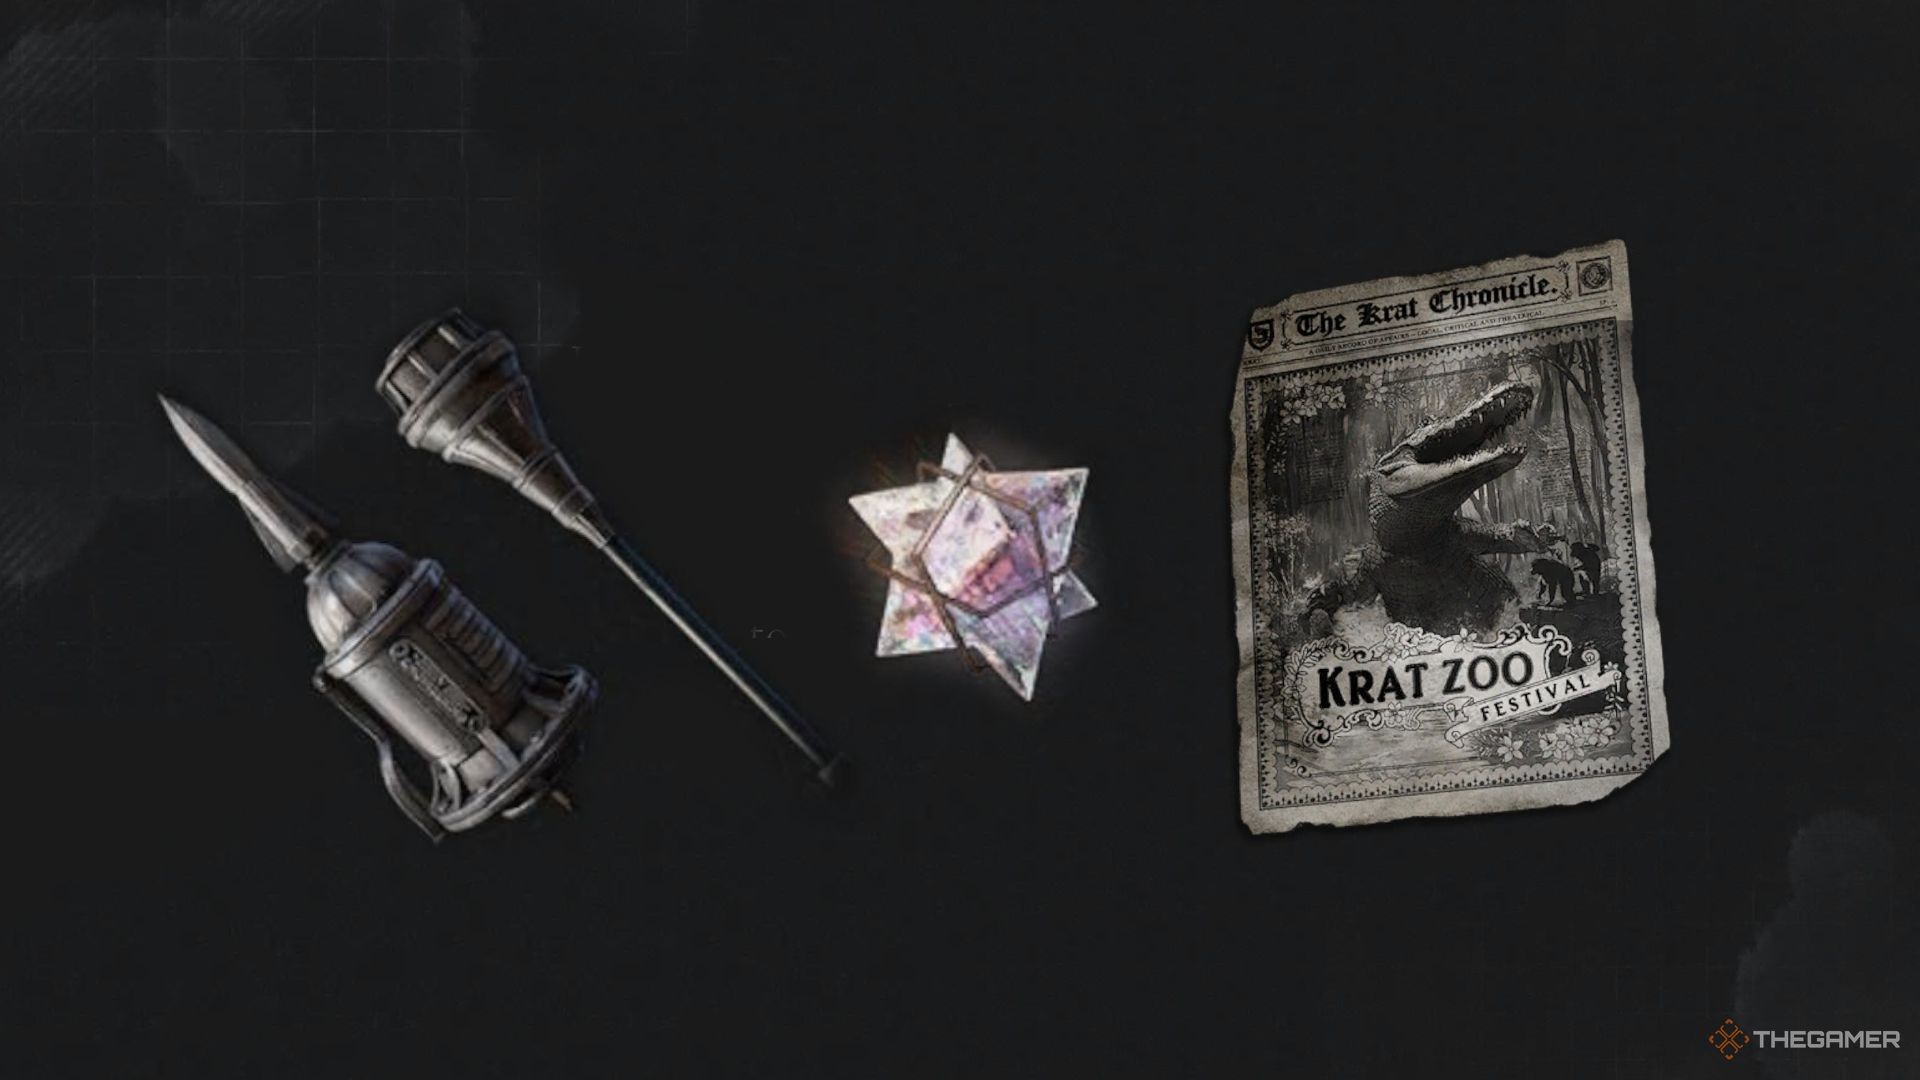
| Items | Fable Catalyst, Ancient Disk, Resplendent Ergo Chunk, Dim Ergo Crystal, Empty Painkiller Bottle, Attribute Purification Ampoule, Advance Crank, Acid Abrasive, Legion Magazine, Gemini’s Iron Protection, Star Fragment, Crescent Moonstone, Dark Moon Moonstone of the Covenant, Cluster Grenade, Vivid Ergo Crystal, and more. |
| Equipment | Frenzied Amulet +1, Silent Evangelist’s Mace Head, Silent Evangelist’s Mace Handle |
Sea Caves Stargazer
Starting in the Sea Caves, proceed forward until you reach a drop to a lower level. Drop down and claim the Fable Catalyst. Continue to the base level where you’ll face a miner puppet, followed by a soldier puppet. You’ll encounter these soldier puppets first in the DLC; they evade attacks and fire twice but can easily be overpowered if approached aggressively.
Tip: Some soldier puppets will unsheathe their sword if you get close. Parry their two-hit spinning sword combo to break their weapon.
In the next section, you’ll encounter a miner ahead, a dog to your left, and another miner on your right, with a boulder-throwing robot above. Lure the miners away from the boulder-thrower and eliminate it first. Once the robot is down, take care of the dog and grab the Fable Catalyst. Now, you’ll have three possible paths; let’s go up the ramp on the right.
Caution: Dogs may self-destruct when they glow. If you see this, sprint away!
Continuing, you’ll confront a soldier before crossing a bridge leading to a Sawblade Robot Miniboss. Reminiscent opponents from the main campaign, they have a couple of attack patterns to look out for:
- A forward dash that requires a quick block to parry.
- A side-to-side swipe with their sawblade arms in alternating sequences.
This miniboss deals significant damage but tends to stay behind the bridge. Use this to your advantage to regroup and heal when necessary. After defeating it, check the chest on the other side of the bridge to claim an Ancient Disk.
Turning back, head to the area where you first fought the miner. This time, go left. You’ll be ambushed by a dog above. After that, proceed up the ramp, defeat the miner, and claim the Resplendent Ergo Chunk. The pathway below is guarded by a landmine-planting miniboss.
This robot has the same attack moveset as the one from the mine shaft. Stay clear of its land mines and counterattack when it lunges. Defeating it rewards you with a Dim Ergo Crystal and an Empty Painkiller Bottle before moving on to the next Stargazer.
Archon Fleet Shipwrecks Stargazer
Next to the stargazer is a merchant selling useful items like Anti-Freeze Ampoules and various enhancement ampoules. If you have enough Ergo, the Miraculous Enhancement and Recovery Ampoules are essential to keep on hand.
Continue forward onto the frozen lake and find an Attribute Purification Ampoule behind a wheelbarrow. Inside the ship, you’ll face an alchemist with an extendable cane; familiarize yourself with his attacks since you’ll encounter many like him. Take him down and gather the Advance Crank. Proceed to the back room to collect the Frenzied Amulet +1 before heading to the second floor.
On the second floor, you’ll find a soldier patrolling, while another soldier bursts through a door on the left. In the adjacent room, there’s an Acid Abrasive. After disposing of a cane-using alchemist, don’t forget to grab the Letter to Family left behind.
Jump down into the adjoining room for a quick grab of the Legion Magazine. Enter the main corridor to fight another cane-wielding alchemist. A soldier will attack if you get too close, so be prepared. Search the room from which the soldier came to find a Resplendent Ergo Chunk.
Leaving the destroyed ship, you’ll deal with projectile-throwing mutants and mutated fish that might beach themselves to attack. Clear these out before sprinting across a bridge to face a soldier. Watch for another soldier leaping out of the water. After they’re dispatched, collect Gemini’s Iron Protection waiting near some boxes.
Tip: Puppets and mutants often fight each other, so you can watch from a safe distance to pick off the survivors.
Head into the marooned ship and search for a Correspondence from Beyond the Sea. Take caution when attacking the alchemist inside, as a soldier puppet nearby will shoot you if you aren’t careful. After both are dealt with, progress to unlock the next stargazer, but let’s circle back for more items.
Next, descend the ship’s stairs. You’ll confront a quick, knife-wielding alchemist—stay back and only attack after their flurry of strikes. Proceed carefully through partly frozen waters, but be wary of cracking ice that indicates its impending collapse. Gather more items as you navigate through mutated fish and soldier puppets until reaching a new ship, where you’ll face another alchemist miniboss, this time armed with bladed gauntlets.
How to Defeat the Alchemist Miniboss with Bladed Gauntlets
This opponent moves quickly and can be tricky. Here are some effective strategies:
- Look out for a series of alternating hooks. After four light hooks, he’ll follow with a powerful one, which is easy to parry.
- He also employs a quick three-hit combo followed by a heavier fourth hit you can parry to stagger him.
- He may leap towards you in a powerful attack, which tracks your movement.
Using faster weapons allows you to strike effectively during openings in his attacks. Once you defeat him, you’ll receive a Dark Moon Moonstone of the Covenant and a Special Resistance Ampoule. Open the nearby safe for a Frosted Cipher Machine, then climb over the mast to encounter the next stargazer before facing off against Lumacchio, the boss.
Shipwreck Interior Stargazer
After the boss, activate the next Stargazer in the flooded hold, where you’ll find zombie pairs and projectile-throwing mutations ready to ambush. Among the loot, you’ll find items such as a Legion Magazine and a Dark Moon Moonstone of the Covenant.
Ascend the stairs and loot a Grindstone Coating Capsule along with other items. As you exit through the ship’s side, be prepared for cannon fire from a nearby ship. Use cover wisely, and defeat two freezing monsters while keeping an eye out for mutated fish that might leap from the water.
Near an old wagon, another corpse will spring to life if approached. Defeat it to secure a Special Resistance Ampoule. Continue onward to retrieve a Dim Ergo Crystal, but pay attention to the ice’s stability as you cross. After a skirmish with frozen monsters and zombies, you’ll confront another dangerous miniboss wielding bladed gauntlets.
Defeating this miniboss yields more rewards, leading you further into the icy depths.
Feel free to ask if you need any more help!