Select Language:
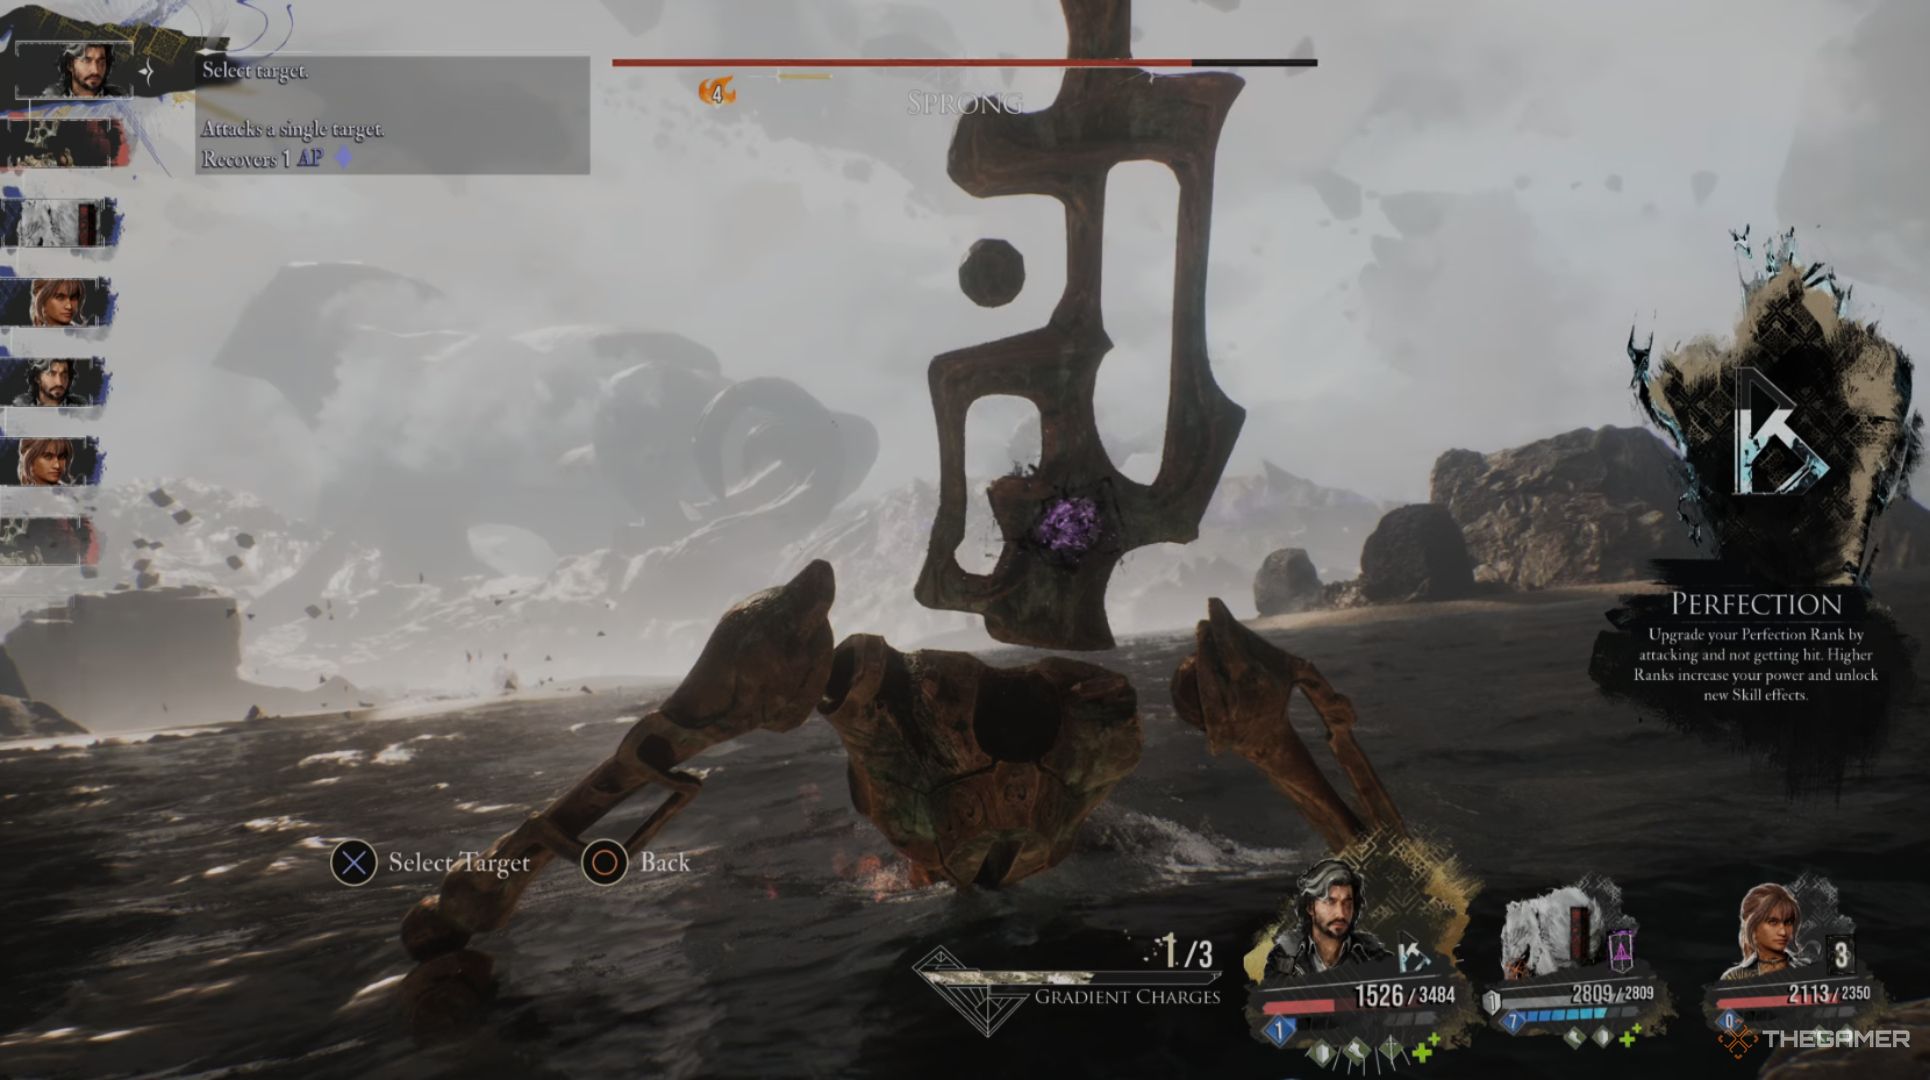
As you navigate the waters of the Continent in Clair Obscur: Expedition 33, you may encounter a massive Nevron standing waist-deep in the ocean. This creature is named Sprong, one of the earliest Nevrons ever created, and its enormous size makes it extremely hazardous. Engaging Sprong during your first encounter is likely to lead to your defeat.
While it might be tempting to challenge Sprong early on, it’s wiser to return much later in your journey—preferably in Act 3—when you and your team have access to all your abilities and fully upgraded weaponry.
Sprong’s Attack Pattern
Unlike many foes in Clair Obscur, Sprong follows a set attack pattern that repeats a sequence of five moves throughout the battle. The game even helps you by numbering these stages, so you’ll always know where you are in Sprong’s sequence.
All Stages
| Stage | Description | Attack |
|---|---|---|
|
One |
Sprong strikes the Expedition. |
Sprong delivers a single, powerful overhead smash affecting the entire party. |
|
Two |
Sprong sabotages the Expedition. |
Sprong launches three shots in a rhythmic sequence, waiting briefly before firing a fourth at random single targets, inflicting Dark damage and the Exhausted status. You can parry as each shot finishes charging to counter. |
|
Three |
Sprong performs a five-hit combo. |
Sprong strikes the entire party with three quick attacks, followed by two slower ones. |
|
Four |
Sprong charges its Extermination Boom. |
No immediate effect; Sprong starts preparing for its next attack. |
|
Five |
Sprong unleashes its Extermination Boom. |
Sprong fires two beams at the entire party, causing Dark damage. Parry as each shot finishes charging to counter. |
Sprong’s initial attack is the most potent strike, but its combos can quickly deplete your team’s health if you miss too many parries. The Exhaust status from Stage Two can hinder your ability to accumulate AP for Skills, so be prepared to use Skills like Healing Light to counter this effect when necessary.
Take advantage of the pause in Stage Four to heal and prepare for the next cycle. If you start reviving fallen allies and reapplying buffs immediately after the Stage Three combo, you should have enough time to launch a few attacks before the Extermination Boom strikes.
Optimal Party Setup for Battling Sprong
Confronting Sprong is all about endurance. If your team can withstand its offensive, you’ll wear it down over time. The key is to ensure your party can absorb a few hits when parries fail.
Don’t attempt to take on Sprong until your team reaches around Level 65 and has weapons upgraded to at least Level 25. You likely won’t be ready until Act 3.
Buff Skills such as Maelle’s Guard Up or Monoco’s Troubadour Trumpet can provide Shell to the entire team, enhancing Defense (though the former is generally more reliable). Assign the character with the buff Powerful On Shell to further boost the team’s attack. You can significantly improve your survival chances by equipping Pictos that enhance Defense and Health, particularly for characters with weapons that favor Agility, Defense, or Vitality.
A clever strategy to endure against Sprong is to equip a low-Health character with the Pictos or Lumina for Protecting Death. While they might fall when you miss a parry, their sacrifice will grant Shields to the rest of your team, providing protection from subsequent attacks in the combo.
If your team lacks characters with Skills to remove Status Effects, ensure everyone has Cleansing Tint to counteract Exhaust by utilizing a Healing Tint. Though some builds, such as Verso’s Corpeso Burn Combo, can defeat Sprong using just Basic Attacks, you’ll want to leverage your Skills in any ordinary confrontation unless you’re specifically configured to play that way.
Lastly, Augmented Counter is a solid choice for this fight, as Sprong’s sequences are relatively short. It may take a while to master the timing, but once you get it down, you can deal much greater damage through counterattacks than regular turns.