Select Language:
The Siege Part 2, as its title indicates, is the continuation of the siege saga in Doom: The Dark Ages. In this chapter, you’ll be battling your way through the stronghold, eliminating demons in their sacred surroundings, while uncovering hidden treasures along the way. Unlike the sprawling battlefield you previously navigated, this level is more straightforward, though you might find yourself backtracking occasionally.
This stage is shorter than the last, but it features several points of no return. Make sure to gather all items before proceeding to each new area. No need to fret—this guide will provide ample warnings and lead you directly to every secret!
|
Secrets |
9 ADVERTISEMENT |
|---|---|
|
Gold |
183 |
|
Rubies |
2 |
|
Demonic Essence – Armor |
1 ADVERTISEMENT |
|
Codex |
1 |
|
Toy |
1 |
The First Life Sigil
Your journey begins in the courtyard with a turret section. After defeating the enemies, head to the corpse of the Titan demon and take a left. You’ll find a climbable wall in the corner. Breaking through a boarded entrance will lead to a Mancubus that you must defeat. After that, perform a Shield Charge on the large block to move it across the room.
Do not follow that block! Instead, break through the plank wall that’s behind the large block and enter the secret room. Once you defeat the Hell Knight, gather the gold and a Life Sigil.
The First Treasure Chest

After clearing the Secret Area, climb the box you pushed and up the wall. Don’t go straight ahead; look up instead. You’ll find another climbable wall nearby. Scale it to reach the treasure chest. Then, drop down onto the Arachnotron and hit the nearby switch.
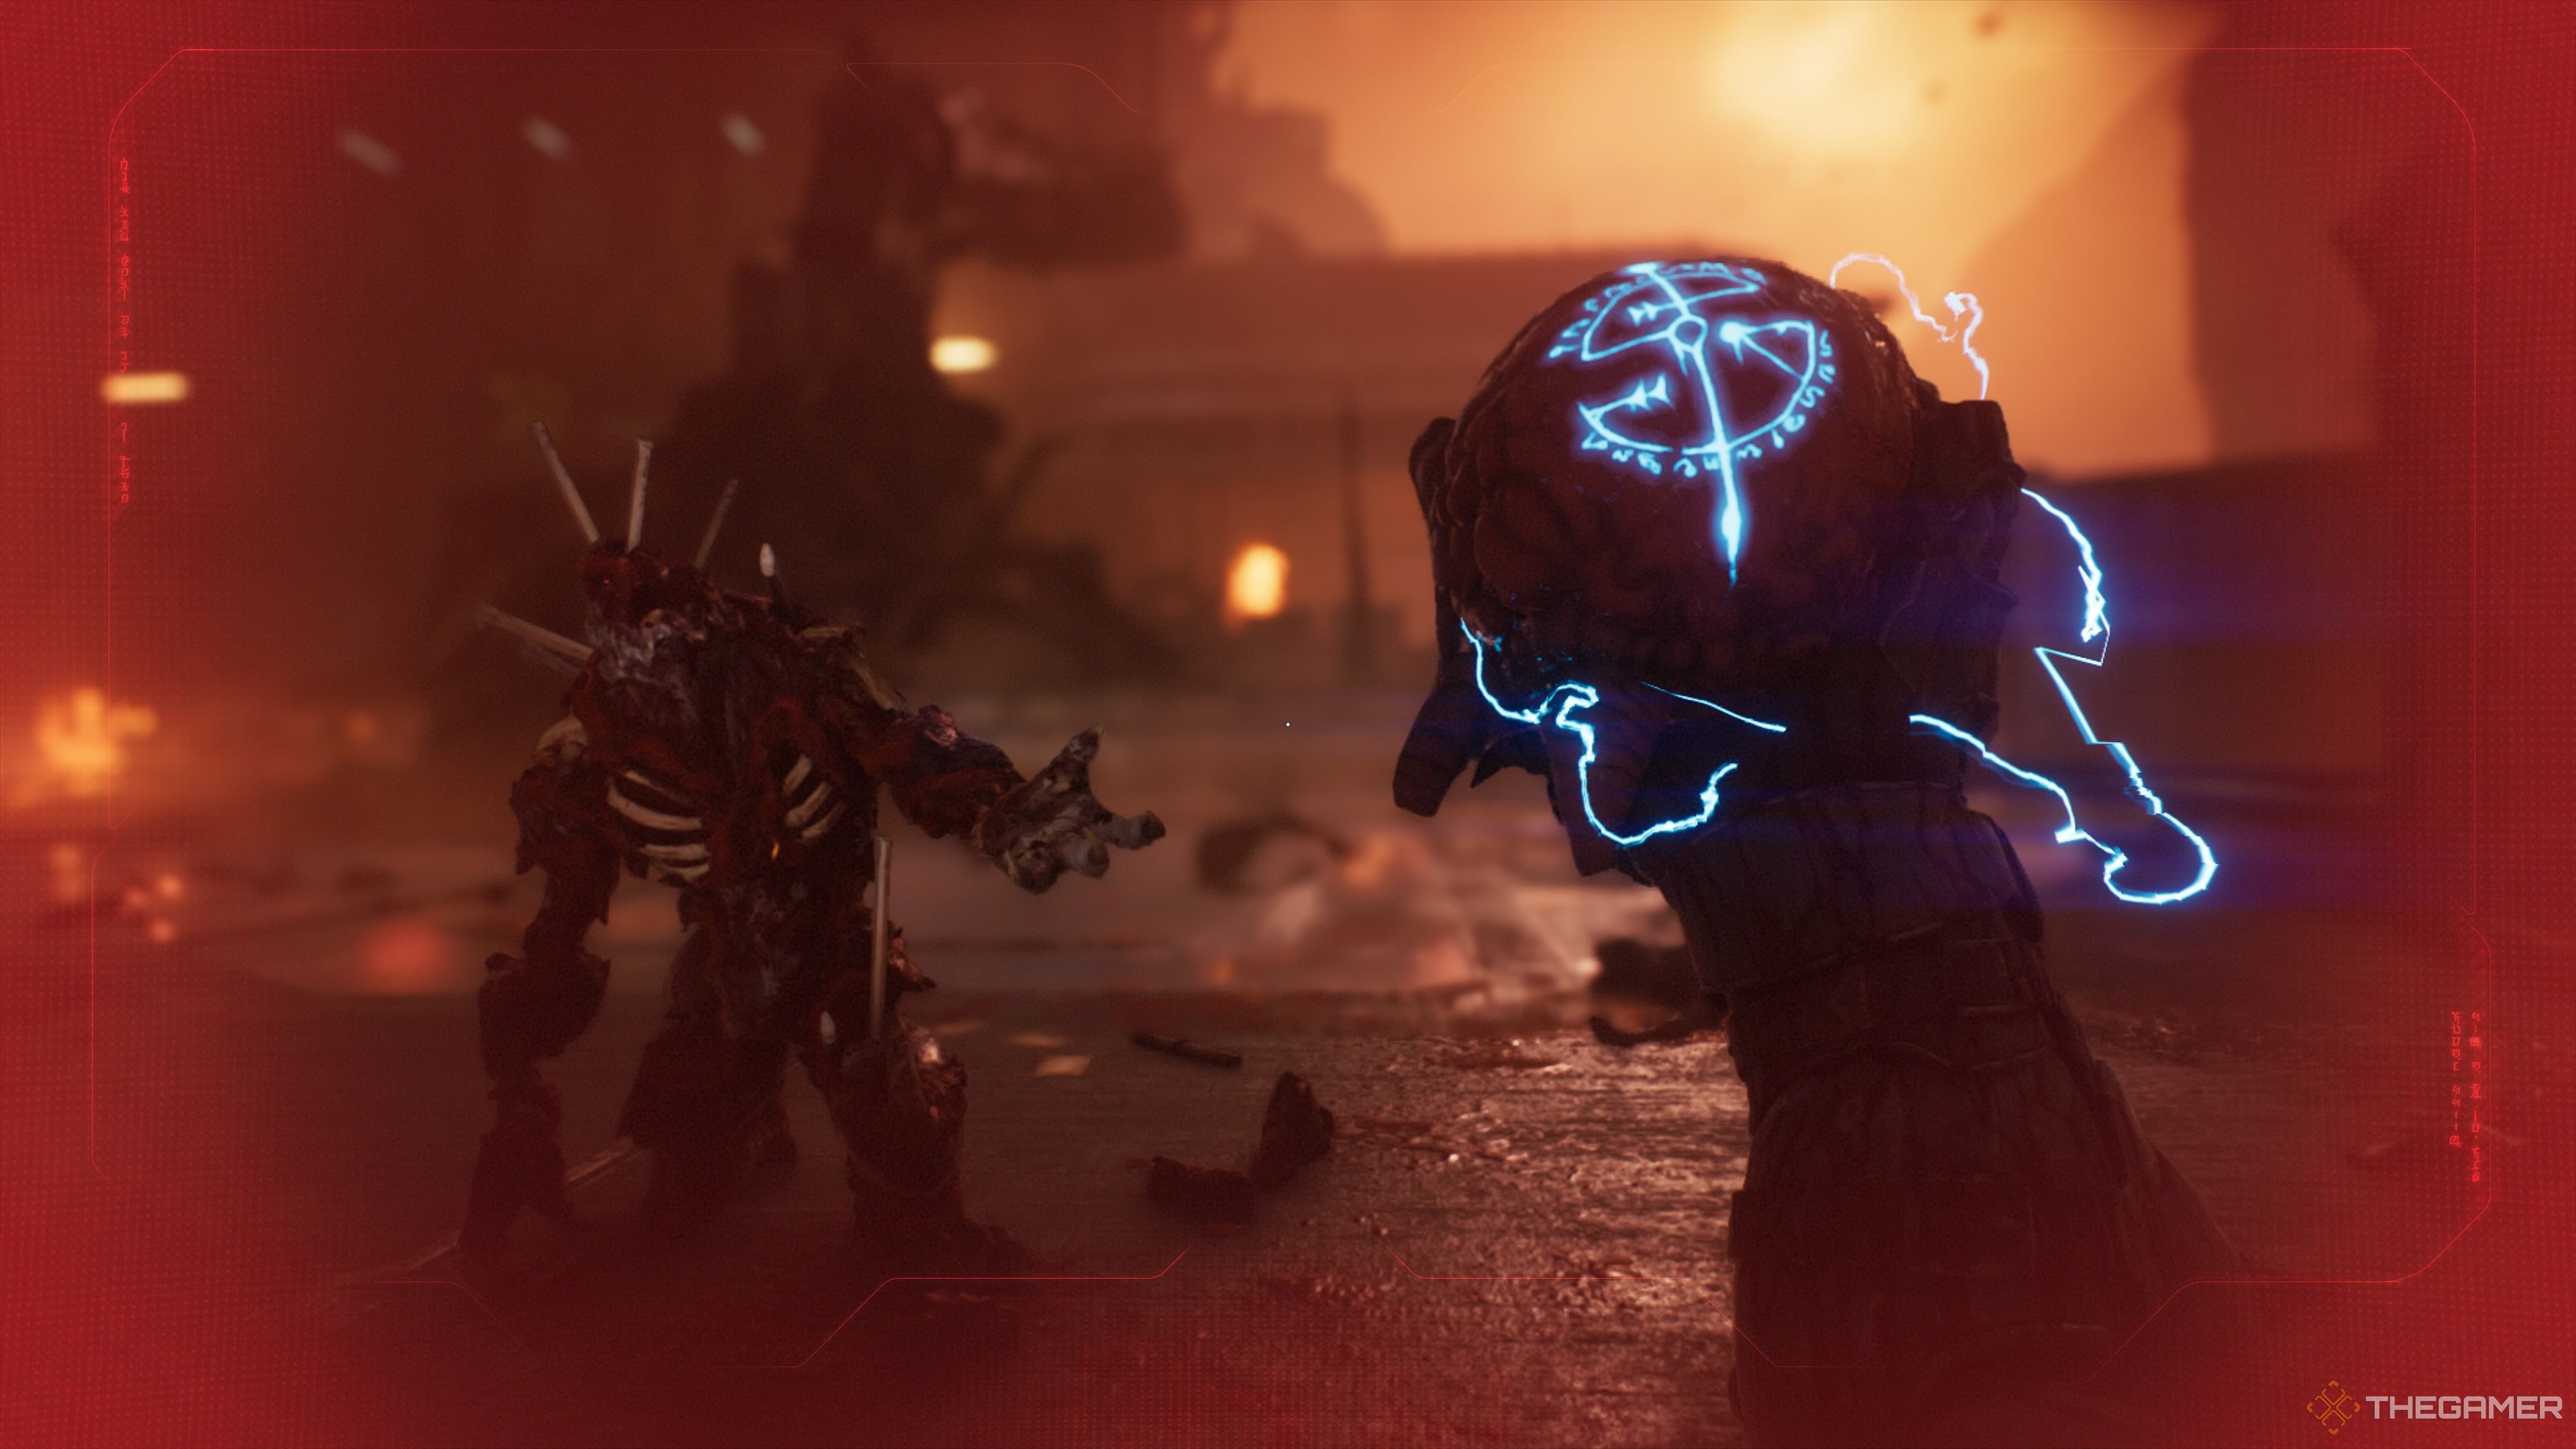
The Revenant

After crossing the courtyard, you’ll encounter a new enemy: the Revenant. These foes will shoot a barrage of skulls at you while trying to maintain their distance. Use your shield charge ability to close the gap. Rush in and defeat them with a combination of charges and melee attacks.
Tons of Gold 
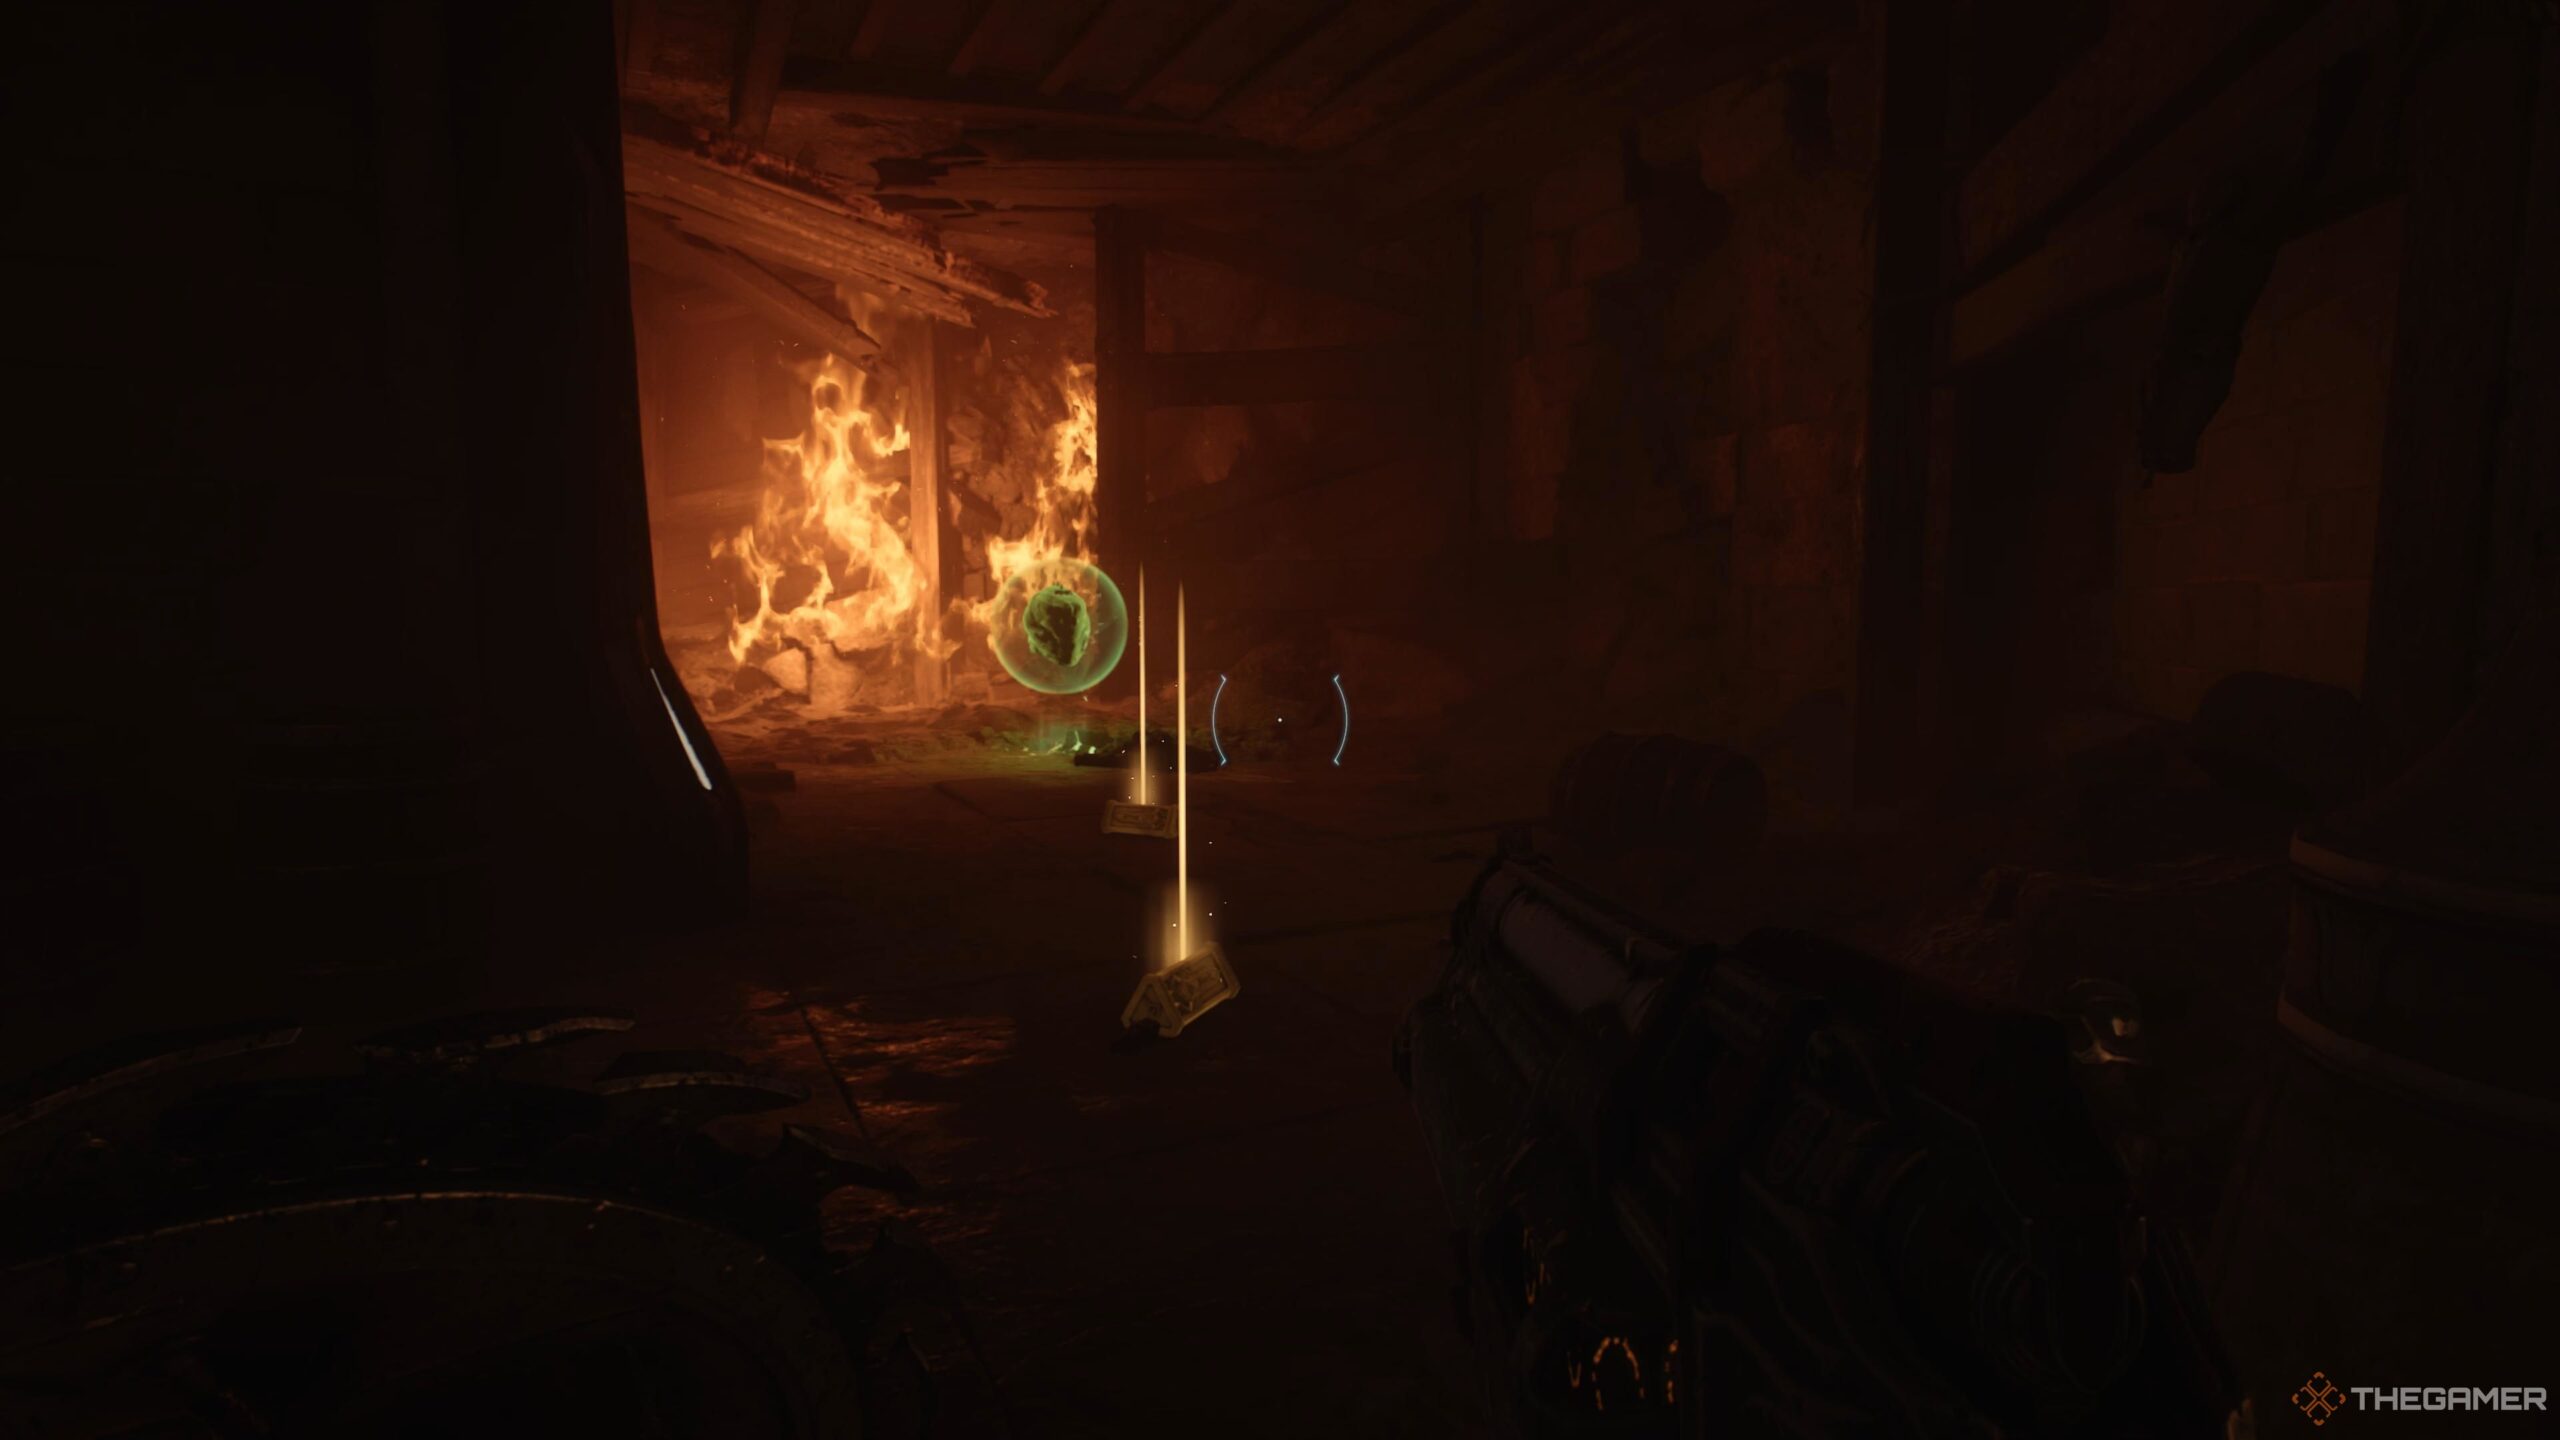
After eliminating the Revenant (and a few Imp Stalkers along with a Mancubus), look up and sever the chain with your shield. Now, climb the wall in the room’s corner and up the wall you dropped down from. Once done, gather the pile of gold in the back room, but watch out—you’ll need to defeat the Imp Stalker in this area. Follow the gold trail around the room’s edge. But don’t leave yet, as there’s a toy to find!
After this room, you will drop down to the next part of the level. There’s no turning back without restarting the mission.
The Pinky Rider Toy
Instead, jump back to the platform under the round window. Then, make a running jump to the corner platform (near the collapsed wall). Break through the blocked doorway and drop down into the area below. Make your way around, gathering gold, and collect the Pinky Rider toy. Once you have it, return the way you came and proceed to the next part of the level.
The Second Life Sigil

After dropping down and defeating the stalkers, you’ll reach a room filled with locked doors (which you can’t access yet) and a Pinky Rider Leader alongside two empowered Imp Stalkers. After clearing them out, you’ll find yourself in a small room with several Hell Knights and Mancubus enemies. Once defeated, make sure to grab the Life Sigil in the back corner, then head up the stairs.
The Location of the Secret Key
You’ll encounter an Arachnotron as you ascend to the second floor. After that, you’ll face a Revenant and some other lesser foes. In the back dining area, turn to your right. Shield Charge through the boarded-up doorway, eliminate the Nightmare Stalker, collect the gold, and leap onto the launch pad to access the other side of the stage. You’ll finally obtain the Secret Key!
The Booby-Trapped Gold Room

In the back room, you’ll face another Arachnotron protected by several Shield Soldiers. Toss your shield at them to dispatch them quickly, then engage the arachnid. Collect the gold present and cut the chain. However, don’t go through the gate that the chain was holding—turn around and jump into the room below instead. You’ll land in an area filled with gold and health items.
Returning to the main room, you’ll see gold piled in the corner, but beware—the gates will close once you enter this area, trapping you with a few Imp Stalkers and a Hell Knight along with a fire trap ready to singe you.
The First Ruby 
Next, head to the gate that can be opened with the Secret Key in the center of this area. Inside, you can find a ruby, but be prepared—as a Mancubus will attack you. Although you can climb the wall at the top of the stairs to get back to the second floor, leave this room the same way you entered and then take a right.
The Codex
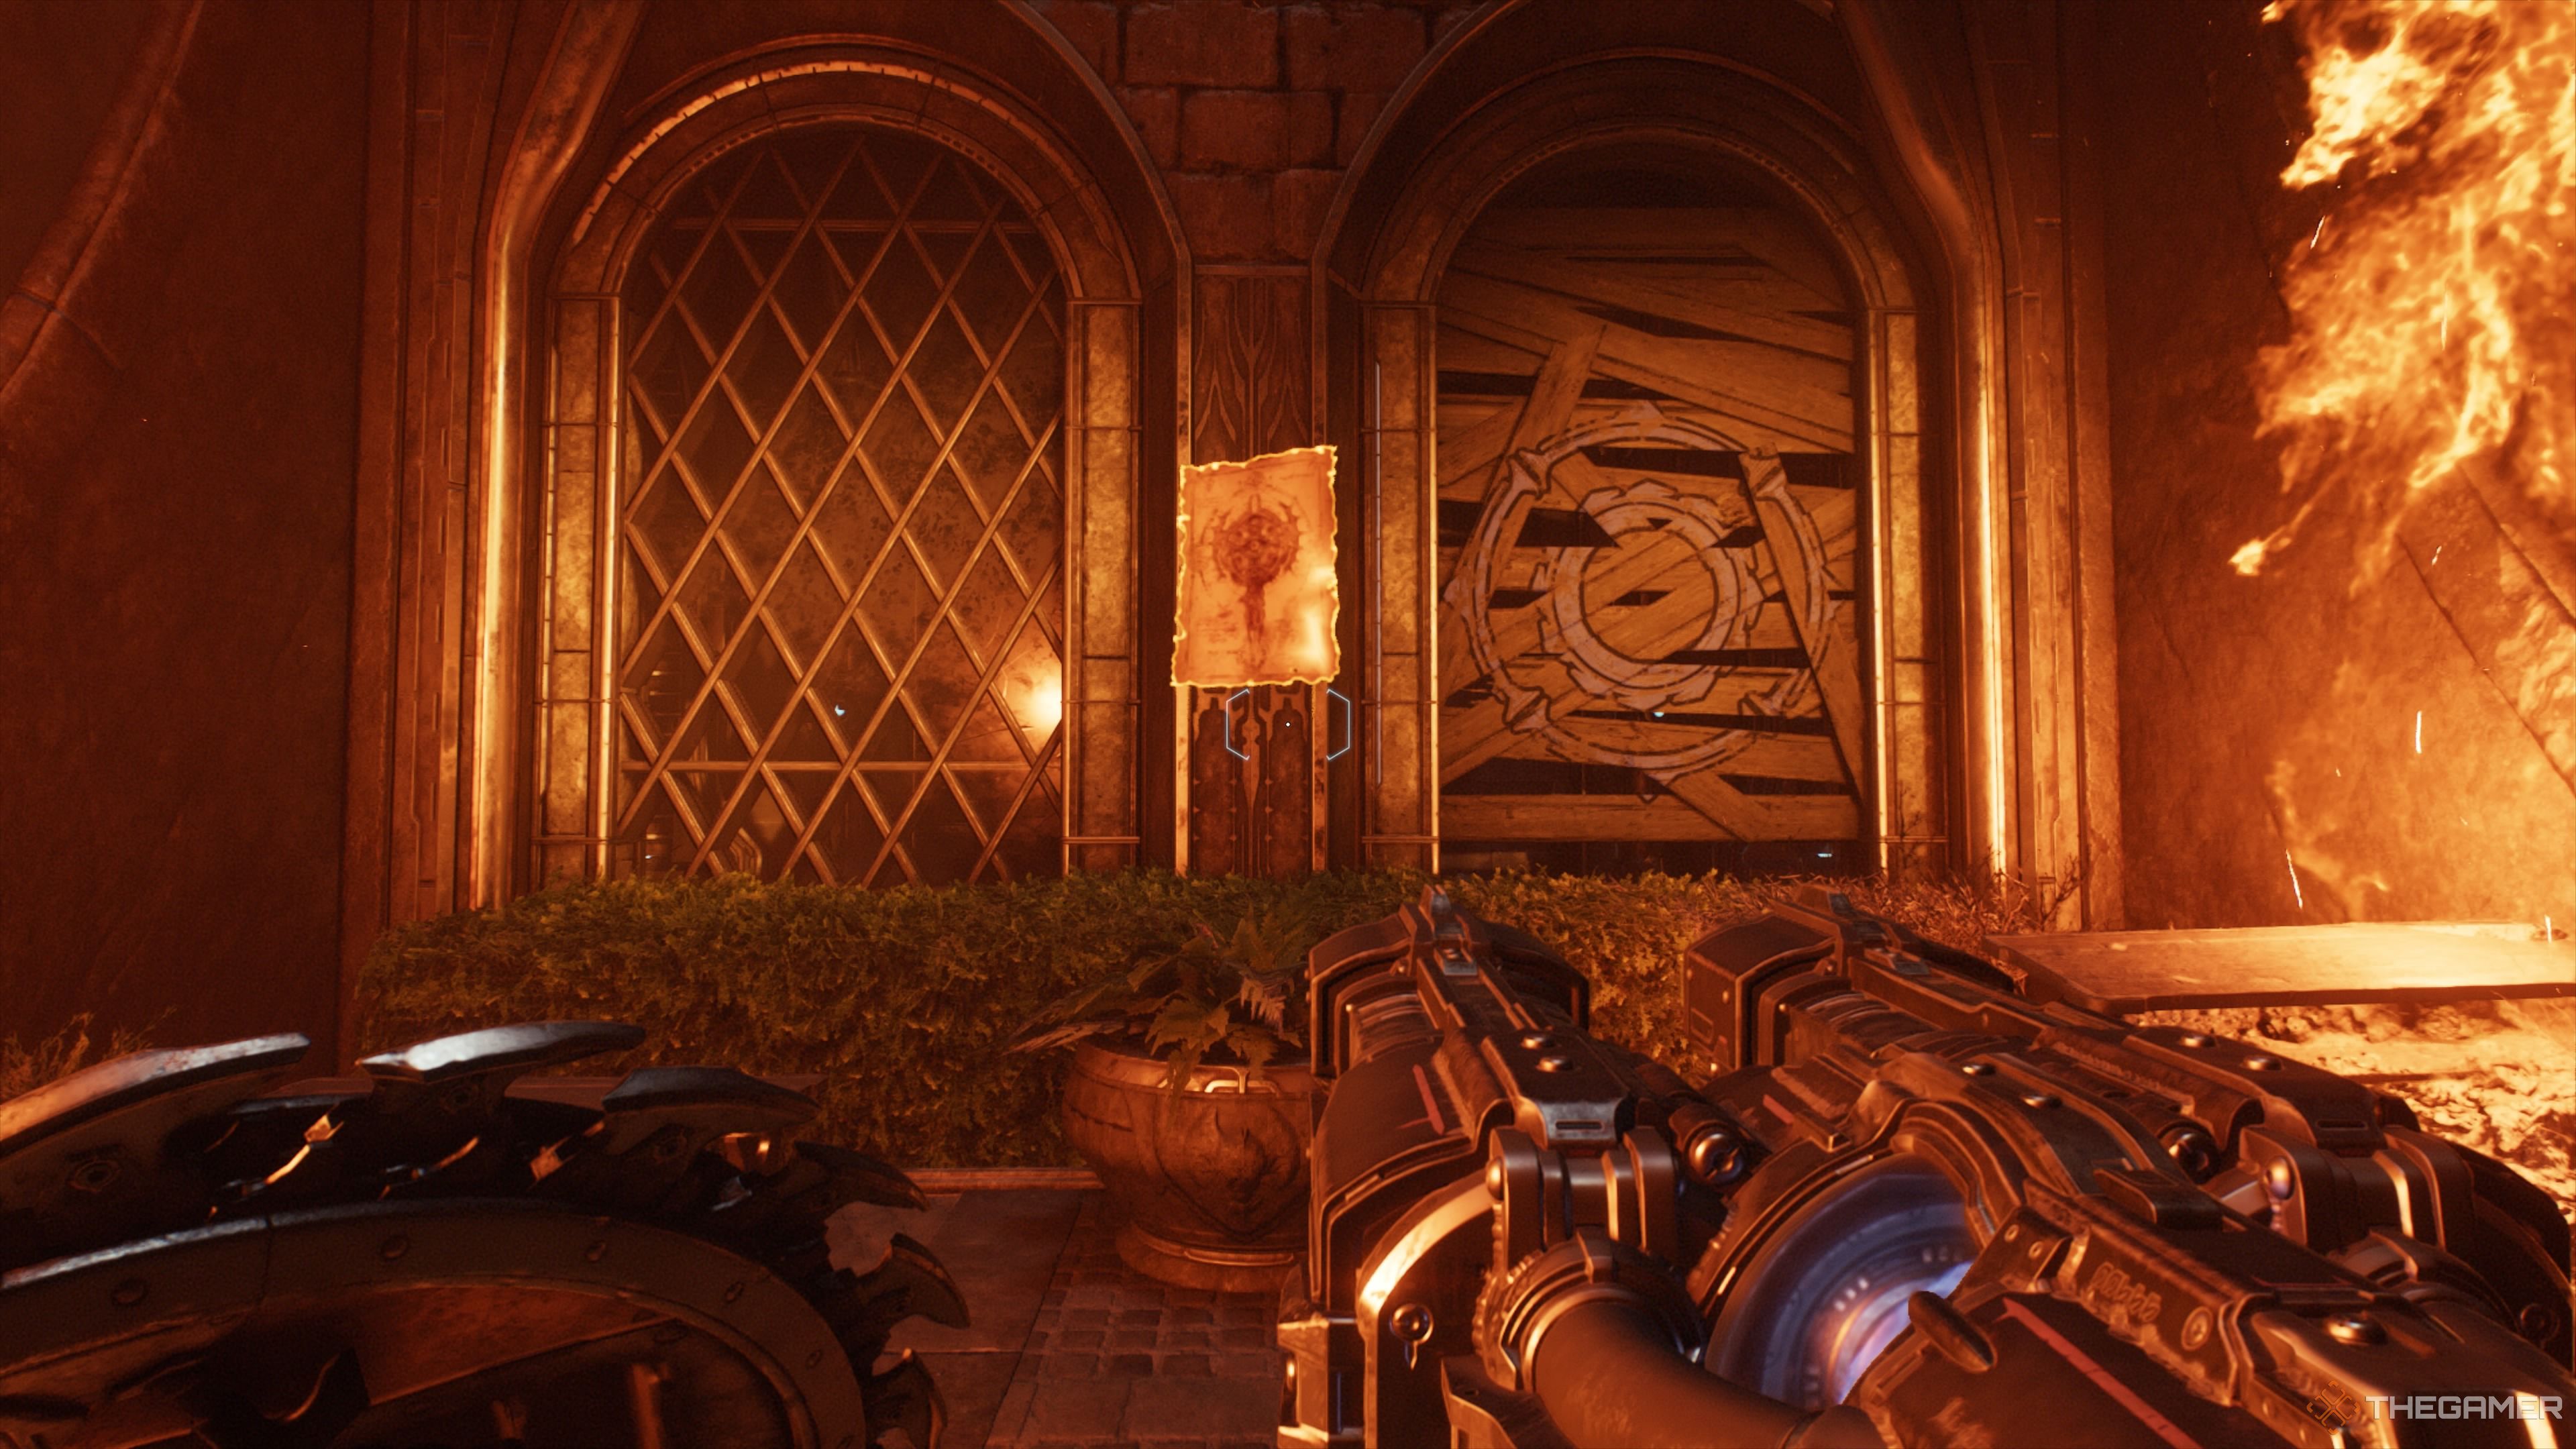
In the corner of this area, you’ll find another door that can be opened with the Secret Key. Do so, and you’ll discover a treasure path that leads to a codex. Now, make your way back up to the second floor! Advance past that dining room, and you’ll fight through an extended hallway filled with Imps, Pinky Riders, Imp Stalkers, Shield Soldiers, and another Revenant. At the end of this hallway is an elevator, but don’t press the button unless you’re ready to proceed, as this is another point of no return.
The Second Ruby

Prepare for some climbing, leading to a battle against an Arachnotron, Hell Knights, Imp Stalkers, and a Revenant. Once they are defeated, head to the back corner where all the shipping containers are piled. There, you’ll face another Hell Knight. After overcoming it, climb up to retrieve the second ruby.
Barge through the damaged ship. Turn left and leap over the boxes to gather some gold, then drop down into the hull. This is another point of no return, so ensure you’ve collected that ruby!
The Final Treasure Chest and Life Sigil
Once you’ve defeated all enemies in the lower area, climb the wall, sever the chain in the room that’s ablaze, but don’t climb the wall that collapses. Instead, drop down and go into the room beside the climbable wall to obtain a treasure chest. Then, ascend the boxes outside this section and enter through the hole in the wall to discover a Life Sigil.
Demonic Essence
Your final task is to scale the climbable wall and face an overwhelming horde of demons, including Shield Soldiers, Hell Knights, and a Cyberdemon. After taking them down, a Hell Knight Champion will attack. Defeating it will grant you a Demonic Essence that permanently boosts your armor.
If you still have challenges to finish, this battle features many fodder demons, making it an ideal spot to eliminate multiple enemies with a shield throw!