Select Language:
The Interchange hides many of Atomfall’s deepest secrets, with the Robotics Lab being one of the most secure locations. As you might guess, this area is protected by automated turrets, combat bots, and other formidable dangers.
Despite the risks, exploring the Robotics Lab can pay off with valuable supplies like Training Stimulants and ammunition. Additionally, if you’re aiming for every possible ending, visiting this lab is essential for completing Doctor Garrow’s storyline. You’ll find her research notes in her office, and she won’t venture outside the Quarantine Zone without them.
How to Reach the Robotics Lab
The Robotics Lab is located at the bottom of the Interchange, nestled between Data Stores Bravo and Delta. To access it, you’ll need to enter through either Skethermoor or Slatten Dale.
It’s advisable to approach from Skethermoor. To open the Robotics door, Data Store Bravo must be powered. You will need a Signal Redirector, which can be found in either Skethermoor Prison or the Protocol Field Station.
Be prepared for two gun turrets guarding the entrance and two robots patrolling the area—one armed with a machine gun and the other with a flamethrower. You can choose to evade these foes or take them out (defeating them will yield Atomic Batteries for powering other Data Stores). To disable the turrets, move to the sides of the Robotics Lab Door and use the Signal Redirector.
A deceased scientist near the door has a note suggesting that a Signal Redirector is located inside the Robotics Lab. However, this leads to false hopes—the documents you find within the Lab will indicate you return to Skethermoor to obtain one of the two mentioned previously.
Preparing to Enter the Robotics Lab
Before heading to the Robotics Lab, ensure you have the following items:
- A Signal Redirector.
- A rifle, handgun, and shotgun, along with plenty of ammo for each.
- Bandages and crafting materials to create more bandages.
- Burn Salve.
- Painkillers are optional but helpful against machine guns.
How to Get the Control Room Keycard
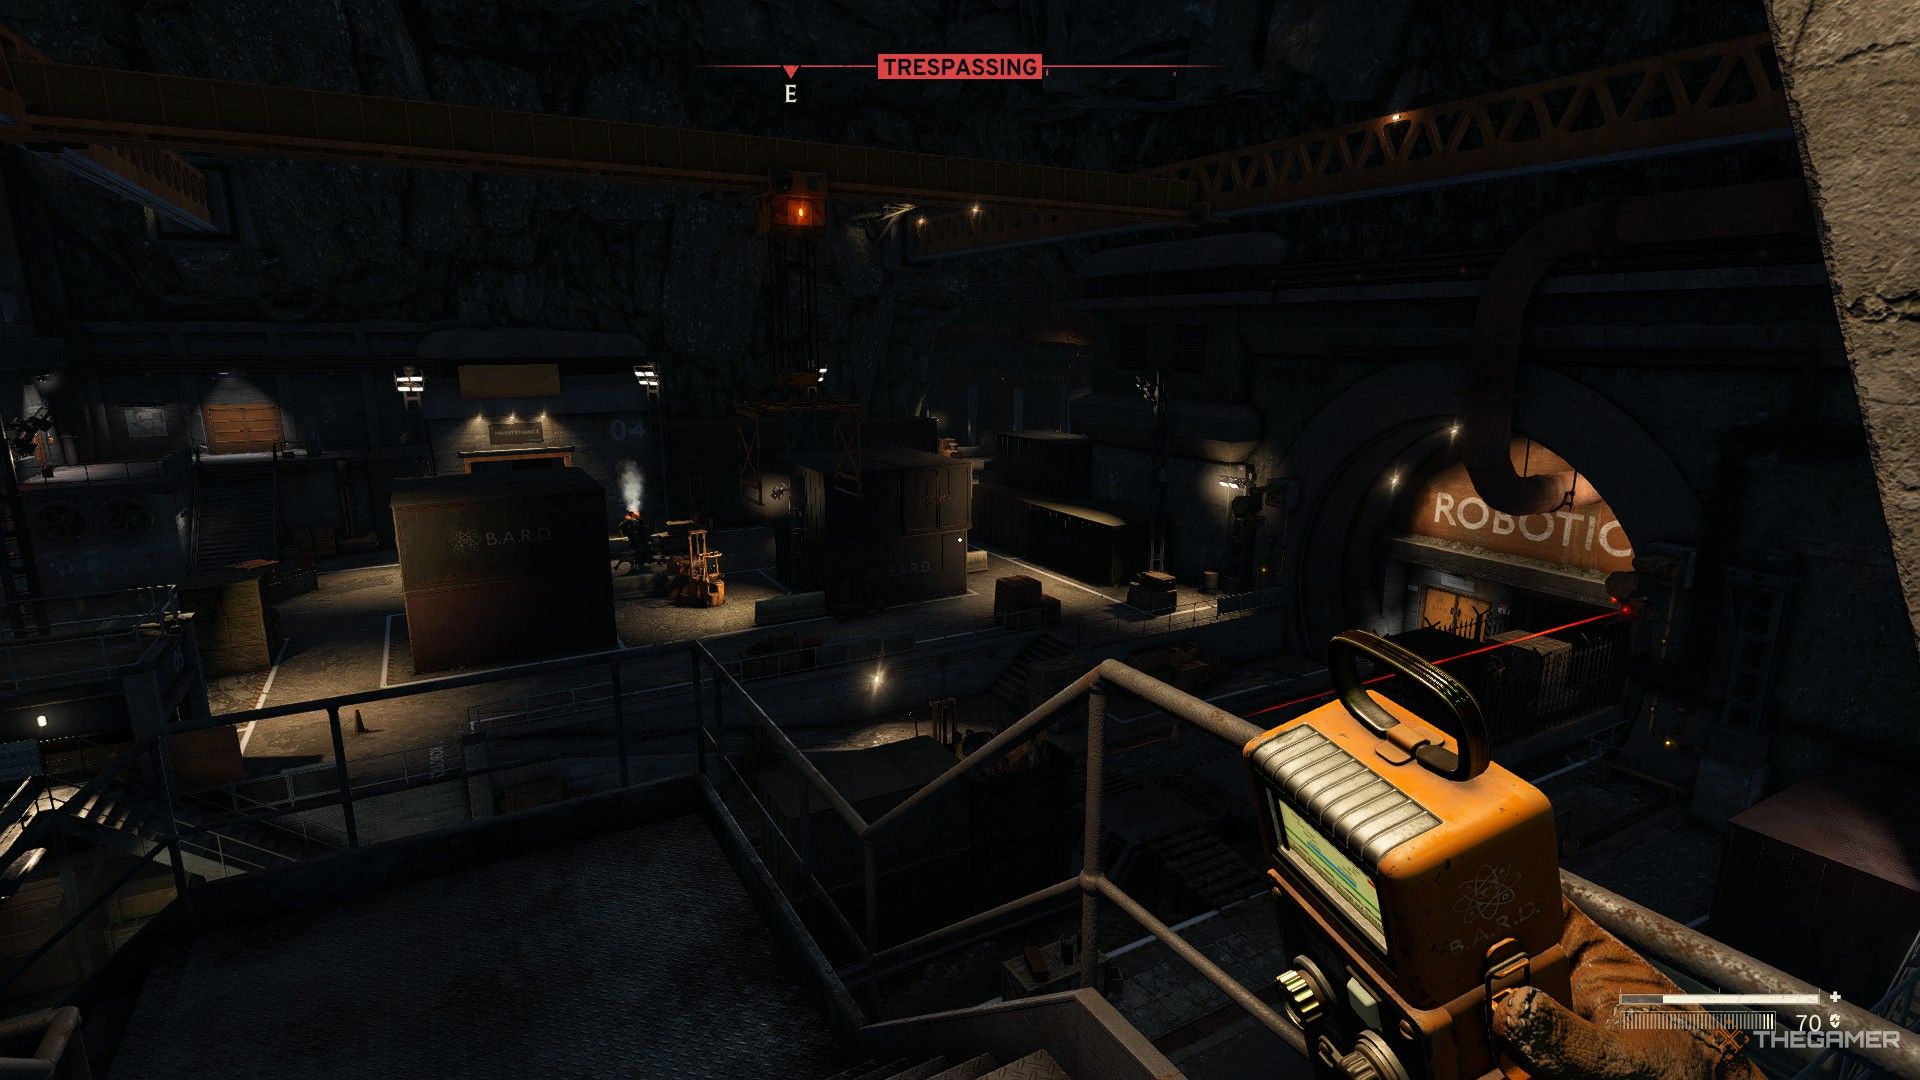
Once inside the Robotics Lab, store anything unnecessary in the Storage Tube and grab extra ammunition from the desk in the security room on your left. Proceed through the rail tunnel to the main area, where your first task is to access the Control Room.
Head to the upstairs area on the left. The quickest route is through the Cafeteria, where you can also grab some food—but be cautious; you’ll need to deal with a swarm of rats. After reaching the upstairs area, go to the end of the hall and enter Room 4 (the room number is marked on the floor). Crawl through the vent at the back of this room to retrieve the keycard from the desk. After that, unlock the door to exit and access the Control Room nearby.
The Control Room contains various supplies, including Training Stimulants. Activating the button there will provide hints about the whereabouts of the Signal Redirector, should you not have discovered it yet. Additionally, this will turn the power back on in the areas below, activating the turrets and releasing a machine gun robot.
How to Get the Storage Room Key
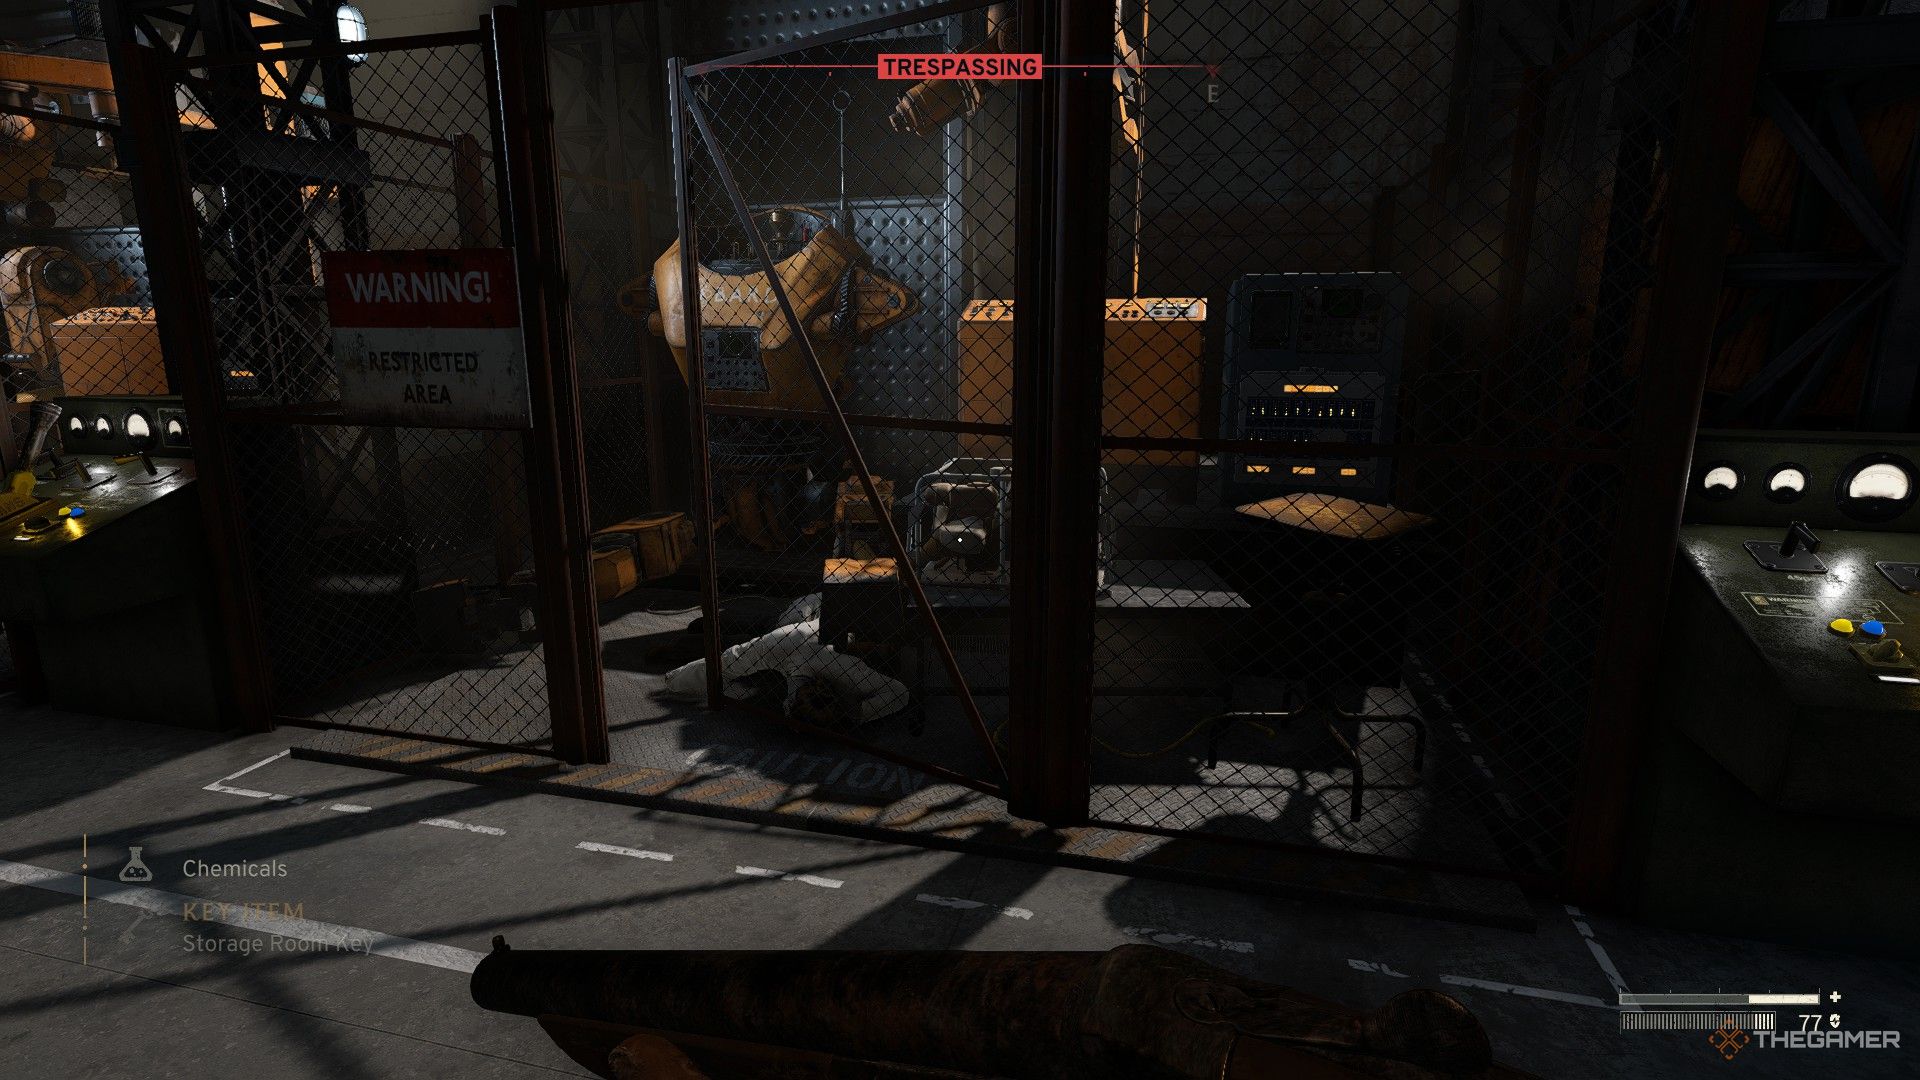
On the right side of the main area, opposite the Control Room, you’ll find the Robot Assembly Bay. After powering on, you can pull the nearest lever on the right, which causes a dead scientist to drop from a crane, yielding the key to the storage room above. Be aware, though; you’ll likely have to confront the patrolling robot to access this area.
How to Access the Secure Lab
The security bulkhead at the far end of the room requires power from both sides of the facility. After restoring power, you must use the Signal Redirector at several Junction Boxes to send electrical current to the door.
Left Side
Start by heading to the switch room located below the Control Room. Apply the Signal Redirector on the box across from the door to energize the panel, then pull the lever overlooking the area. This will channel power to the door but will also electrify the water on the floor, creating a deadly hazard.
To make your way back, take the longer route upstairs to avoid the electrified area. Once you reach the top of the stairs, you’ll be in position to adjust another Junction Box, which will safely de-energize the floor again.
If you’re having trouble locating a Junction Box, aim the Signal Redirector and watch for the needle to point right; the further it goes, the closer you are!
Right Side
Proceed to the yellow doors to the right of the bulkhead; depending on the robot’s patrol path, you may need to eliminate it or wait until it passes to proceed. Look through the window and use the Signal Redirector to power the Junction Box on the far side; this will let you open the door.
Once inside, head to the back of the room and pull the lever. Then, retrace your steps and climb the crates on your right to access the Junction Box near the ceiling, which will energize the right side of the bulkhead.
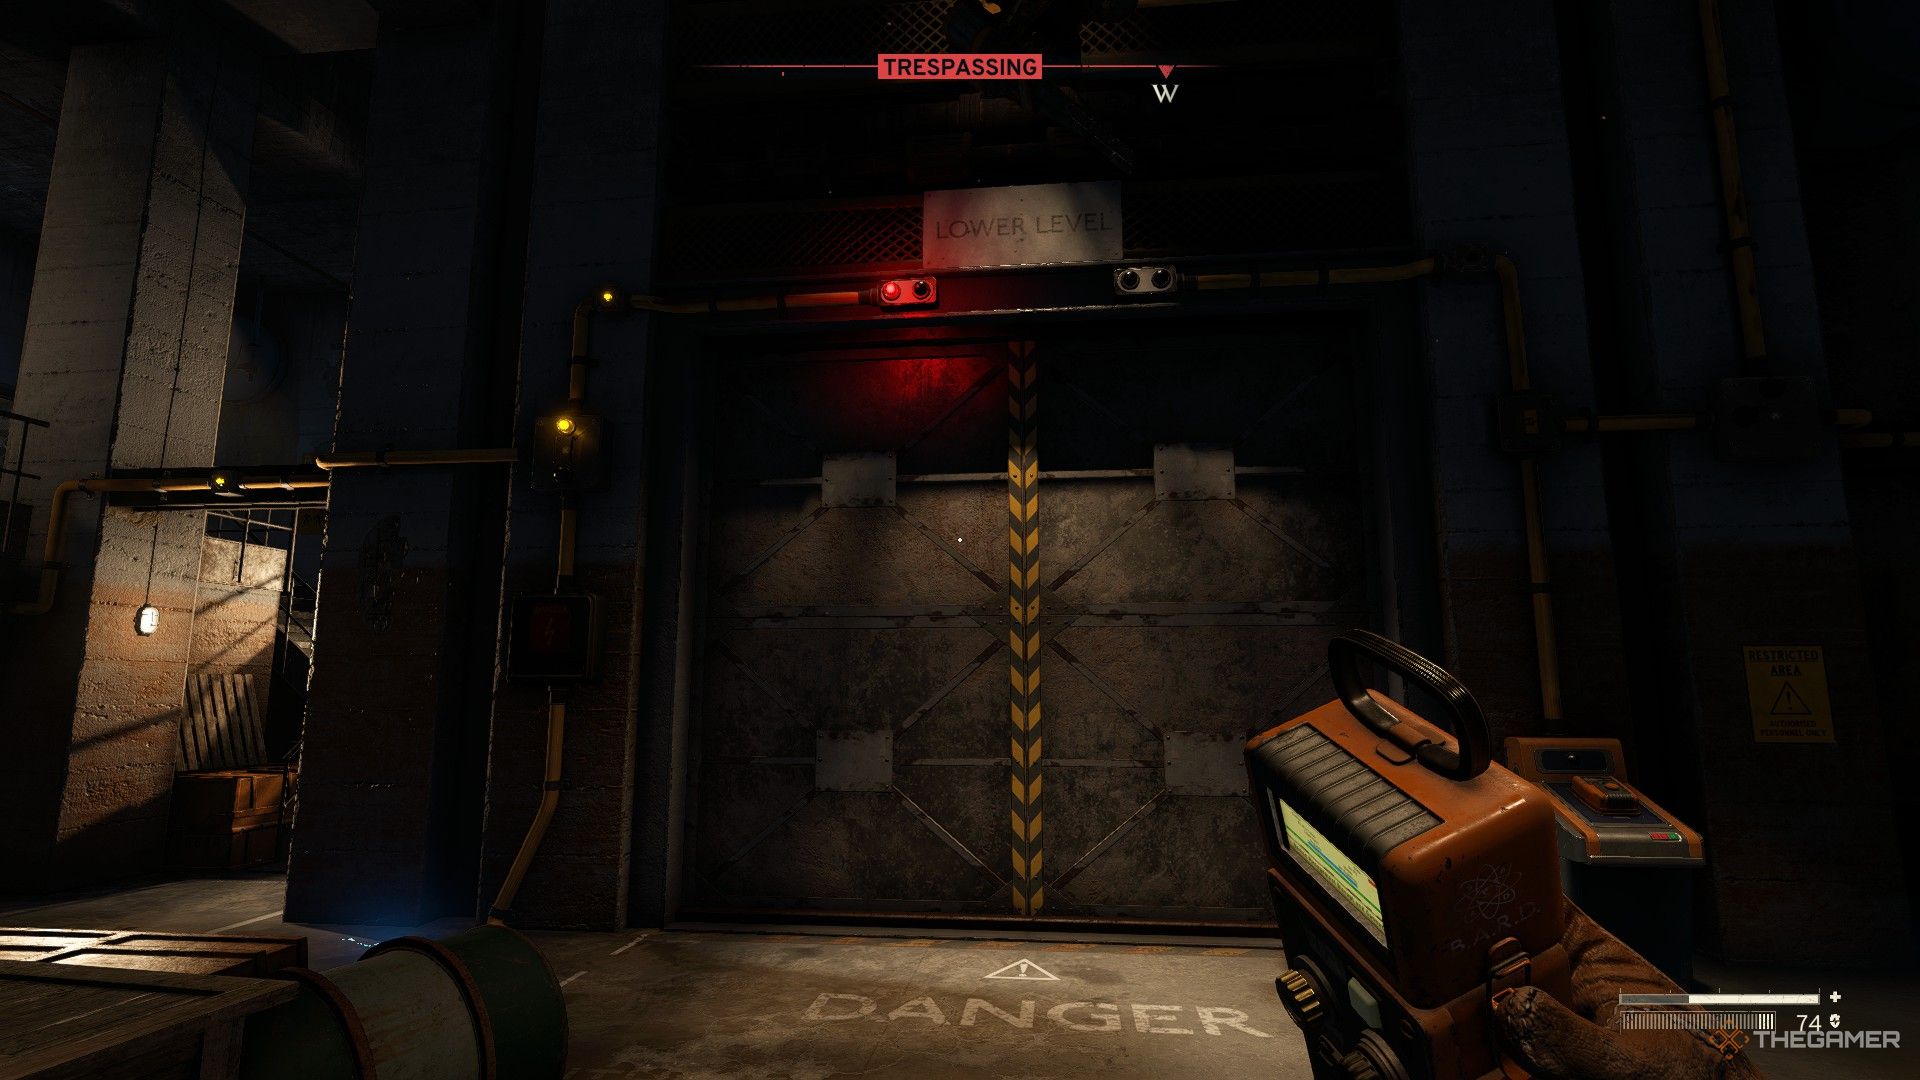
When both sides of the bulkhead are energized, use the control panel nearby to unlock the way for passage. You’ll then need to slide down the damaged elevator shaft, which means you won’t be able to return this way afterward.
How to Get Doctor Garrow’s Research Notes
The lower level has even more turrets and robots to deal with. If you need to exit and replenish your supplies, there’s an exit tunnel to the right as you enter the lower level that will lead you back to the Interchange.
The exit tunnel is your only path out and is swarming with Ferals; therefore, carrying a shotgun is advisable.
When you arrive at the central section of the lower lab, you can choose to go straight or take the right path; opt for the right side. Going straight will put you in direct fire from the area’s turrets, which can quickly end your journey.
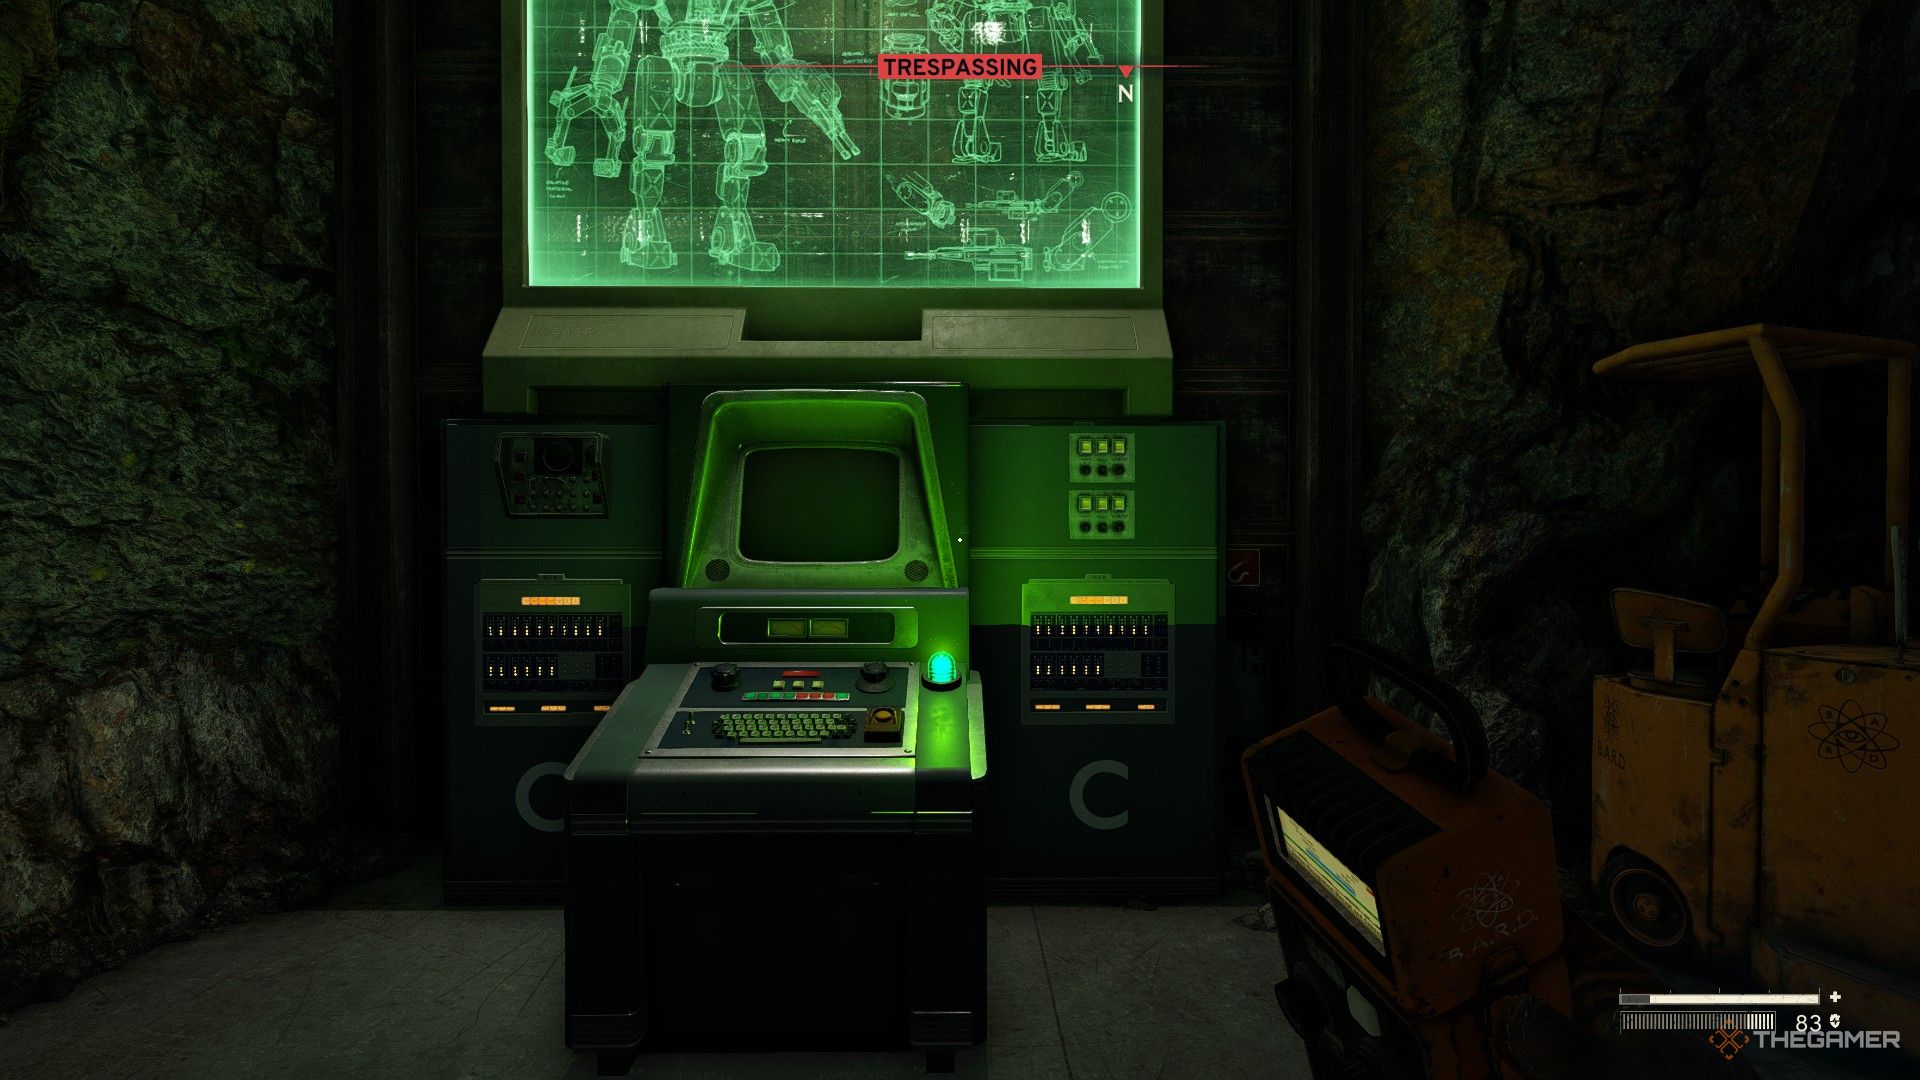
To access the next area, you must activate three consoles labeled A, B, and C. Move cautiously along the right side, past the locked door with three indicator lights; deactivate any turrets you find using the Signal Redirector and be vigilant for the robots.
You’ll discover Console C shortly after starting on the path. Once activated, proceed counterclockwise past the stairs, where you’ll find Console B in the hallway ahead. You might need to deal with a robot to reach it.
From there, navigate through the bathrooms until you’re directly underneath the last turret. Use the Signal Redirector to deactivate it; however, be cautious about which Junction Box you utilize; there’s another close by which will electrify the water on the bathroom floor, likely leading to your demise.
Once all turrets are disabled, enter the central room to activate Console A located within one of the fenced areas. When all three consoles are activated, the yellow doors will unlock. Take the extra rounds from the counter on your left and collect the Head Office Keycard from the fallen scientist on the floor.
This Keycard allows access to Doctor Holder’s office located upstairs from Console B. Make your way back to the Interchange via the exit tunnel and hand it over to her to advance her storyline.