Select Language:
Like earlier games in the series, in Borderlands 4, you choose to play as one of four Vault Hunters—powerful fighters searching the galaxy for Vaults. However, things rarely go smoothly; most of the time, it ends in bloodshed, death, and chaos.
While busy getting arrested by and escaping from the Order, and helping resistance groups fight back, there’s still time to raid Kairos’ Vaults. The first Vault you’ll likely encounter is the Arch of Inteceptus, but it’s not just a matter of walking in and grabbing the loot. You’ll have to fight your way through and earn the right to claim it.
How to Find All Three Fadefields Vault Key Fragments
To unlock any regional Vault, you need a Vault Key. Each key is made up of three Vault Key Fragments scattered across a specific part of Kairos.
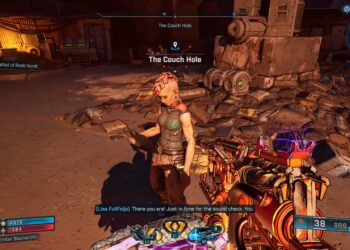
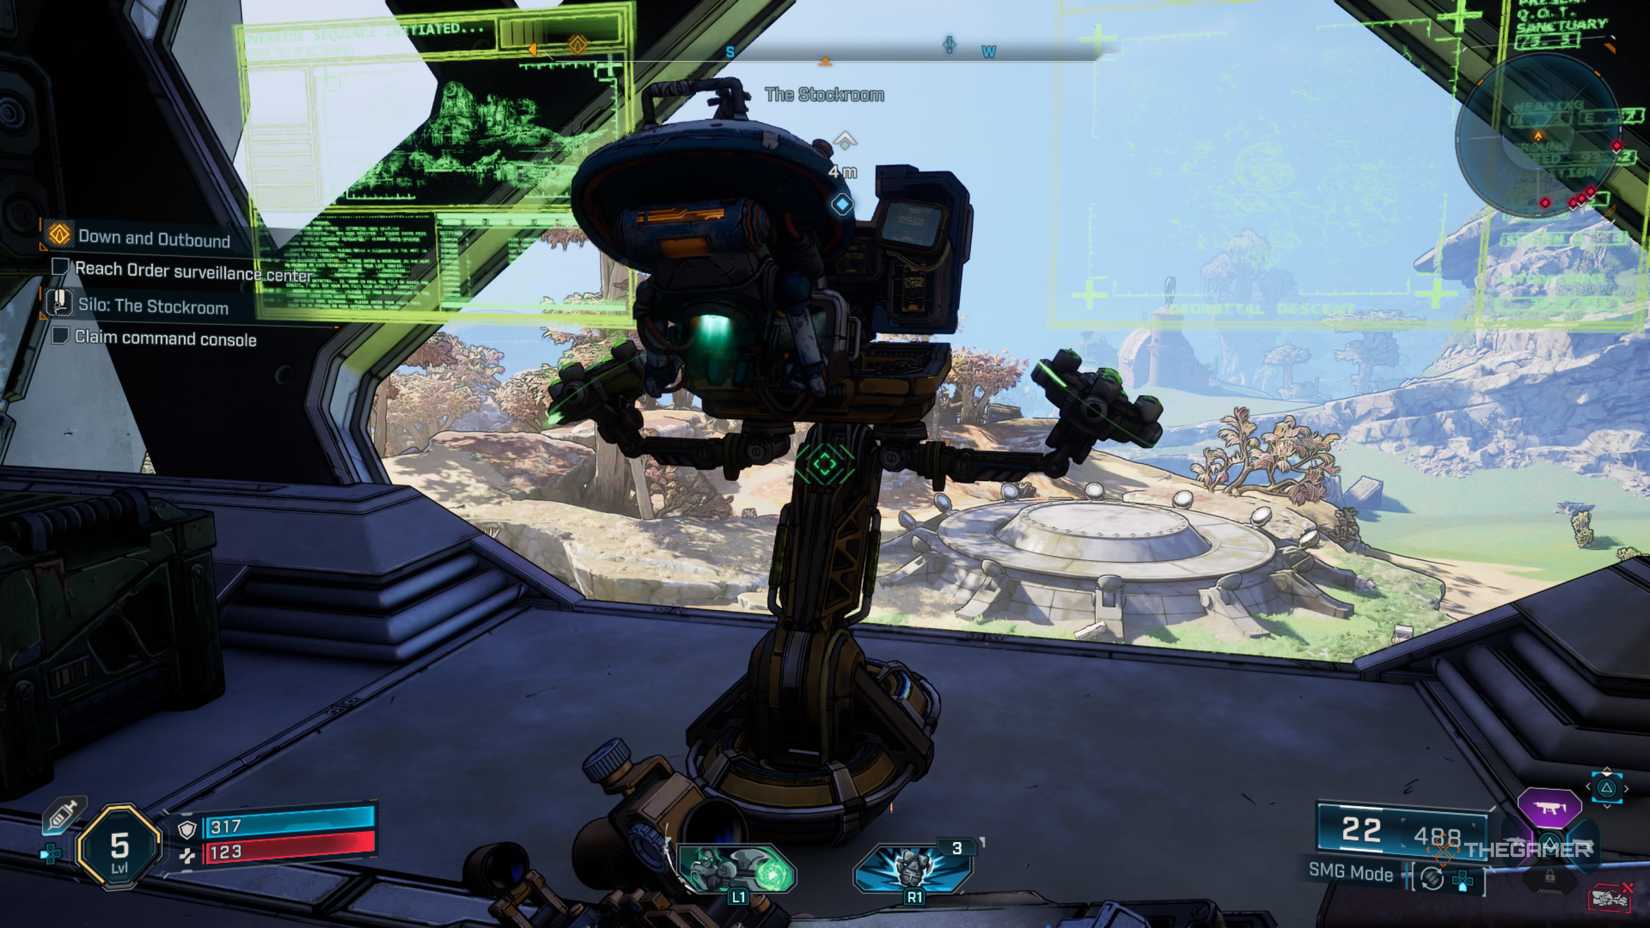
Before the fragments appear, you’ll need to unlock their respective Silos. These Silos are buildings controlled by the Order, similar to Safe Houses. You don’t need to find a datapad to access them, and they serve as fast travel points and locations where you can buy supplies from vending machines.
Once you take control of a Silo, the game will reveal the general location of its associated Vault Key Fragment on the map. You then use an on-screen detector to hunt down each fragment. In Fadefields, there are three Silos to capture:
- The Stockroom
- The Kit Hole
- Deep Seven
When you get close to a fragment, an indicator appears in the top-right corner of your screen, just below the enemy radar. This indicator has four bars, filling up as you approach the fragment. It flashes and makes noise to help you locate it, so check the area carefully.
Vault Key Fragment One
The earliest fragment appears after capturing The Stockroom Silo, located just northeast of the Abandoned Post Safehouse, which you unlock during the main mission called Recruitment Drive. The fragment itself is in the Coastal Bonescape region, towards the southwestern corner of the map. Head down to Stillshore Point, clear out the Rippers, then go around the back of the larger house. Drop into the water, jump onto the small dock below, and you’ll find the fragment sitting on a crate marked with the number 32.
Vault Key Fragment Two
The second fragment is in The Howl, unlocked after capturing The Kit Hole Silo, northwest of The Launchpad town. To find it, head northeast past the farms and fields, then follow the hill down past the Mangler burrows. The fragment is located on the northeastern side of a large rock formation, attached to a small alcove with yellow-glowing rock formations.
Vault Key Fragment Three
The last fragment is in the Idolator’s Noose region, unlocked after taking the Deep Seven Silo in Dissected Plateau. Travel to Rosemary’s Reserve, past the broken wall and hay, then clear out the Rippers. Find the large platform at the farm’s back, use your Grapple to rip away the vent door next to the ammo crates, and inside, you’ll find the fragment in the outstretched hand of a dead Ripper in a corner.
How to Get Through the Fadefields Vault
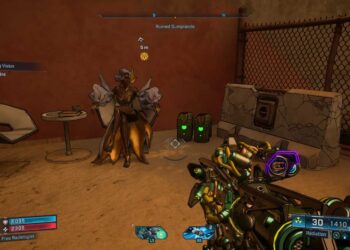
After collecting all three fragments, the Vault’s location appears on your map in the Dissected Plateau, south of the Deep Seven Silo. Approach the broken Vault, interact with the altar to combine the fragments into a complete Vault Key, and then repair the Vault itself. Interact with the altar again to start the side mission, then head inside.
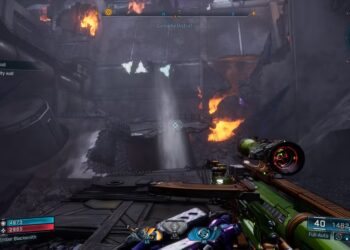
The Vault challenge involves four combat arenas. Each arena features unique enemies, mostly variants of the Order, with the first three containing special versions, and the final one involving a boss fight.
Note: The enemies in these Vaults drop weapons as usual. The variety of enemies makes it a good spot to farm for lower-tier weapons and Class Mods.
During fights, you’ll find several Ammo Crates for resupplying, but you can’t move between platforms until all enemies are defeated. Each arena is followed by a rest area with vending machines for ammunition and medkits.
Tips for success: Use the abundant cover on each platform—walls, rocks, ledges—to heal and reload safely. Ordnance with large Area of Effect (AOE) damage and the Singularity perk are effective for clearing enemies.
Each arena features a named enemy:
- The Lathe
- The Great Void
- Perturbalon
The Lathe and Great Void are similar to stronger versions of their normal counterparts, the Stryker Engine and Bulkhead. Perturbalon, a Warden variant, has a unique mechanic: it’s protected by a shield that can only be destroyed by destroying floating Vile Ordonite orbs. Once all are eliminated, the shield drops.
Perturbalon employs standard Warden attacks along with massive quake attacks similar to the Bulkhead. Its health phase transitions are triggered by the destruction of its shield and its health dropping to 25%, where it will unleash tail slams and ground shoves.
When its health reaches 25%, Perturbalon will anchor its tails into the ground, causing them to jabs upward around the arena—these can be dodge-rolled away from. Keep circling and dodging its attacks, staying at the arena’s edge to avoid its grabs and tail attacks. Use your Grapple to reveal its weak spots—glowing pustules at the top—and shoot them to deal extra damage.
The Final Fight with Inceptus
After the third arena, another rest station appears before the final challenge: a fight against Inceptus, the Vault’s guardian. Inceptus is a giant, draconic enemy that combines high power and speed, mainly doing untyped and Corrosive damage.
Attack mechanics include:
- Tail grabs and slams
- Tail whips covering the arena
- Poison spores that explode
- Sudden tail slams
- Hanging upside down, unleashing acid projectiles
- Entering a cocooned state with a shield
- Tail slamming from its cocoon
- Summoning shockwaves and stabbing attacks
In the fight, your best approach is to move constantly, dodge tail slams by jumping, and avoid poison spores by air-dodging or grappling away. When Inceptus is about to cocoon, it will hover and cover the floor with acid, with only the top pustules vulnerable.
To break its shield, shoot the floating orbs around its head—destroying all three removes the shield. Use your Action Skill and ordnance during the downtime when Inceptus is stunned after its shield breaks. When its health drops to 25%, it will enter the cocooned state again; repeat the same grapple-and-shoot tactics.
Once defeated, Inceptus erupts, scattering loot, and a rift appears. Use your Grapple to leap into the rift, which transports you to the final platform. There, you’ll get a permanent buff—your Glide Pack will be upgraded, allowing longer glides.
Rewards
Defeating Inceptus rewards you with two Red Chests to unlock, along with 6,000 Cash, 10 Eridium, and a Rare or Epic Submachine Gun. When leaving the Vault, grapple into the rift again to return to the pre-boss rest station, from where you can fast travel or exit through a nearby vault portal.