Select Language:
After completing the tutorial run in Marathon and starting your first real game, you’ll notice that the map screen shows three different maps, with one of them having two versions. Each map is unique, offering different environments and atmospheres.
Depending on the map, you’ll experience different tactical challenges. For example, one map might have many open areas making you vulnerable to snipers, while another features tight, enclosed spaces that are harder for enemies to snipe through. Knowing what each map offers is crucial because your equipment and strategy depend on it. Also, you need to play on all the maps to complete certain contracts.
How to Unlock Every Map
Most of Marathon’s maps are available from the start, with some exceptions. When you join your first lobby, you’ll automatically have access to the following maps: Perimeter (Beginner), Perimeter, and Dire Marsh.
The beginner version of Perimeter differs from the regular one mainly in the number of players spawning there. This makes it easier for newcomers to get used to the gameplay since the robots can be quite challenging.
Note: The beginner Perimeter map is only available for your first two runs; it won’t be available for subsequent matches after those initial two, regardless of which map you choose.
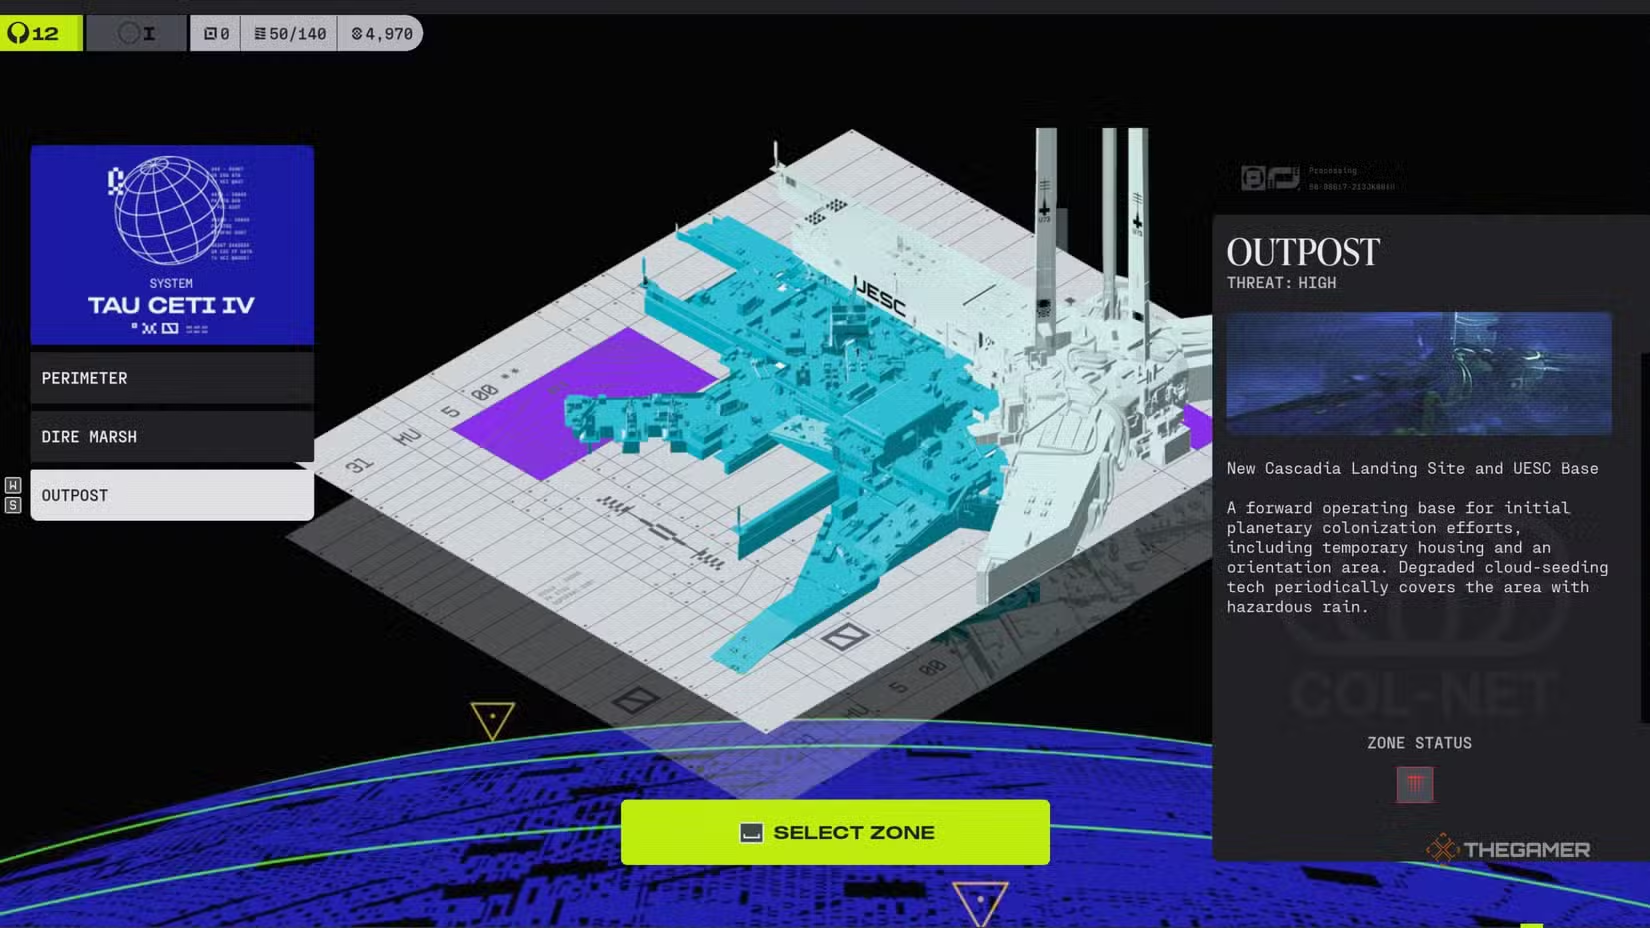
There’s also an Outpost map that’s initially locked. To unlock it, you need to reach level 12 in a specific season. You can see your current level at the top left of the main menu. To level up faster, it’s best to team up in three-player lobbies, even if you join with random players, because you earn more experience points.
Best Loot Spots for Each Map
When you enter a map in Marathon, your main goal is to find the best loot. Your map highlights all the key loot locations, but some areas tend to have more valuable items than others. Here are the top loot spots on each map:
-
Perimeter: Overflow and North Relay are the best places to find loot. If you’re new, the Hauler area is also a good choice because it offers more protection.
ADVERTISEMENT -
Dire Marsh: The most loot can be found in the Complex and Maintenance areas. The Complex can be tricky to navigate at first, but it’s worth exploring.
-
Outpost: The best loot is beneath the Orientation and Airfield sections. These areas tend to have more valuable supplies.
Tips for Each Map
Depending on which map you’re playing, here are some advice points to keep in mind:
| Map | Tips |
|---|---|
| Perimeter | This map is good for beginners since most large areas are separated, making it easier to spot nearby enemies. Be aware of a big wall on the north and south sides. Learn where you can enter and exit this wall — it will help you during fights. |
| Dire Marsh | Many buildings are connected, allowing enemies to sneak up easily. The middle anomaly area is difficult to navigate, so try to avoid it if possible. |
| Outpost | Best suited for close-quarters combat, with many players hiding inside buildings. It’s a hectic map with environmental hazards that force you to stay inside, so it’s better for experienced players. |