Select Language:
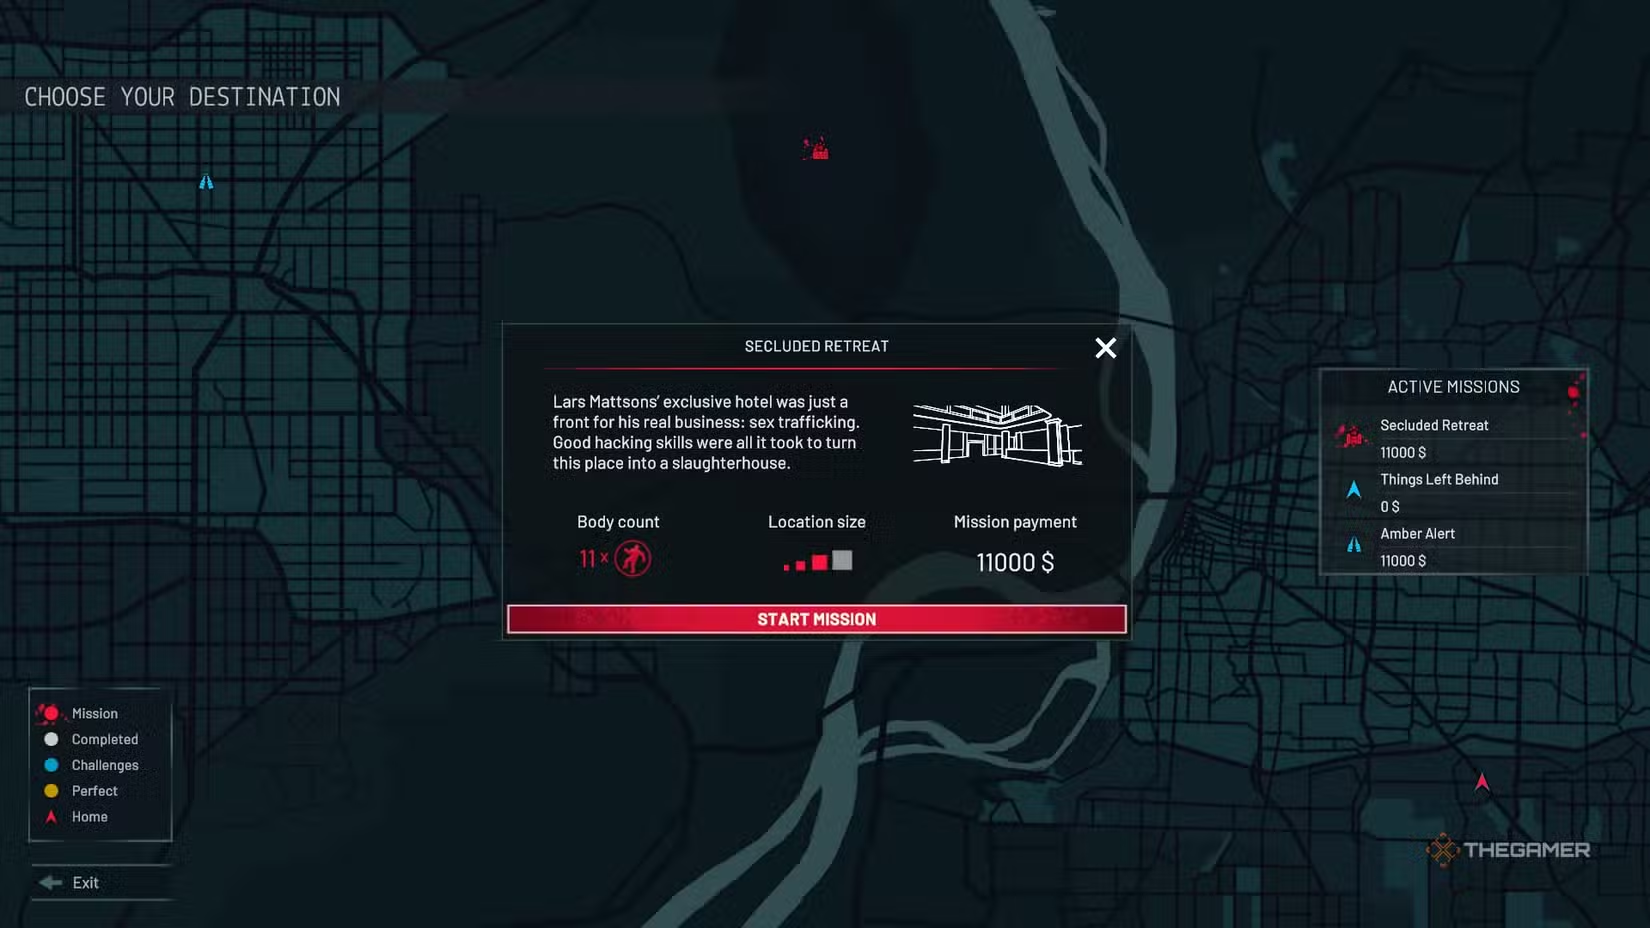
After tidying up the mess at the boxing ring, Kovalsky, a crime scene cleaner, is sent by the mob boss’s daughter to Lars Mattson’s exclusive hotel. Upon arrival, it becomes clear that the hotel is just a front for something much darker.
The Secluded Retreat is a large area covered in blood, with 11 dead bodies and plenty of evidence to clean. Kovalsky has handled worse scenes before. Here’s everything you need to know to complete the mission, including all secret rooms and CD locations.
Complete Secluded Retreat Walkthrough
When you first reach White Peaks, Amber informs you that security has locked down much of the retreat. To move freely, you need to turn on the main power. Your initial point of interest is the room to the right. You’ll need to crouch under the door to find the bathroom and access your bucket point.
The mission involves:
- 11 bodies
- 10 evidence items
- 3 secret areas
- 4 CDs
Lobby
In the lobby, there’s some blood to clean. You’ll find a chair and a clock to the left, which need tidying and replacing. Trash around the reception area should be picked up. Behind the desk, a robotic hand holding a gun can be collected as evidence. On the table, there’s a list called ‘preferences’ worth noting.
Upstairs, most doors are locked, except for one. Collect valuables from display cases in the upper area and a necklace from the bedroom before heading back downstairs.
Main Room
Once power is restored, the lounge area opens up. In the room to the right, blood must be cleaned, and bullets from a faulty security turret are scattered across the floor—pick up each one. Replace the globe on the table, and leave the bar stool where it is for now, as it belongs in the restaurant, which is still locked.
Gentleman’s Club
The club features a bar with a robot bartender. Clear the broken glass, blood, and debris. There’s a body on the table that needs cleaning up—dump him in the lobby for now. Behind the bar, the maintenance room is accessible later; for now, continue through toward the Relaxation Zone.
Relaxation Zone
In this area, the main room is clear but dusty. Check the sun loungers and a table at the far end for a valuable ring. To access a certain section, you need to turn on the power. Head upstairs to find an office with a computer. The last email indicates you need to pull a mechanical override lever to disable the lockdown. The lever is to the left of the computer; activating it restores power.
Lounges
In this section, debris and blood abound. Use your tools to clean blood splatters and broken furniture. Clear the blood, and move the bodies into your truck. Replace the luggage trolley afterward.
Restaurant
Moving through the restaurant, look for a table with a red keycard marked ‘01’—grab it. Clean the blood, clutter, and furniture to proceed. Behind the bar, a door leads to the maintenance room, which is now accessible. Check inside to find a gold VIP keycard.
Maintenance Room
This room is clear but contains a rifle, a catalog of women, and a golden VIP card. Use the keycard to enter the VIP room located to the left of the main area. Inside, clean blood, pick up valuable items, and restore furniture. There’s also a safe that requires a code based on the bottom panel’s lines passing over numbers. Your code won’t match previous ones; use your own to unlock it.
First Floor
Climb back to the first floor via the lobby with a small red stool, which belongs to the piano area. Clear blood and debris, and find a corpse with keycard 02 in the doorway.
Piano Area
Near the piano, a corpse is present. The space contains a valuable ring on the nightstand and other items like cash. Clean the blood, and tidy the furniture.
Medieval Fantasy Room
This room, unlocked with keycard 03, has bloodstains and a robot to dispose of. Take the sword evidence, remove the body, and clean the blood and broken robot parts.
Secret Room (Behind the Pool)
Drain the pool water using the switch near the maintenance area. Once drained, find the secret room behind a bamboo barrier and some rocks. Break the debris with your axe to reveal a small metal grate and discover a CD. Inside, you’ll find a mannequin scene, a CD, and a safe—unlock the safe using the code matching the bottom panel, which varies for each player.
Room of Reflection
This room contains tissues, a CD by the stereo, and valuable items on the furniture. Clean and remove the body here, and fetch the monkey statue outside the yoga room. Use it to reveal a hidden secret behind the black panel, revealing another CD that you can capture.
Yoga Area
In this peaceful but sinister space, break the robot with your axe, and remove the body from the pod. Inside, find two sets of surgical instruments, clean the blood, and gather evidence. The monkey statues lining up in the right order will reveal another secret area.
Secret Room (Behind the Monkey Statues)
Align the statues as shown in the clues. Pass through the red door into a strange scene with a mannequin and a safe. Use the code from the bottom panel to unlock it. Inside, find a CD, some drugs, cash, and a phone.
Spaceship Room (Keycard 04)
Use your keycard to access the space-themed room, where you’ll find blood on the ceiling, a dead body, and surgical tools. Remove evidence and clean up blood.
Final Secret Room
In the red-room scene, find a flashlight pointing at a bush outside. Crouch to uncover a greenhouse and collect cash, drugs, and an audio tape from the gardener.
End of the Mission
Various evidence items, CDs, and valuables are scattered throughout the retreat. Carefully clean all stains, evidence, and objects, and gather everything needed for a successful completion.