Select Language:
An extraction shooter isn’t complete without a safe way to leave, and in Arc Raiders, you’ll find many options—if you can make it there fast enough. Every map has a fixed number of extraction spots, and once they’re gone or time runs out, you’re done for.
When you start a raid, your main goal is to find the extraction points and plan the best route to reach them while gathering supplies. You might risk death trying to get to the extraction or while you’re leaving, but that’s part of the danger every Raider faces on the surface.
On each map, you spawn at a random starting point, and you’ll have 30 minutes to do what you need before heading to an extraction point marked on the map with a downward arrow, a train car, or a fan symbol.
Extraction spots are usually elevators, train stations, or air shafts, depending on the map. Once there, you’ll need to find the console that calls the extraction to you:
– Elevators are located at The Dam and the Spaceport. The console is just outside the elevator.
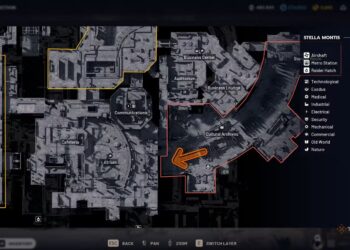
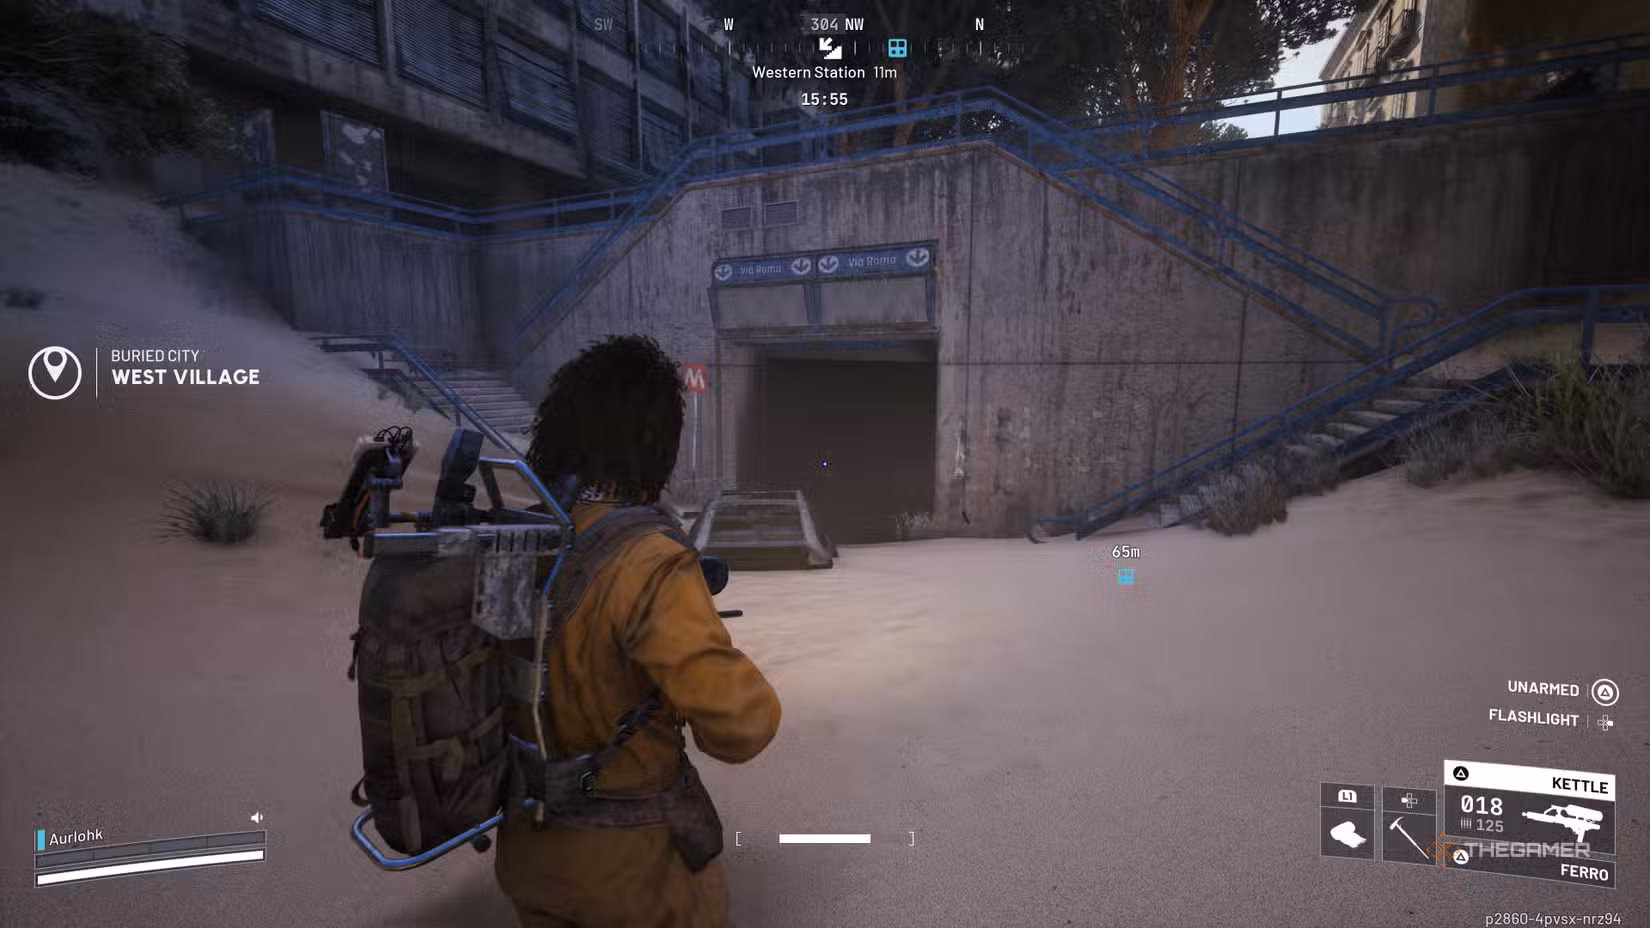
– Train stations appear at The Buried City, with multiple entrances leading inside. The activation console is underground, against the gated train tracks.
– Air shafts are at The Blue Gate, with the console directly outside the shaft.
In some cases, like at the train station, you might need to fight your way inside before activating the console, but this usually means fewer ARC enemies nearby.
Once you activate the console at the extraction point, a warning sound will alert nearby enemies and players that you’re calling for extraction. It takes about 15 seconds for the elevator or platform to open. You can then go inside and use a secondary console to leave early or wait for your teammates, which will automatically happen in two minutes.
If just one person enters the extraction point, the countdown begins, giving everyone else time to loot nearby enemies or gear before leaving. As long as one person uses that console, everyone inside can escape safely, so you don’t need all teammates to be there.
Besides the regular extraction spots, you can also use Raider Hatches, which don’t have a time limit and are safer. However, opening a hatch requires a Raider Hatch Key, which can be earned through quests like Hatch Repair or bought from Shani’s shop for 9,000 Credits once you’re level 12. Keeping a hatch key in your Safe Pocket is smart so you always have a safe exit, even if you die.
To use a Raider Hatch, find one on the map with the key in your inventory, approach its console, and interact to unlock it. The hatch opens immediately, allowing you to return to Speranza with all your gear without waiting for doors to close.
Because both ARC enemies and hostile players are likely to target you during extraction, it’s wise to find cover and wait there, especially if you’re solo. You can hide behind rocks, vehicles, chairs, walls, or debris at locations like The Dam, the Train Station, or The Blue Gate. This also helps you scout for enemies, signal your willingness to extract peacefully through emotes, or prepare for approaching machines.
To reduce risks, it’s recommended to eliminate nearby ARC enemies before calling the extraction, especially small, fast drones like Wasps and Hornets, while under cover. Clearing enemies early not only makes waiting safer but also lowers the chance of attracting more enemies with the warning sound. Be aware that fighting too much can leave you vulnerable to hostile Raiders, so weigh the risks.
Sometimes, it’s better to wait for others to go first. Since it takes about 30 to 45 seconds to get inside, activate the console, and close the doors, you can hide nearby and time your move just before the doors shut. Even if you are knocked down or caught off-guard, it’s possible to crawl into the extraction point if you’re close enough and haven’t bled out, earning the “Not Over Til It’s Over” achievement or trophy. Skills like “Downed But Determined” and “Crawl Before You Walk” boost your chances in these situations.