Select Language:
Finding a safe place to wait or rest is crucial in Dying Light: The Beast. Walking through swamps or hopping across rooftops in the city can be dangerous, especially when night falls and you have nowhere to hide.
Safe Spots are the only places where you are fully hidden from zombies trying to attack you. Each Safe Spot has a stash bag to store extra items and a bed to sleep in, allowing you to rest until morning and avoid relentless pursuits through the streets. Some of the larger Safe Spots also include a workbench for light modifications. Here’s how to find and unlock all Safe Spot locations in Dying Light: The Beast.
There are different types of safe areas, from small wooden towers called Safe Spots to larger buildings known as Safe Zones. The wooden Safe Spots are scattered across the map and typically contain a bed and a stash bag. They’re perfect for those moments when you get caught outside after dark and aren’t ready for a nocturnal adventure.
It’s a good idea to prepare before heading out by crafting items like bandages, grenades, and lockpicks to help restore Safe Spots if needed.
Safe Zones are created in abandoned homes that need repair, as well as in larger locations inside old workplaces and churches. These elements require some work to restore. Restoring a Safe Spot or Safe Zone requires power, which is easier to activate in wooden towers—just climb up and turn on the power. For larger Safe Zones, you’ll need to find and repair power cables and fuse boxes, barricade entrances, and clear infected from the area.
All Safe Spots and Safe Zones offer rewards once fully restored, such as blueprints for new weapons or ammo, fancy gear, or rare items. After eliminating the infected and restoring power, you can collect your rewards and take a well-earned rest.
| Name | Location | Type | Reward |
|——-|—————-|———|——–|
| Gas Station Voltage Pole | Industrial Zone | Safe Spot | Shock Arrows Blueprint, 2K XP |
| Highway Bus Refuge | Industrial Zone | Safe Zone | Rusty Weapon Blueprint, 3K XP |
| Chimney’s Tower | Industrial Zone | Safe Spot (requires Grappling Hook) | Parkour Trophy, Epic Pants, 2K XP |
| Cargo Station Tower | Industrial Zone | Safe Spot | Bleeding Knife Blueprint, 2K XP |
| Old Hideout | Industrial Zone | Safe Zone | Workout Weapon Blueprint, 3K XP |
| Power Plant | Recreation Zone | Safe Zone | Spark Weapon Mod Blueprint, 3K XP |
| Recreation Island Tower | Recreation Zone | Safe Spot | Fingerless Gloves, 2K XP |
| Library Tower | Old Town | Safe Zone | Extinguisher Weapon Blueprint, 3K XP |
| Fisherman Island Tower | Old Town | Safe Spot | Merc Long Sleeved Shirt, 2K XP |
| Town Hall | Old Town | Safe Zone | N/A |
| Inn | National Park | Safe Zone | Spark Weapon Mod Blueprint, 2K XP |
| Monastery | National Park | Safe Zone | Rare Hunting Bow, 3K XP |
| Camping Tower | National Park | Safe Spot | Fire Bolts Blueprint, 2K XP |
| Mountain Shelter Tower | National Park | Safe Spot | Merc Shooting Headset, 2K XP |
| Abandoned House | National Park | Safe Zone | Break Knuckles Blueprint, 3K XP |
| River Tower | Villa Area | Safe Spot | Exploding Knife Blueprint, 2K XP |
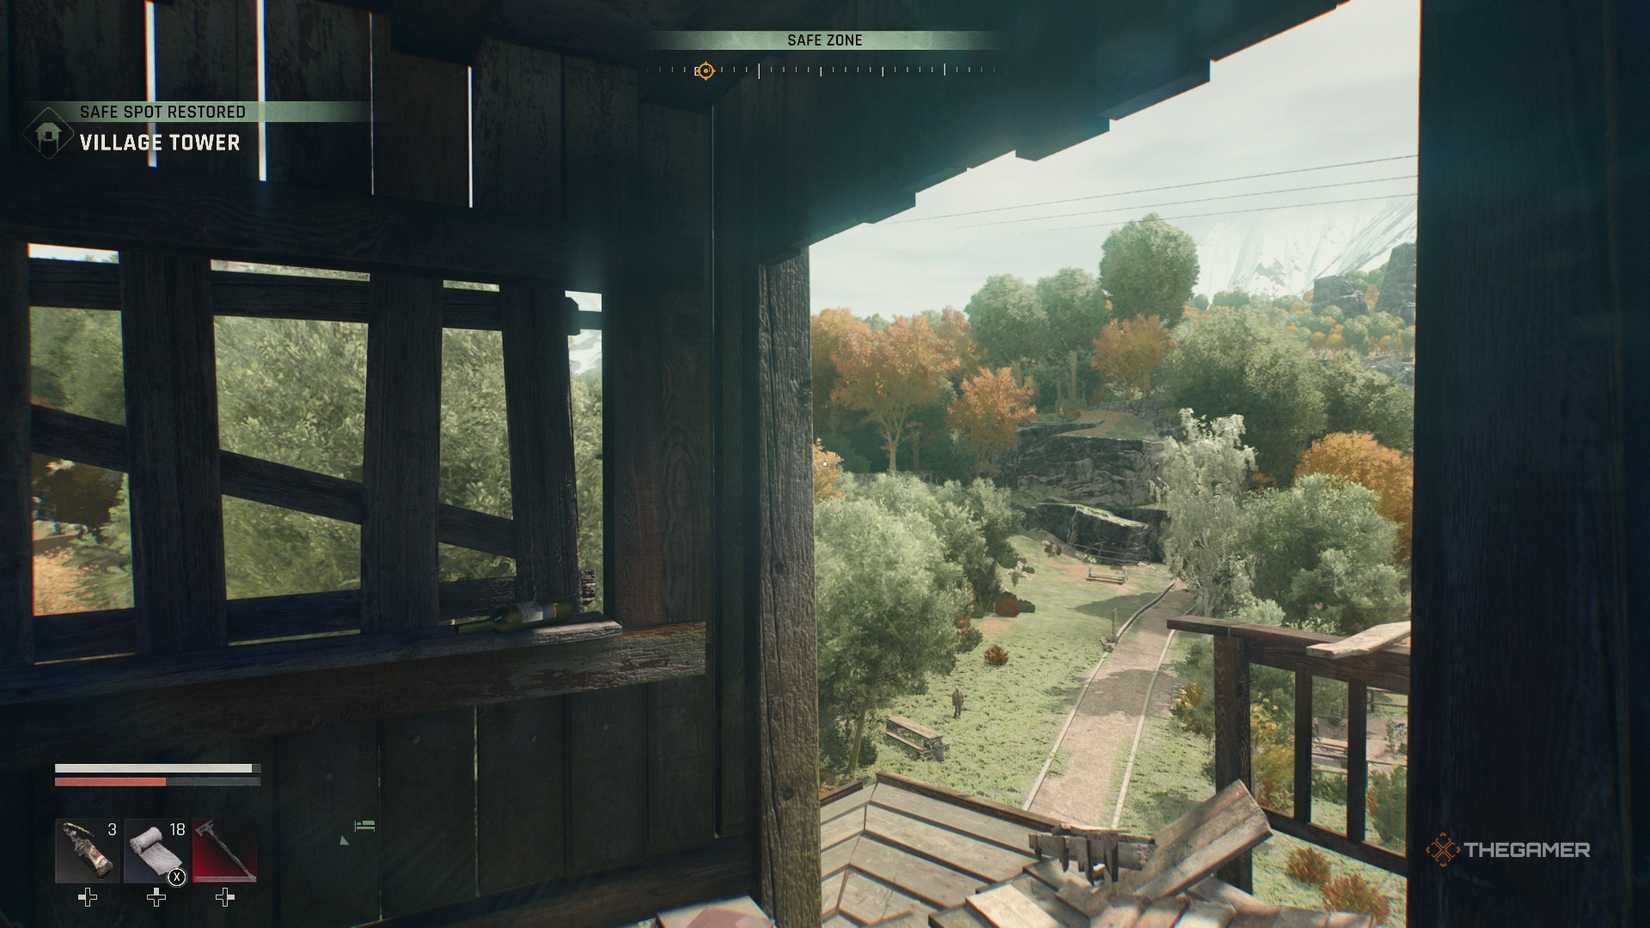
| Village Tower | Villa Area | Safe Spot | Heavy Arm Protectors, 2K XP |
| Village Voltage Pole | Villa Area | Safe Spot | Shock Knife Blueprint, 2K XP |
| Groundskeeper’s House | Villa Area | Safe Zone | Heavy Weapon Blueprint, 3K XP |
| Highway Tower | Villa Area | Safe Spot | Merc Boots, 2K XP |
| Exiles’ Cave | Villa Area | Safe Zone | N/A |
| Farms Tower (Grappling Hook needed) | Farmlands | Safe Spot | Fire Bolts Blueprint, 2K XP |
| Silos | Farmlands | Safe Zone | Legendary Sawblade, Rare Night Weapon, 3K XP |
| Asylum Island Tower | Mental Asylum | Safe Spot | Shock Bolts Blueprint, 2K XP |
Once you restore each safe area, you will receive helpful rewards to assist in your journey and survival.