Select Language:
Since the start of Vampire: The Masquerade – Bloodlines 2, it’s clear that your character is quite powerful, especially after learning more about The Nomad. With this strength, most early challenges are fairly easy to handle.
However, once you reach the To Founder On The Lethe quest, the real challenge begins. You will face many more enemies, and you’ll need a solid strategy to succeed.
### How To Get To Founder On The Lethe Quest
This quest focuses on uncovering the meaning behind the mark on your hand. Before starting, you need to make some progress in the main story. After defeating Benny and becoming the sheriff, you must first stop a masquerade breach at the Atrium.
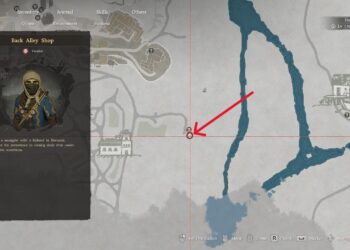
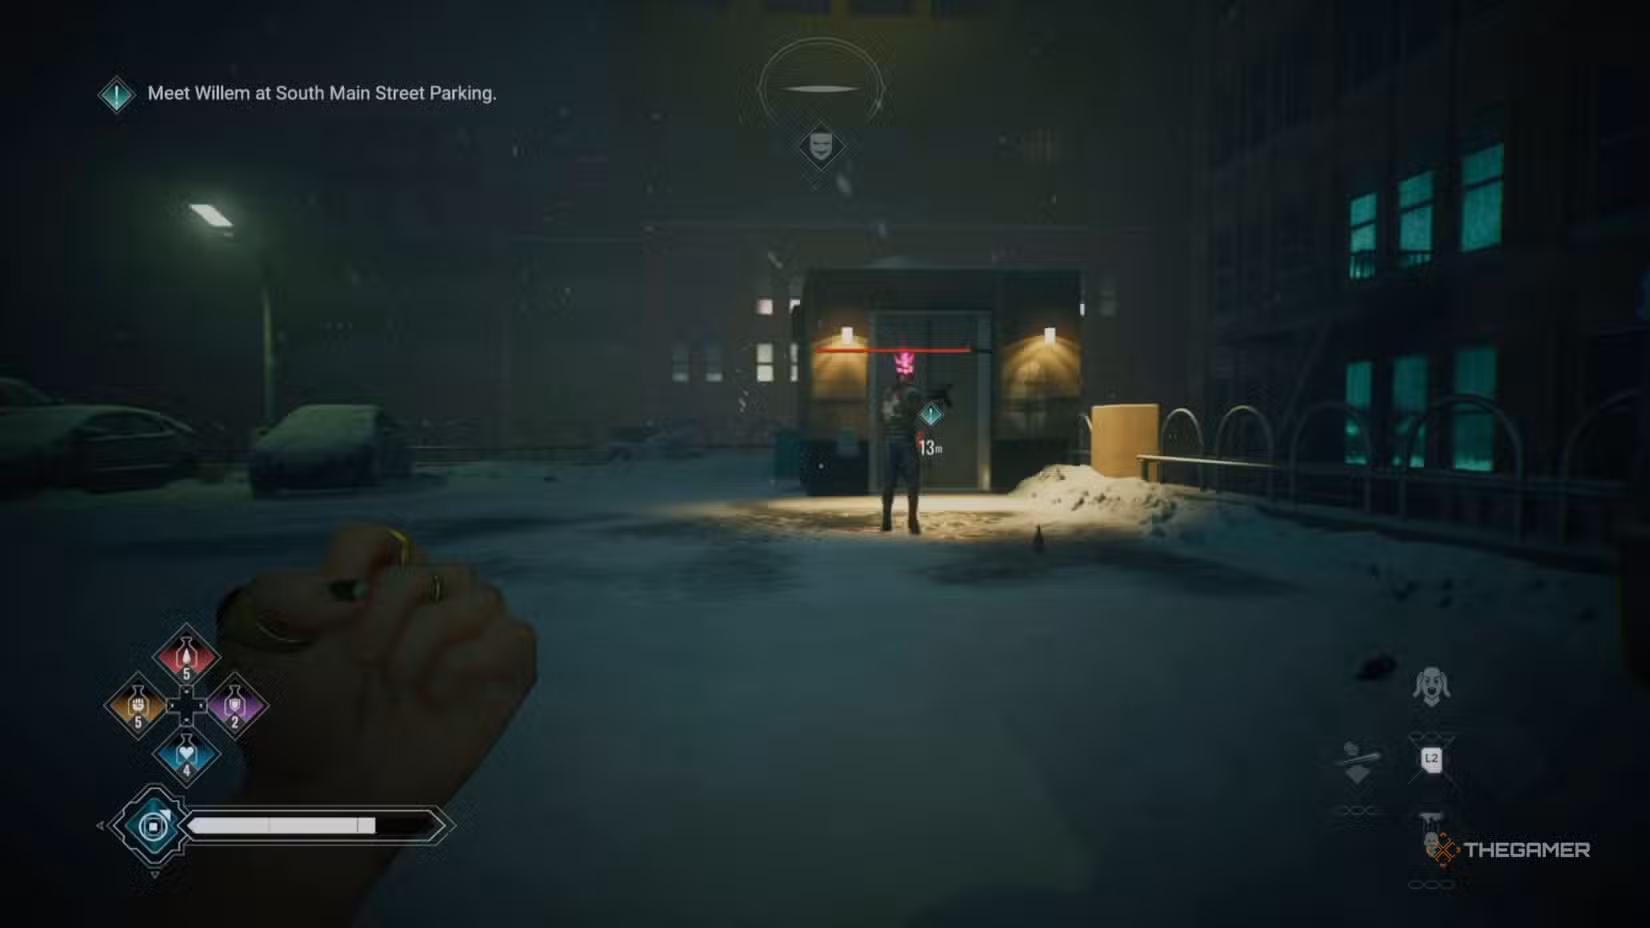
After defeating Ysabella at the Atrium and talking with Ryong, you can exit Weaver Tower and meet Tolly at the bottom. He introduces the quest and instructs you to find Willem at the South Main Street Parking Lot. When you arrive, you’ll need to fight through many anarch enemies.
> Tip: It’s best to stay on the rooftops while heading to the quest marker, since the entrance is only accessible from above.
Before starting, unlock certain abilities, because the main difficulty of this quest is facing groups of enemies that include two or more elites at once. Fighting these groups directly usually results in failure. The recommended skills to unlock are:
| Ability | Description |
|———————|————————————————————————————————–|
| Cauldron Of Blood | Boil an enemy’s blood to attract others, helping you avoid combat if needed. |
| Possession | Take control of an enemy, forcing them to attack their allies. Beware – detection turns them hostile. |
| Bladed Hand | Instantly kill smaller enemies or reduce an elite’s health by half with a quick strike. |
| Blood Salvo | The strongest ability, allowing you to take out multiple elites with a few hits. |
> Note: You can complete the quest with other abilities, but using this combination makes things much easier.
### How To Reach Willem In The Parking
Head to the roof marked with a blue icon. Here, you’ll meet some anarch enemies guarding the entrance. Use the Cauldron of Blood ability on an adversary on the left side of the roof; this clears the way to enter the parking lot.
The parking lot has two floors filled with enemies. On the upper level, you can possess an elite enemy to turn them against their allies, which helps clear out groups including elites, since they’ll keep fighting until they’re defeated.
Repeat this process on the lower floor, but it’s recommended to possess a commanding enemy with a ranged weapon, since they survive longer and can take out more enemies before falling. After clearing both floors, proceed through the door to reach the staircase.
### How To Find Willem In The Plastic Factory
Once inside the plastic factory, follow the simple path to an open area. Cross to the opposite side and climb the stairs twice to reach Willem. He’ll put you into an illusion, but you can choose “Is everything all right?” to get a positive response from him.
> How To Break Willem’s Illusion
Willem’s illusion traps you within the factory three times. Each time, you face different challenges: the first two are combat-based, and the third is a puzzle.
In the first challenge, you’ll see Sabbat enemies. Use possession on the large elite in the area to eliminate most foes quickly. Once the enemies are dealt with, feed on the remaining ones to reveal Willem, who then causes the next illusion.
The second challenges involve puppets. These don’t have blood, so you can’t feed on them, and they attack in waves. Move around constantly, attacking the puppets to survive. After defeating all the puppets, feed again to reveal Willem for the final illusion.
The last challenge is non-combat. Use your Heightened Sense to follow the music. When you get close to a music player, use telekinesis to attack it, moving toward new sources as the sound moves. Follow the sound to reach the room where you first encountered Willem’s illusion.
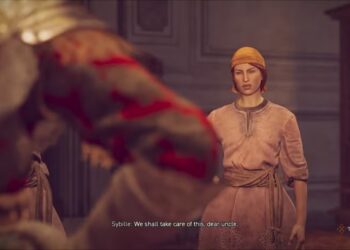
Once there, attack Willem directly to break the illusion. Although Sofia’s wishes to save him aren’t possible, you can choose comforting dialogue options:
– “I can help you, Willem.”
– “There is still hope for you.”
After the explosion, the sequence includes several flashbacks, and the quest ends.