Select Language:
In many situations, you can simply survive in Borderlands 4 by shooting your enemies with whatever weapons you have. However, once you increase the difficulty or face endgame challenges, you’ll need more than just luck and determination.
Like previous games, Borderlands 4 allows you to use Shields to protect yourself. The effectiveness of your elemental damage will depend on the defenses your enemies have. If you want to improve your game or need a quick reminder, this guide covers the essentials.
Elemental Damage and Weaknesses
Every bullet, explosion, and melee attack in Borderlands 4 deals one or more types of elemental damage. Almost all enemies can take damage from all types, except for the very rare ones immune to specific elements. Depending on the color of an enemy’s health bar, using an element they’re weak against will make it easier to defeat them.
- A blue health bar means they have an energy shield.
- A yellow health bar indicates armor or mechanical parts.
- A red health bar signifies organic flesh.
Some enemies, especially tougher ones like bosses and badasses, have multiple health bars. The topmost bar is always depleted first, then the next one underneath, and so on.
Elemental Matchups
Using the correct damage type against enemies speeds up their defeat, but be cautious — the same applies to your allies.
| Damage Type | Color | Strong Against | Weak Against |
|---|---|---|---|
| Kinetic | White | None | None |
| Incendiary | Orange | Flesh | Armor, Shields |
| Cryo | Light Blue | Armor | Shields |
| Shock | Dark Blue | Shields | Flesh, Armor |
| Corrosion | Dark Green | Armor | Flesh, Shields |
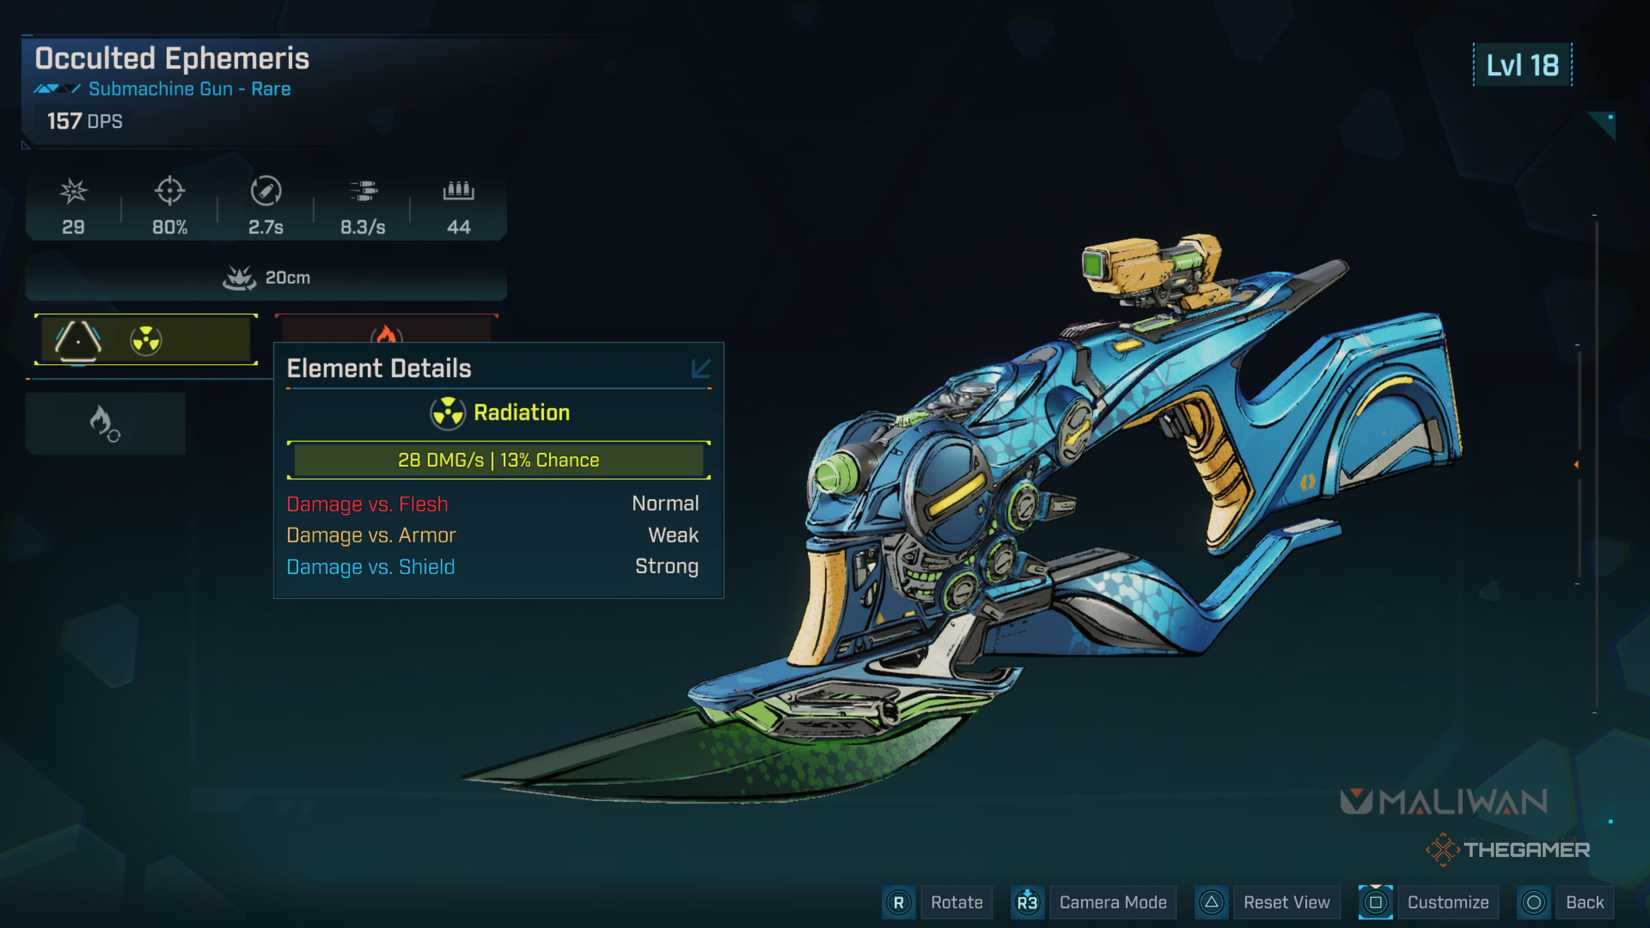
| Radiation | Light Green | Shields | Armor |
Kinetic damage is basic and doesn’t have specific strengths or weaknesses. Shock damage works better against shields, while corrosion is more effective against armor. Incendiary damage is especially weak against armor and shields, and corrosion isn’t effective against flesh or shields.
Status Effects
Most weapons with an elemental property have a chance to inflict their respective Status Effect on enemies with each hit. Affected targets will continuously take damage of that element’s type until the effect ends. Characters often have skills that boost the effects of specific elements.
What is Cryo Efficiency?
Cryo causes enemies to freeze gradually as they take damage. The higher the Cryo Efficiency, the faster an enemy will freeze. When frozen, an enemy cannot move and will take Cryo damage like any other status effect.
If Cryo Efficiency is 100 or less, you might kill the enemy before they freeze. When it exceeds 100, they will freeze faster as you continue to deal Cryo damage. Avoid dealing incendiary damage to prevent warming enemies and resetting their freezing progress.
Armor or Energy Shield?
Your character’s shield can be either yellow (armor) or blue (energy shield). While elemental matchups matter, understanding the differences between these shields can help you choose what suits your playstyle best.
Energy Shield
Energy Shields are the classic type. They add a blue health bar that regenerates quickly when you’re not taking damage. Its stats include:
- Capacity: Total blue hit points.
- Regen Rate: How many blue points you recover per second.
- Regen Delay: How long you must wait after damage before the shield begins to regenerate.
Energy Shields are useful because they recover fast, letting you get back into the fight quickly. Just watch out for shock damage, as it can drain your shield swiftly.
Armor Shield
Armor Shields recover more slowly but reduce the damage you take while active. This allows you to stay in combat longer, but once your armor is depleted, you’ll take more real damage.
Your armor health is divided into segments, usually two, but some shields may have more. When the meter above the health bar fills, one segment instantly restores. Damage doesn’t stop the meter from filling, so your armor replenishes bit by bit regardless of hits.
Armor shields have:
- Capacity: Total yellow hit points across all segments.
- Segments: How many chunks your armor is divided into.
- Damage Reduction: The percentage of damage mitigated while armor is active.
Armor is ideal for tanking, especially against rapid-fire or weak attacks that can whittle down your defenses. It can turn devastating strikes into manageable hits, but staying alive still depends on your overall health and positioning.