Select Language:
After it was first shown during the 2025 Game Awards, Highguard finally came out at the end of January. This free-to-play raid shooter has many systems for players to learn. At first glance, the game might seem simple, but it quickly reveals multiple layers of complexity once you play for a few hours.
The tutorial does a good job of teaching the basics, but since there are no real raids until you team up with others, your first matches might feel confusing. That’s why we’ve put together some helpful tips for beginners in Highguard.
Which Character to Choose
There are eight characters available when you start playing Highguard. They belong to different archetypes—Assault, Defense, Recon, and Support—and most can be played either offensively or defensively with the right gear. While they each have unique abilities, early on, you’ll probably rely more on your weapons, and abilities will take a backseat. Pick the character that looks coolest to you. If you want a quick start, go with someone like Slade, who has straightforward abilities.
Always Pick the Recommended Base
At the beginning of each game, if you’re playing with new teammates, always select the recommended base. This selection is based on your team’s overall composition, including archetypes and abilities. Playing enough matches will help you understand all the bases, but be sure to check out their layout and details before starting a new game. This knowledge will help you make better choices as you learn more about Highguard and its characters.
What to Reinforce in Your Base
In the first phase of a match, you set up your base and choose your loadout. You have five pieces of equipment that can reinforce walls—there are fifteen total, including those from your teammates. For beginners, it’s best to reinforce the five walls closest to each objective. You can also reinforce two walls in the same column. This simple approach will delay enemies and give your team more time to respond.
Farm Crystals or Search for Chests?
To get loot, you can either farm Crystals or search for weapons and items in the map’s chests. Both take time. Some areas have crystals near chests, but you should decide which strategy to focus on. From experience, it’s smart to break all crystals during the initial gear-up phase—doing so prevents your opponents from getting rare weapons early, which can be crucial. Then, save up your currency, buy some armor and a weapon, and focus on opening chests to improve your gear.
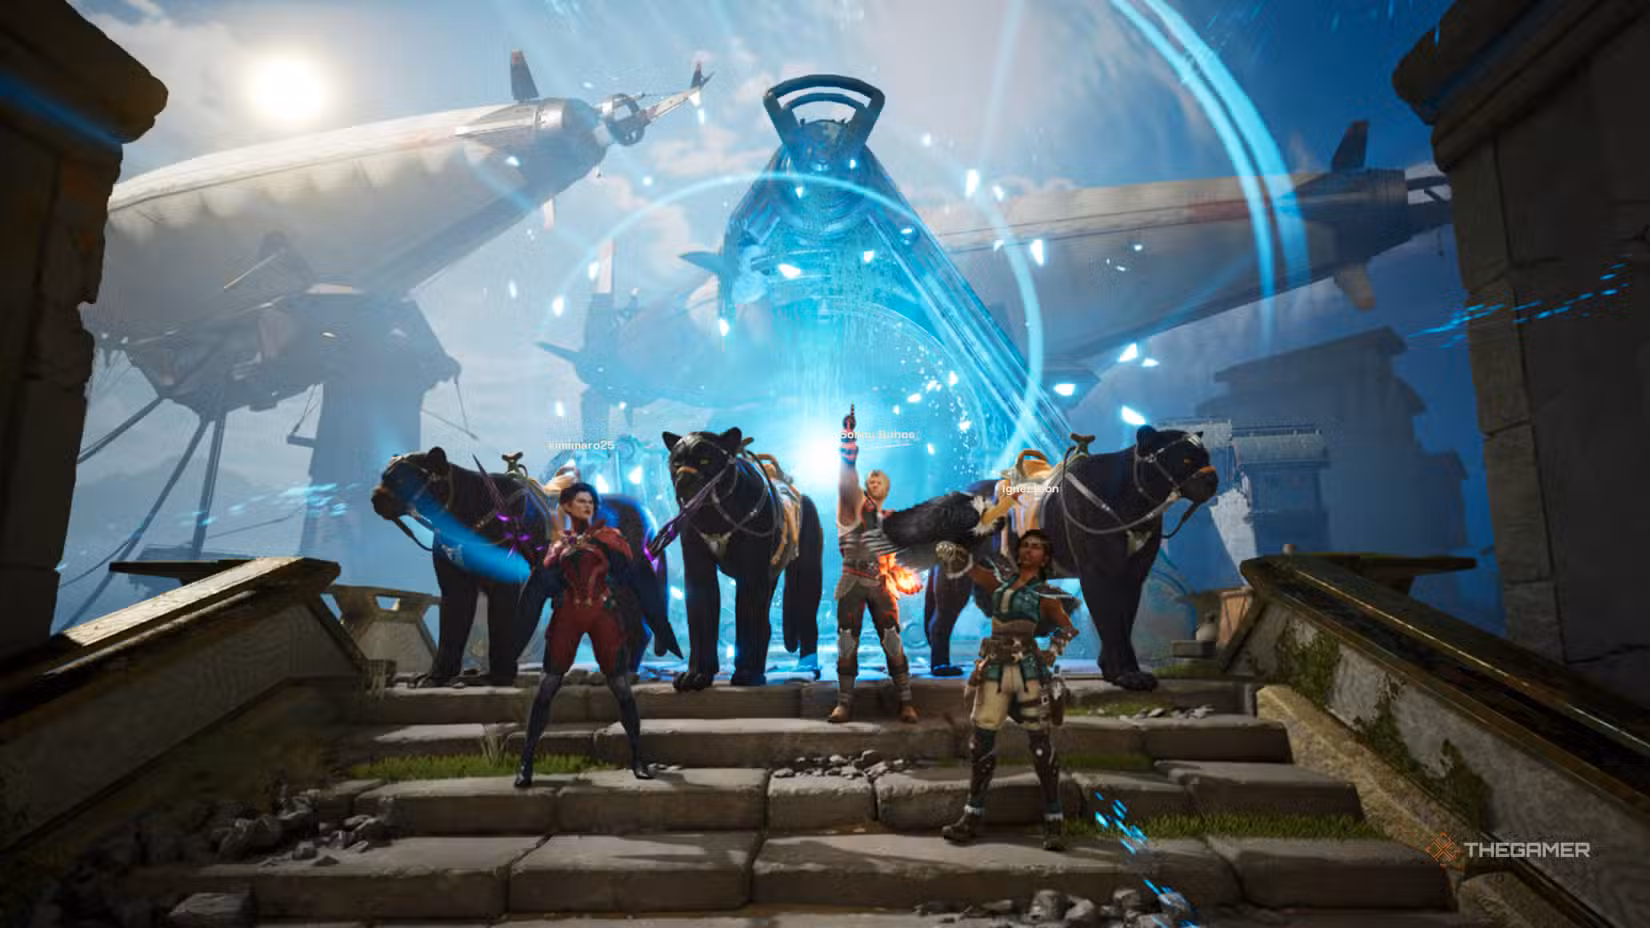
When to Use Your Mount
Highguard lets you summon a mount almost anytime. Use it primarily for two reasons: to reach locations quickly and to escape danger. During loot phases, your mount is great for quickly searching for chests and crystals. When you’re ready to grab the Shieldbreaker, summon it once you have the sword. Keep in mind, using the mount makes you more vulnerable; it’s easier for enemies to target you, and if your mount gets downed, you’ll be stuck for a few seconds. When chasing opponents or fighting, it’s better to dismount, as your mount’s size and health make you an easy target, and you’ll be at a disadvantage in combat.
Watch Out for the Supply Drop
After a raid ends with survivors, a Supply Drop will appear on the map, marked by an icon. It will drop on the ground after a set timer. Although fighting over the drop can be risky because enemies will want it too, the rewards are worth it. These drops often contain multiple armor pieces and sometimes the Big Rig—a powerful, heavy weapon with high stability, ammo, and damage. It’s one of the best weapons in the game, but note that it’s a one-time item; you don’t respawn with it if you die.
Bait with Your Bombs
When infiltrating an enemy base, placing bombs is key. Decide whether to attack generator A, B, or the main anchor. Often, a good tactic is to send three teammates to the same spot to plant and protect the bomb. However, if your team members are skilled with weapons or abilities, splitting up—two to one location and one to another—can be more effective. Remember, placing and detonating bombs strategically can turn the tide of a match.
Always Keep a Thumper Charge
Thumper Charges are explosive items available at the Trader. Use them to blow open walls inside enemy bases quickly. Always keep at least one in your inventory for special loot sites, where crystals and chests are behind reinforced doors or barriers that cannot be destroyed with an axe. These doors can be broken using a Thumper Charge or a rocket launcher, but the charge is more efficient and easier to use.
Using Your Mount Effectively
Use your mount mainly to get from place to place fast or to escape dangerous situations. During the loot phase, it’s best to use your mount to quickly gather items. When pursuing enemies, be cautious—fighting on the mount puts you at a disadvantage. The mount’s size makes you an easy target and it’s fragile if you’re not careful. If an enemy has the Shieldbreaker and you want to chase them, it’s often smarter to teleport back to your base, hide, and wait for a better opportunity rather than risking a direct chase on the mount.