Select Language:
Quick Links
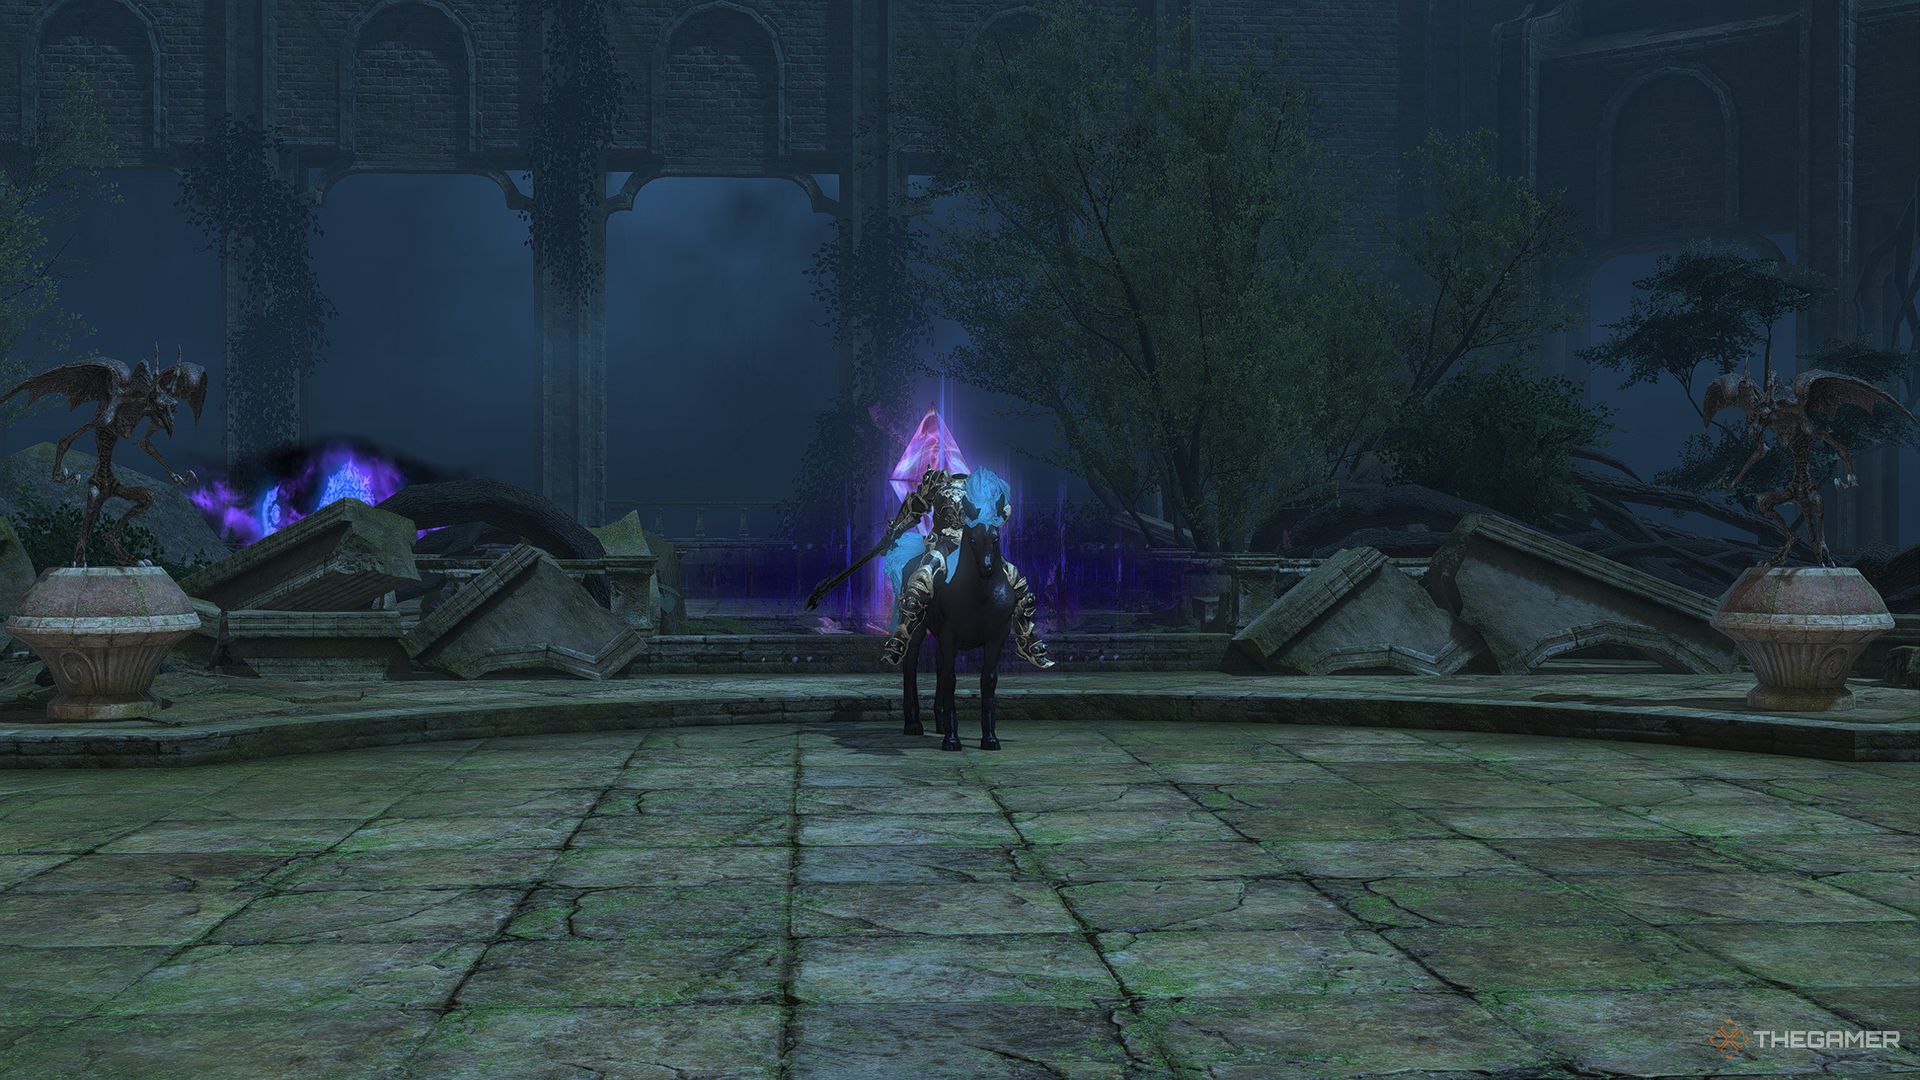
Amdapor Keep (Hard) is a level 50 dungeon in Final Fantasy 14. This challenging version of the standard Amdapor Keep is the fourth dungeon focusing on the ancient city of Amdapor. Despite halting the cultist activities previously, a malevolent force has now reemerged in the ruins, calling for a brave adventurer once again.
Although its title suggests higher difficulty, Amdapor Keep (Hard) does not necessarily pose more of a challenge than its regular counterpart. In the sections below, we’ll examine each boss in this dungeon, their abilities, and strategies to defeat them.
How to Unlock Amdapor Keep (Hard)

To gain access to Amdapor Keep (Hard), you first need to finish the level 50 main scenario quest ‘The Ultimate Weapon’, along with the side quest ‘Ghosts of Amdapor’, which opens up the regular Amdapor Keep. After that, you can start the quest ‘For Keep’s Sake’ from Lauriane in Mor Dhona (X:22.1, Y:8.6). Keep in mind that you’ll need an item level of 90 to enter this dungeon.
Anchag
The initial boss in Amdapor Keep (Hard) is Anchag. Surrounding the battlefield are four Foreboding Statues, which play a significant role in one of Anchag’s attacks, so keep these in mind. Additionally, the boss’s attacks can damage these statues, so it’s crucial to keep Anchag away from them as you handle the following fight mechanics.
|
Attack Name |
Type |
Details |
|---|---|---|
|
Yggr |
Tether/Debuff |
This attack targets a player, tethering to them and dealing damage three times. Each hit gives the player Vulnerability Up and Infirmity. To dodge this attack, move behind one of the Foreboding Statues, which will redirect the tether to the statue instead. |
|
Valfodr |
Line AoE |
Anchag will target a player and charge towards them, creating a line AoE that inflicts damage. Make sure to move away from the party while ensuring Anchag doesn’t hit a statue. |
|
Hall of Sorrow |
Circle AoE |
Anchag will deal damage in a circle AoE. Move out of the AoE indicator to minimize damage taken. |
Anchag will cycle through these attacks until defeated. When targeted by Yggr, quickly hide behind a statue to prevent receiving Vulnerability Up, which will amplify the damage you take. If Anchag demolishes all the statues during the encounter, you won’t have any refuge from Yggr’s attack, so approach with caution.
Boogeyman
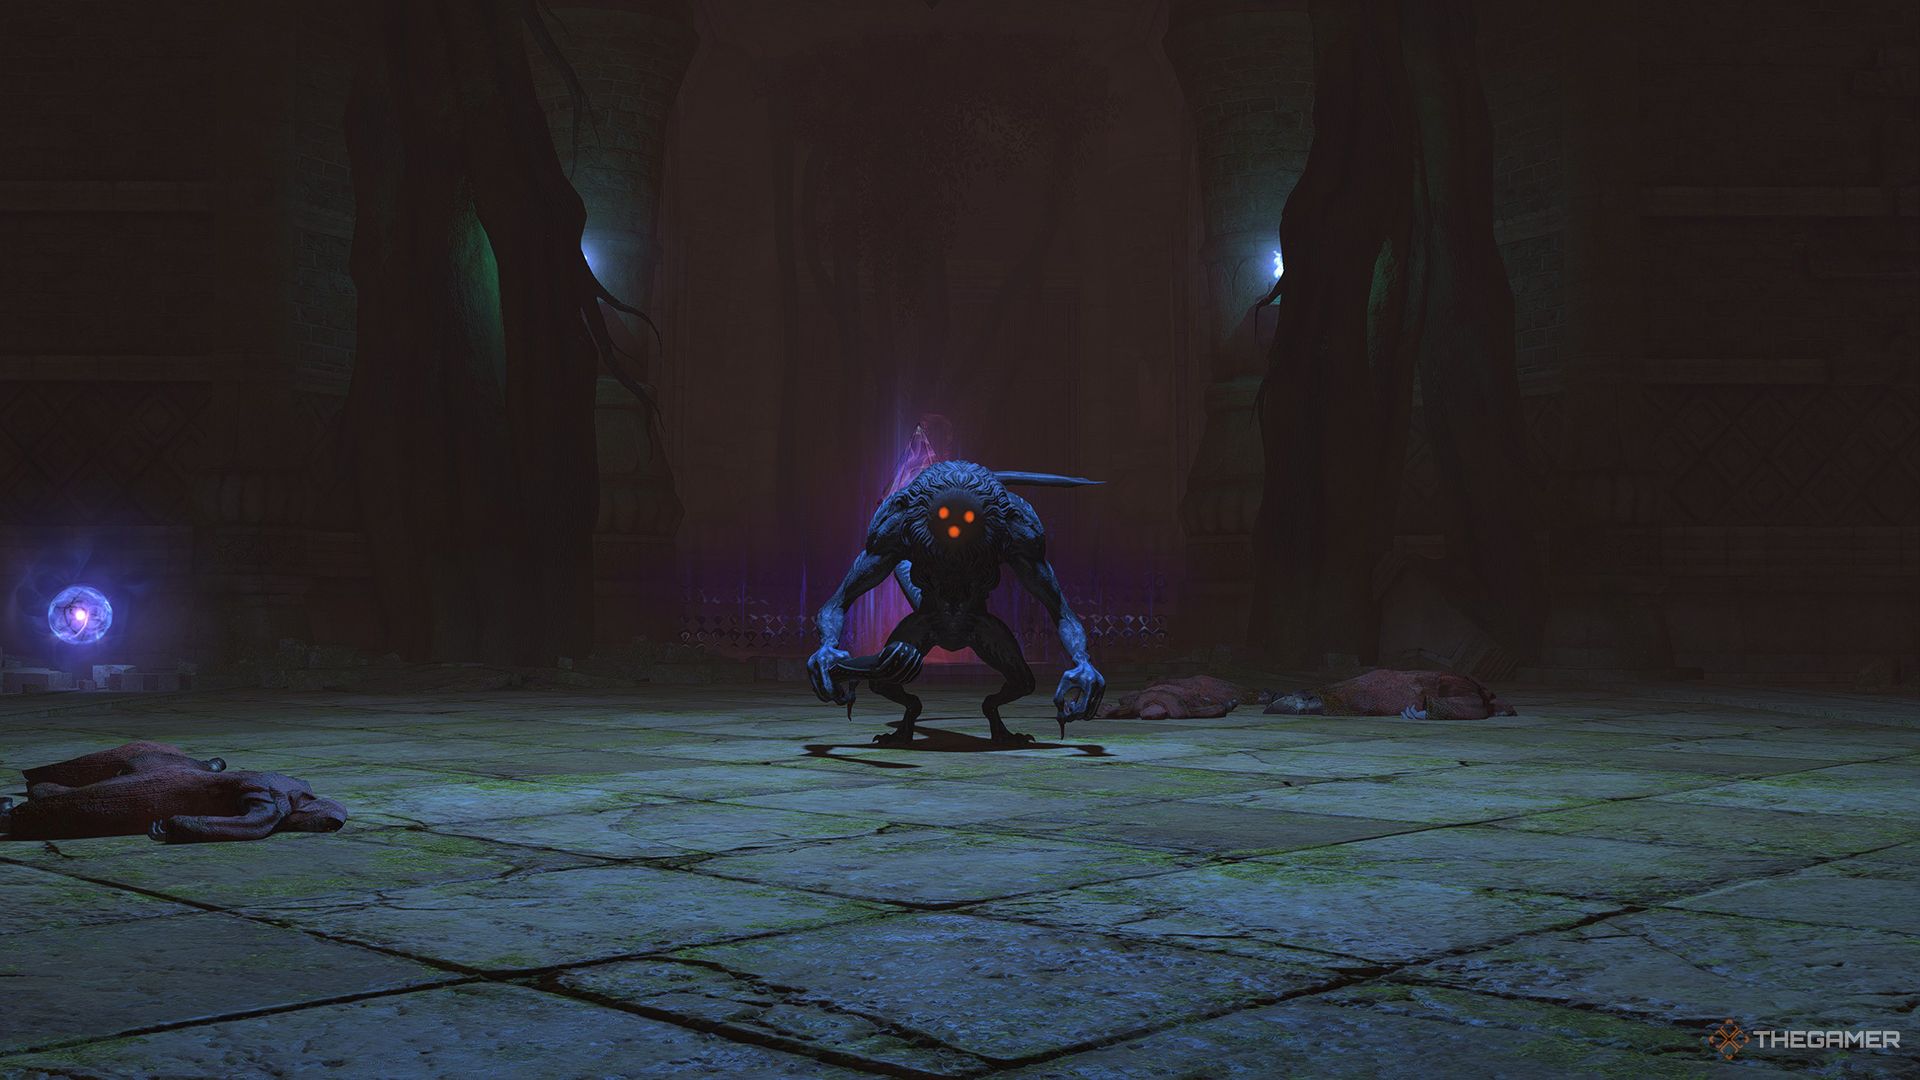
The second boss you will encounter in Amdapor Keep (Hard) is the Boogeyman. Below are its attacks and mechanics:
|
Attack Name |
Type |
Details |
|---|---|---|
|
Smite of Gloom |
Single Target Damage |
This deal damage to the primary target of the boss. |
|
Invisible |
Special |
The Boogeyman will turn partially invisible and untargetable while gaining a stacking damage buff, continuing to cast Smite of Gloom. To uncover the Boogeyman, break the Luminescence Orb, which grants the Irradiated buff within a small area. When this buff expires, it will brighten the area around you, revealing the Boogeyman if near enough. |
|
Ripples of Gloom |
Roomwide AoE |
This inflicts damage to all members of the party, so AoE healing is recommended. |
|
Batter |
Circle AoE |
This circular attack deals damage around the Boogeyman and stuns players caught in it. |
|
Entrance |
Conal AoE/Gaze |
This attack inflicts the Confused debuff on players in the targeted area, causing them to attack allies unintentionally. It’s initiated right after Batter, so if you get stunned from the previous attack, you will likely be affected by Entrance. |
|
Doppelganger |
Special |
The Boogeyman will split into two and become invisible, while summoning several Bloodmoon adds. Quickly deal with the adds and use the Luminescence Orb to reveal both versions of the Boogeyman. |
These mechanics will continue until both Boogeymen are defeated. It’s crucial to eliminate the summoned adds swiftly as they can overrun your party if left unchecked. Additionally, you should try to gather your party members around the Luminescence Orb before breaking it so more players can benefit from the buff, making it easier to reveal the boss.
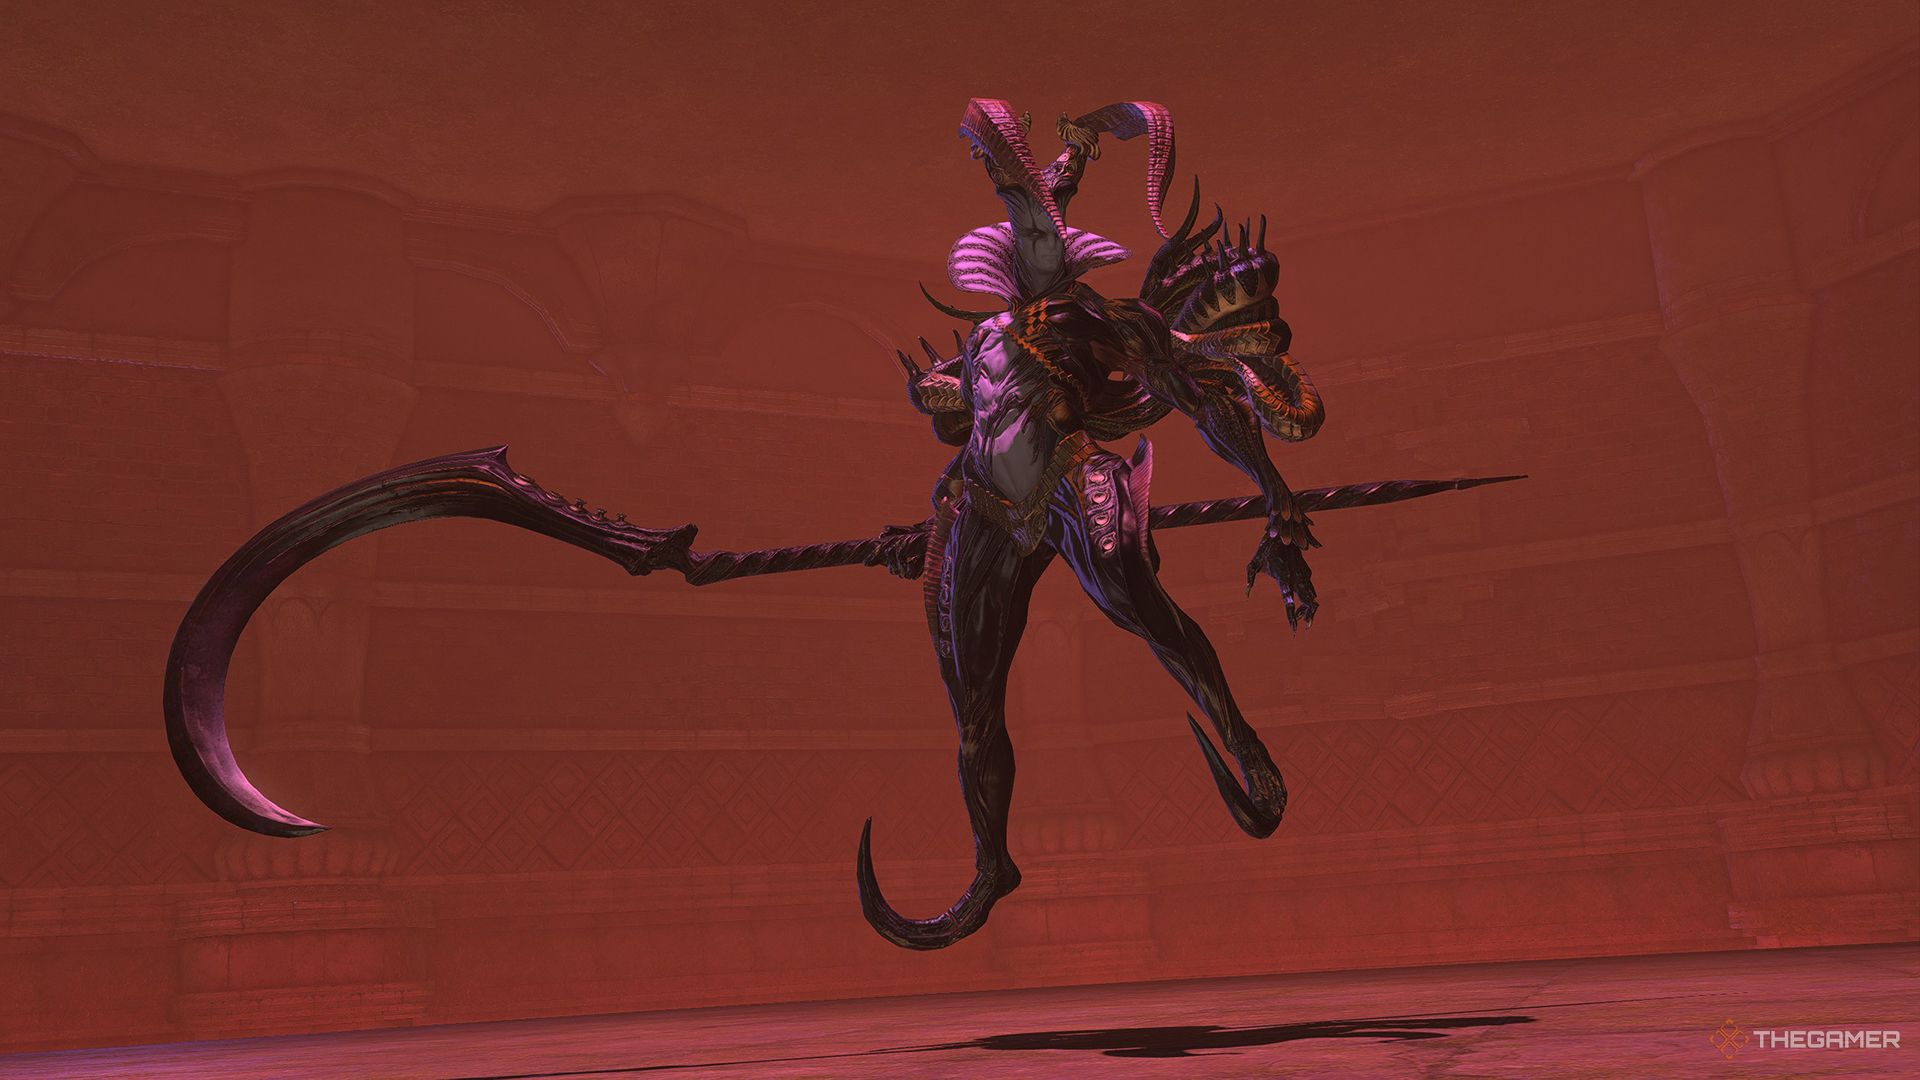
Ferdiad
|
Attack Name |
Type |
Details |
|---|---|---|
|
Blackout |
Roomwide AoE |
This attack inflicts damage on everyone in the party. |
|
Wild Card |
AoE/Summon |
Summons adds around the arena that tether to Ferdiad, gradually increasing his area of influence and making the AoE larger. This AoE deals damage and causes Bleeding; it stops growing when all adds are killed, so make sure to eliminate the adds quickly and then move out of the AoE indicator. |
|
Jester’s Reap |
AoE |
Ferdiad will first trap several players in Suppuration adds, immobilizing them. He then targets a player with Jester’s Reap, a conal AoE that hits for large damage. Free yourself from the Suppuration and avoid the AoE to escape this combo. Subsequent uses of this attack will involve Cankerous Gobbets, which also immobilize. You must help team members escape these traps so they can dodge Jester’s Reap. |
|
Death Scythe |
AoE |
A spinning blue scythe will hover above a player, dealing continuous damage in the affected area. Get out of this zone to prevent harm and heal as needed. |
|
Abyssal Charge |
Intersecting Line AoEs |
Spears of light will appear at the edges of the arena and then charge forward, creating intersecting line AoEs across the field. Move to a safe location between the lines to avoid taking damage. |
Ferdiad recycles these mechanics until he is defeated. Make sure to assist your teammates escape from the Suppuration and Cankerous Gobbets, and quickly handle the adds during Wild Card to avoid further AoE damage.