Select Language:
After immersing yourself in the enchanting landscapes, enigmatic caves, and darker regions of Baldur’s Gate 3 for hours, these areas can begin to feel familiar. However, it can be surprising and frustrating to discover that progressing too far in the story can leave you locked out of certain locations forever.
Unfortunately, this is an inevitable part of the game. Once you cross specific boundaries in the narrative, certain areas will no longer be accessible unless you revert to older save files. The good news is that we can guide you on where these critical points of no return are, ensuring you’re well-prepared and not taken by surprise.
Act One: The First Point of No Return
This first instance isn’t strictly a "point of no return," as you’ll still have the ability to return to earlier areas before reaching it. However, it’s significant because advancing beyond this point will prevent you from accessing specific content if you haven’t experienced it yet.
You reach this point of no return as you enter the shadow-cursed lands, which can be done via two routes: either through the Mountain Pass or by taking the elevator in Grymforge.
Important Warning: If you haven’t saved NPCs in Waukeen’s Rest, they will die if you venture into the Mountain Pass, regardless of whether you go further into the shadow-cursed lands.
Mountain Pass
To access the Mountain Pass, head to the western edge of the map, beyond Waukeen’s Rest (X:-79, Y:572). You’ll encounter a cutscene featuring a group of githyanki attacking Flaming Fist soldiers. You’ll need to handle this githyanki patrol—whether through combat or negotiation—before you can proceed further east into the Mountain Pass.
Within the Mountain Pass, you have the option to continue Lae’zel’s personal quest by locating Crech Y’llek or to advance into the shadow-cursed lands.
Grymforge
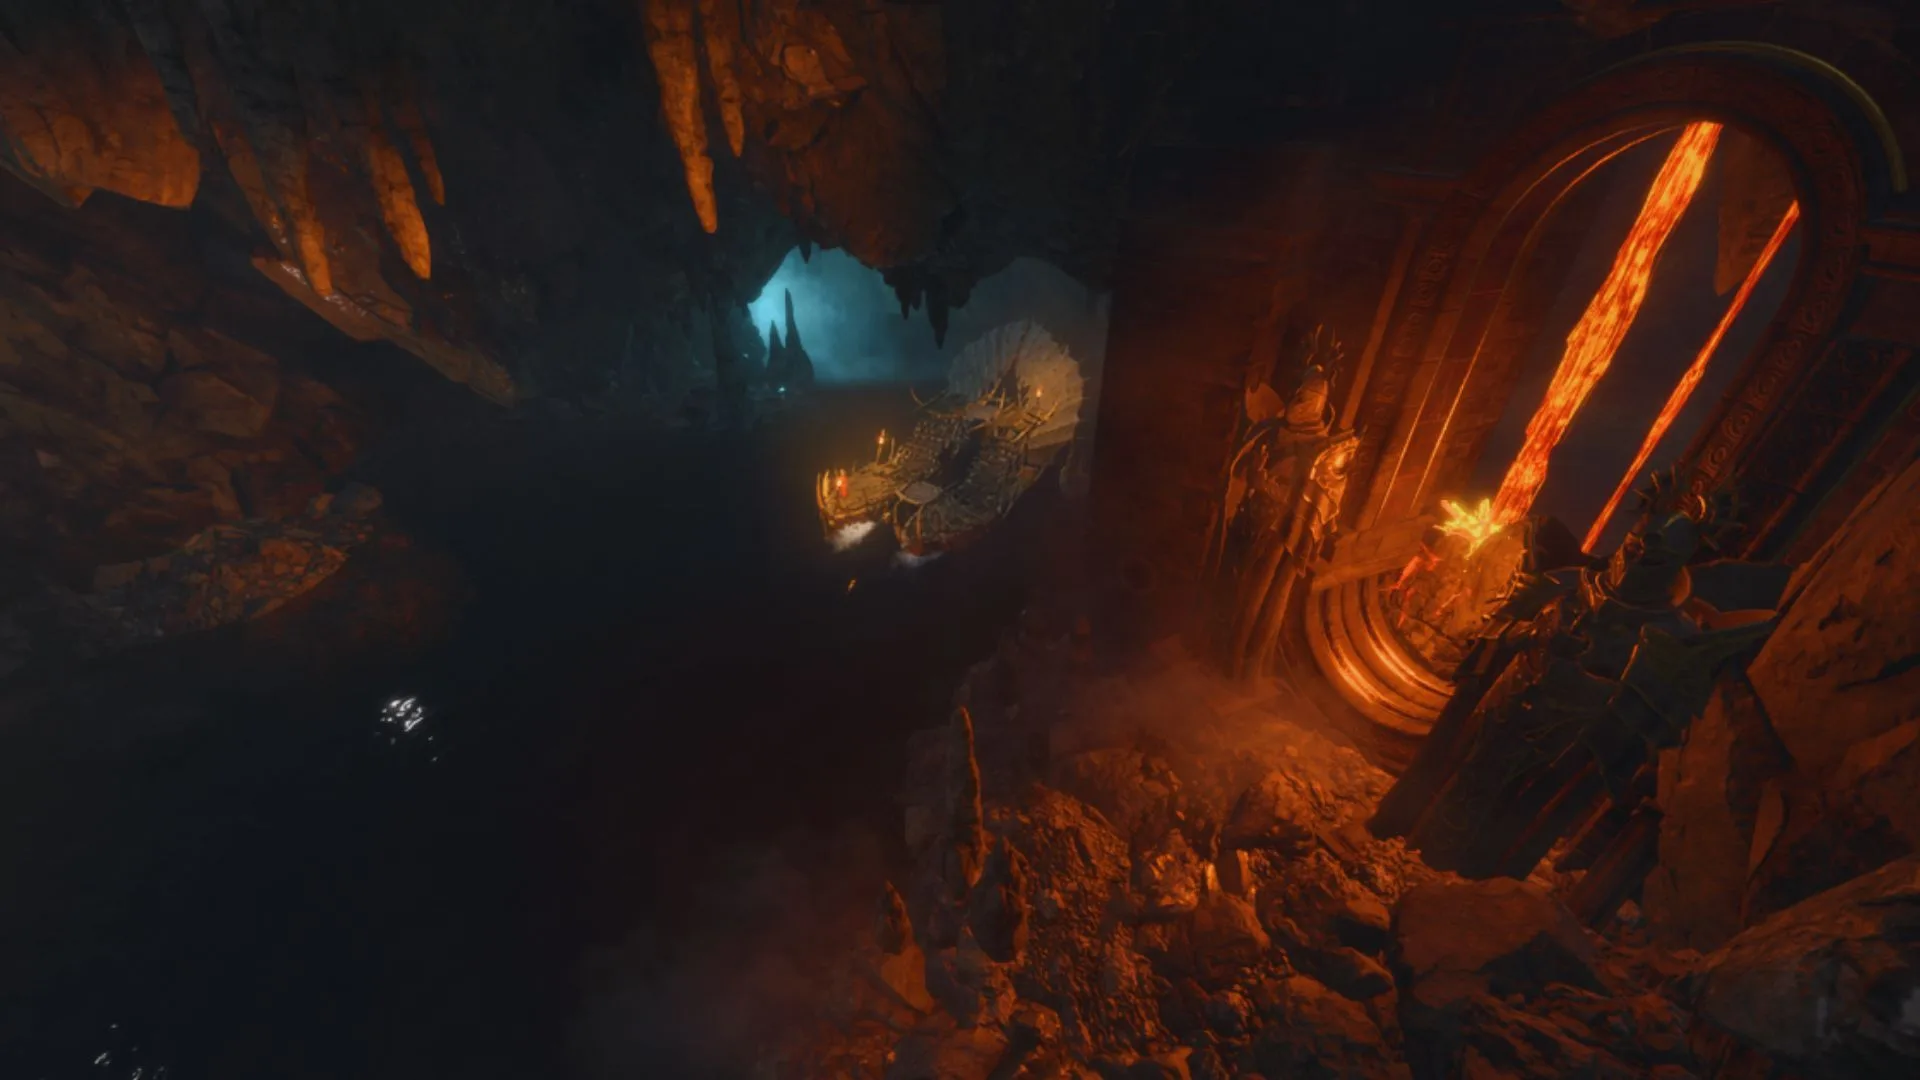
Grymforge is a duergar outpost located in the Underdark. You can reach it by traveling to the Decrepit Village in the Underdark, accessible from the Underdark Beach (X:19, Y:208) waypoint, where you’ll need to commandeer a duergar boat.
During your initial trip to Grymforge, expect to confront hostile duergar. Once you arrive, you’ll find yourself involved in a situation where Nere, a True Soul, is trapped due to a cave-in. You can choose to aid him in attacking the outpost or save several deep gnome slaves, the latter earning you Barcus Wroot’s loyalty and his valuable gloves.
After this encounter, you can use the outpost’s elevator to reach the shadow-cursed lands.
Pro Tip: Grymforge is vast and packed with secrets like the Adamantine Forge and the Sentient Amulet. Take your time exploring before moving on!
Act Two: Another Critical Point of No Return
This stage definitely locks you out of all locations from Act One, including the Mountain Pass and Underdark, once you move past it.
Important Note: This progression also prohibits you from completing or will automatically fail certain side quests, like saving Wulbren and the tieflings. Ensure you accomplish everything you wish to do before passing this threshold.
This moment occurs in the Gauntlet of Shar, located deep beneath the Grand Mausoleum (X:-174, Y:79) in the shadow-cursed lands of Act Two. After completing all trials in Shar’s Gauntlet, you’ll come across a pool of water that teleports you to the Shadowfell, leading you to confront Balthazar and the Nightsong. Entering this portal will represent your second point of no return.
Act Three: The Final Point of No Return
The last point of no return marks the transition from Act Two to Act Three and occurs when you decide to advance to Baldur’s Gate. Progressing here will prevent access to all previous areas, including everything from Act One and Act Two.
To reach this point, journey to the far western area of the shadow-cursed lands in Act Two, situated north of the Moonrise Towers (X:-151, Y:-96) and southwest of the Grand Mausoleum (X:-174, Y:79).
Caution: If you’ve angered Vlaakith during your time at the Githyanki Creche, prepare to fight an Avatar of Vlaakith along your route just before the waypoint.
It’s essential to deal with Ketheric Thorm and the Nightsong before heading to this point, as neglecting this will lead you into battle against the Absolute’s armies.
Boarding the Skiff in the Baldur’s Gate Sewers
The ultimate point of no return occurs when you board the skiff destined to confront the Netherbrain, hidden within Baldur’s Gate’s intricate sewer system. Once you’ve gathered all three Netherstones, you can embark on your final challenge, which will consist of more than just one battle.
Note: You cannot change your party after boarding the skiff.
Taking the skiff will mean leaving Baldur’s Gate behind and abandoning any ongoing quests there. Thus, it’s crucial to wrap up any remaining tasks in the city, as these quests can provide invaluable assistance in your final showdown against either the Absolute’s forces or the formidable Brain itself.