Select Language:
Tinkerlands immerses you in a vibrant world filled with crafting, exploration, and survival. While it has similarities to titles like Terraria or Core Keeper, its intricate systems and progressions based on biomes can be challenging to navigate. Even veteran sandbox players might be surprised by its depth.
There are numerous mechanics that can be easily missed at first. Establishing your initial town, delving into dark caves, and enduring harsh environments like deserts or snowy regions each present their own set of challenges. Here are some tips to guide you and help you avoid typical pitfalls as you get started in Tinkerlands.
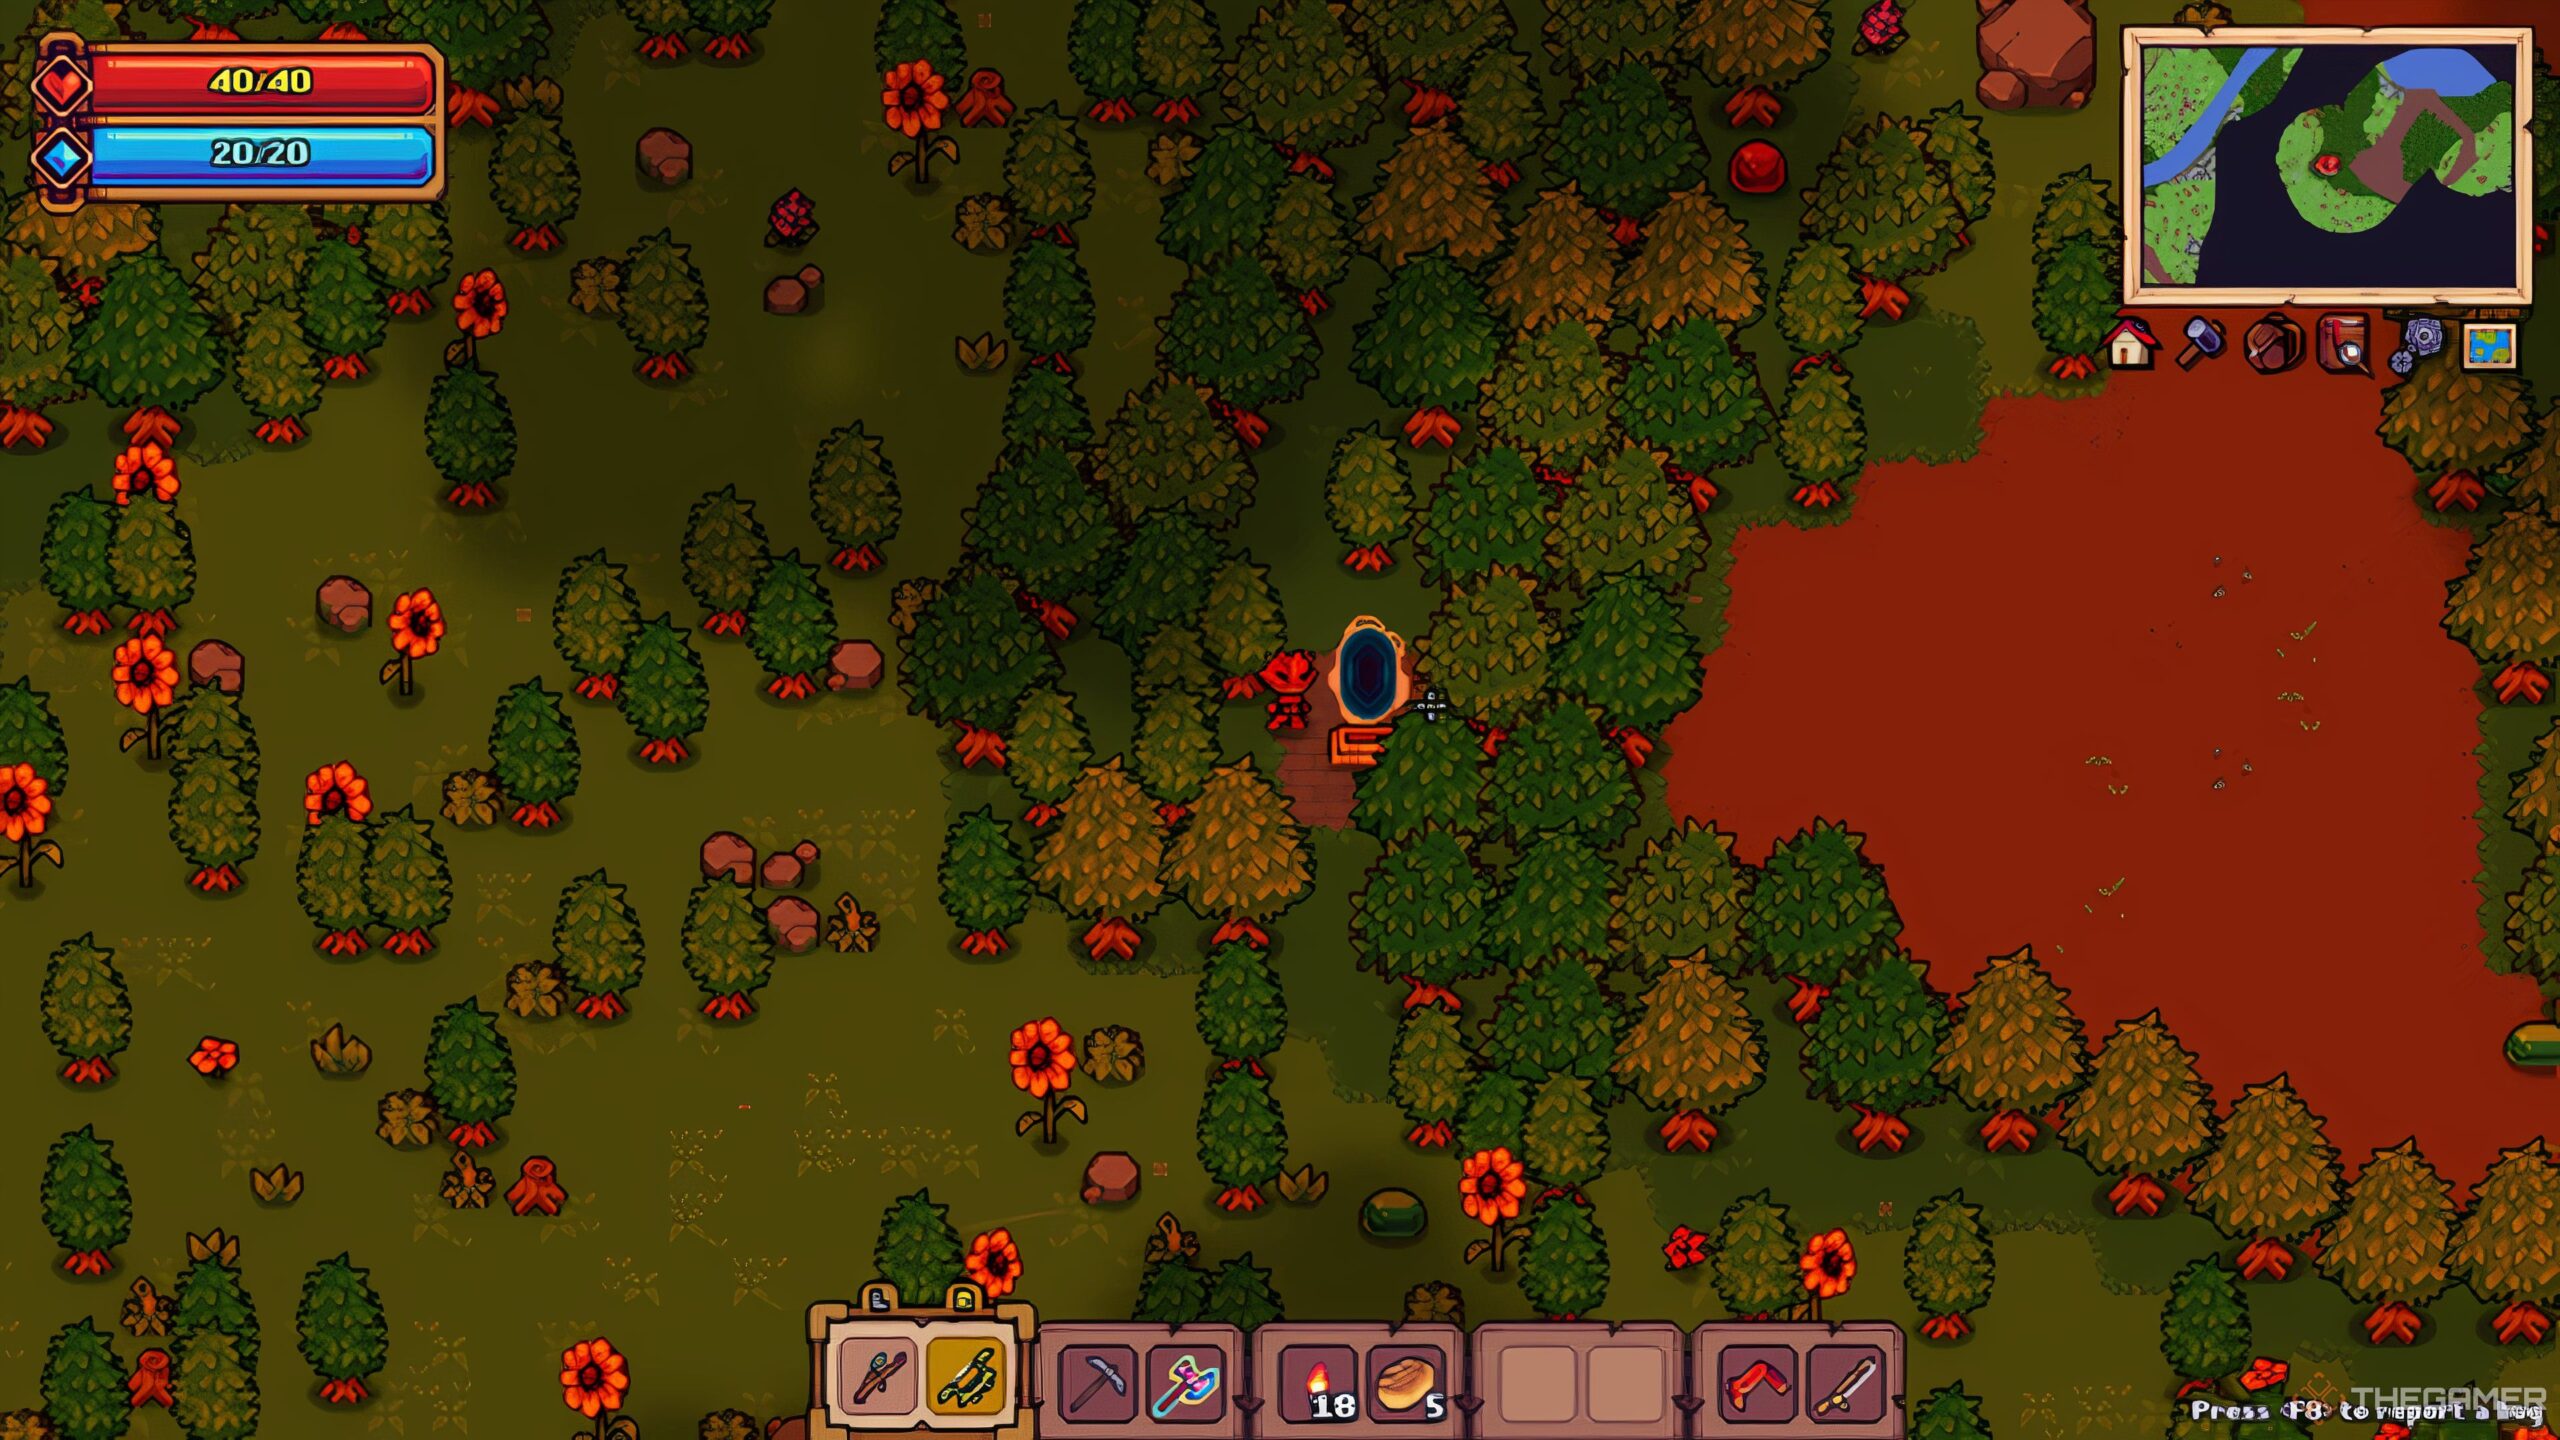
Build Near A Waypoint
Before you get too comfortable with your starter town, consider constructing your base close to one of the island’s waypoints. This decision can save you a lot of travel time later, particularly as you start navigating between islands and move your operations forward.
Setting up near a portal right from the start means you’ll do less backtracking and can easily return to your starter town to grab necessary items.
Tip: Buffs and summoned creatures are reset when you switch islands, so avoid activating them just before fast-traveling, as they will disappear immediately.
Activate Low Specs Mode in Caves
Navigating caves can be daunting if visibility is low. This is where Low Specs Mode becomes handy. To enable it:
- Go to Options.
- Select Graphics.
- Turn on Low Specs Mode.
This mode enhances brightness and removes most of the cave’s ambient darkness, making it much easier to spot treasures, enemies, and potential paths.
Use Quick Stack and Rename Chests
Is your inventory always packed, making it hard to locate items? Open your inventory with Tab and look for the icon that resembles two overlapping chests in the bottom left corner.
Quick Stack allows you to automatically sort items into nearby chests. It will move your entire inventory to a chest while stacking with existing items. To keep essential items, place them in your quickslots.
Tip: To avoid accidentally selling or combining important items, lock them in your inventory by pressing Alt + Left Click.
To further organize, right-click a chest, select the scroll icon at the bottom left, and rename it with a useful title like “Ores” or “Gear.” This small change can make managing your inventory much simpler.
Use Recall Scrolls or Potions
Recall scrolls or potions will teleport you directly back to your ship rather than your town, which is useful for keeping your inventory clear while out in the world. You can store loot in your ship’s chests to manage space.
Recall scrolls are occasionally sold by Traveling Merchants and require 20 MP to use. They’re especially helpful when adventuring with friends.
Grab The Magic Pickaxe and Axe Early
You can locate the Magic Pickaxe and Magic Axe early on by visiting two of the four corner islands on the map. They function like iron-tier tools but use mana instead of durability, allowing for faster mining of gold and rare materials.
Swimming is an option, albeit a slow one, as you won’t encounter hazards but may be delayed without speed enhancements or a ship. Upon reaching a corner island, look for a chest that may contain one of the tools. Note that the specific locations for the Magic Pickaxe and Axe change with each world, so you might need to check all four corners.
Talk Frequently With The Guide
Don’t overlook the Guide NPC; they offer invaluable assistance. Conversing with them gives you quests and helps you understand progression in the game.
Right-clicking the Guide brings up a "Guide" button in the dialogue. Use it to access a panel where you can drop any item into the top slot to view all the recipes involving it. This feature is particularly useful for tracking items that require multiple crafting stages. Also, make sure to turn in any completed quests for rewards like potions or silver.
Prepare for Desert and Snow Biomes
To thrive in tougher environments, you need to prepare in advance. Before venturing into the Desert Biome, seek out the Bard NPC in the Grasslands. Talking to him grants a heat resistance buff for ten minutes.
For added protection in the desert, craft Desert Goggles at a Working Table using:
- Four Leather
- Four Glass
- One String
For the Snow Biome, seek out Fire Flowers in the desert, which can be brewed into Hot Drinks for five minutes of frozen protection. You can also purchase Hot Drinks from The Merchant NPC.
After securing frozen protection, start farming for Yeti Fur in the Snow Biome to create a Warm Scarf, providing permanent protection against freezing. This requires:
- Four Fluff
- One Yeti’s Fur
- One String
Buy A Healing Staff From Travelling Merchants
Acquiring a Healing Staff can significantly aid your survival at the game’s onset. This ranged weapon fires a restorative projectile that heals anyone it hits, including you.
It’s particularly beneficial during the 30-second cooldown of your potions, allowing you to recover health when needed. Keep an eye out for the Healing Staff when visiting Traveling Merchants, as they stock a variety of unique weapons and potions, including Teleport Potions or the Fireball Spell. Always check their inventory for potential upgrades.