Select Language:
If you’ve finally purchased your dream gaming chair, you might feel a bit overwhelmed when you realize that all that advanced lumbar support, dense cushioning, and adjustable features don’t just assemble themselves inside the box. That’s understandable, and you may be wondering how to put a gaming chair together in the first place.
Good news: As someone who has reviewed and assembled numerous gaming chairs alone, I can tell you that putting one together isn’t too hard. While each brand has its unique quirks and step-by-step instructions, they all follow a similar basic process.
First tip: Make plenty of space before you start. The chair itself doesn’t take up much room once it’s put together, but unpacking the box and organizing the parts can be tricky in a tight space. Some chairs include all the tools you need, while others don’t. If you have an Allen wrench, it’s a good idea to find it now because most assembly involves using one. Also, look for your chair’s instructions—whether they’re printed or a QR code linking to a video—so you have guidance throughout. Then, just follow these general steps.
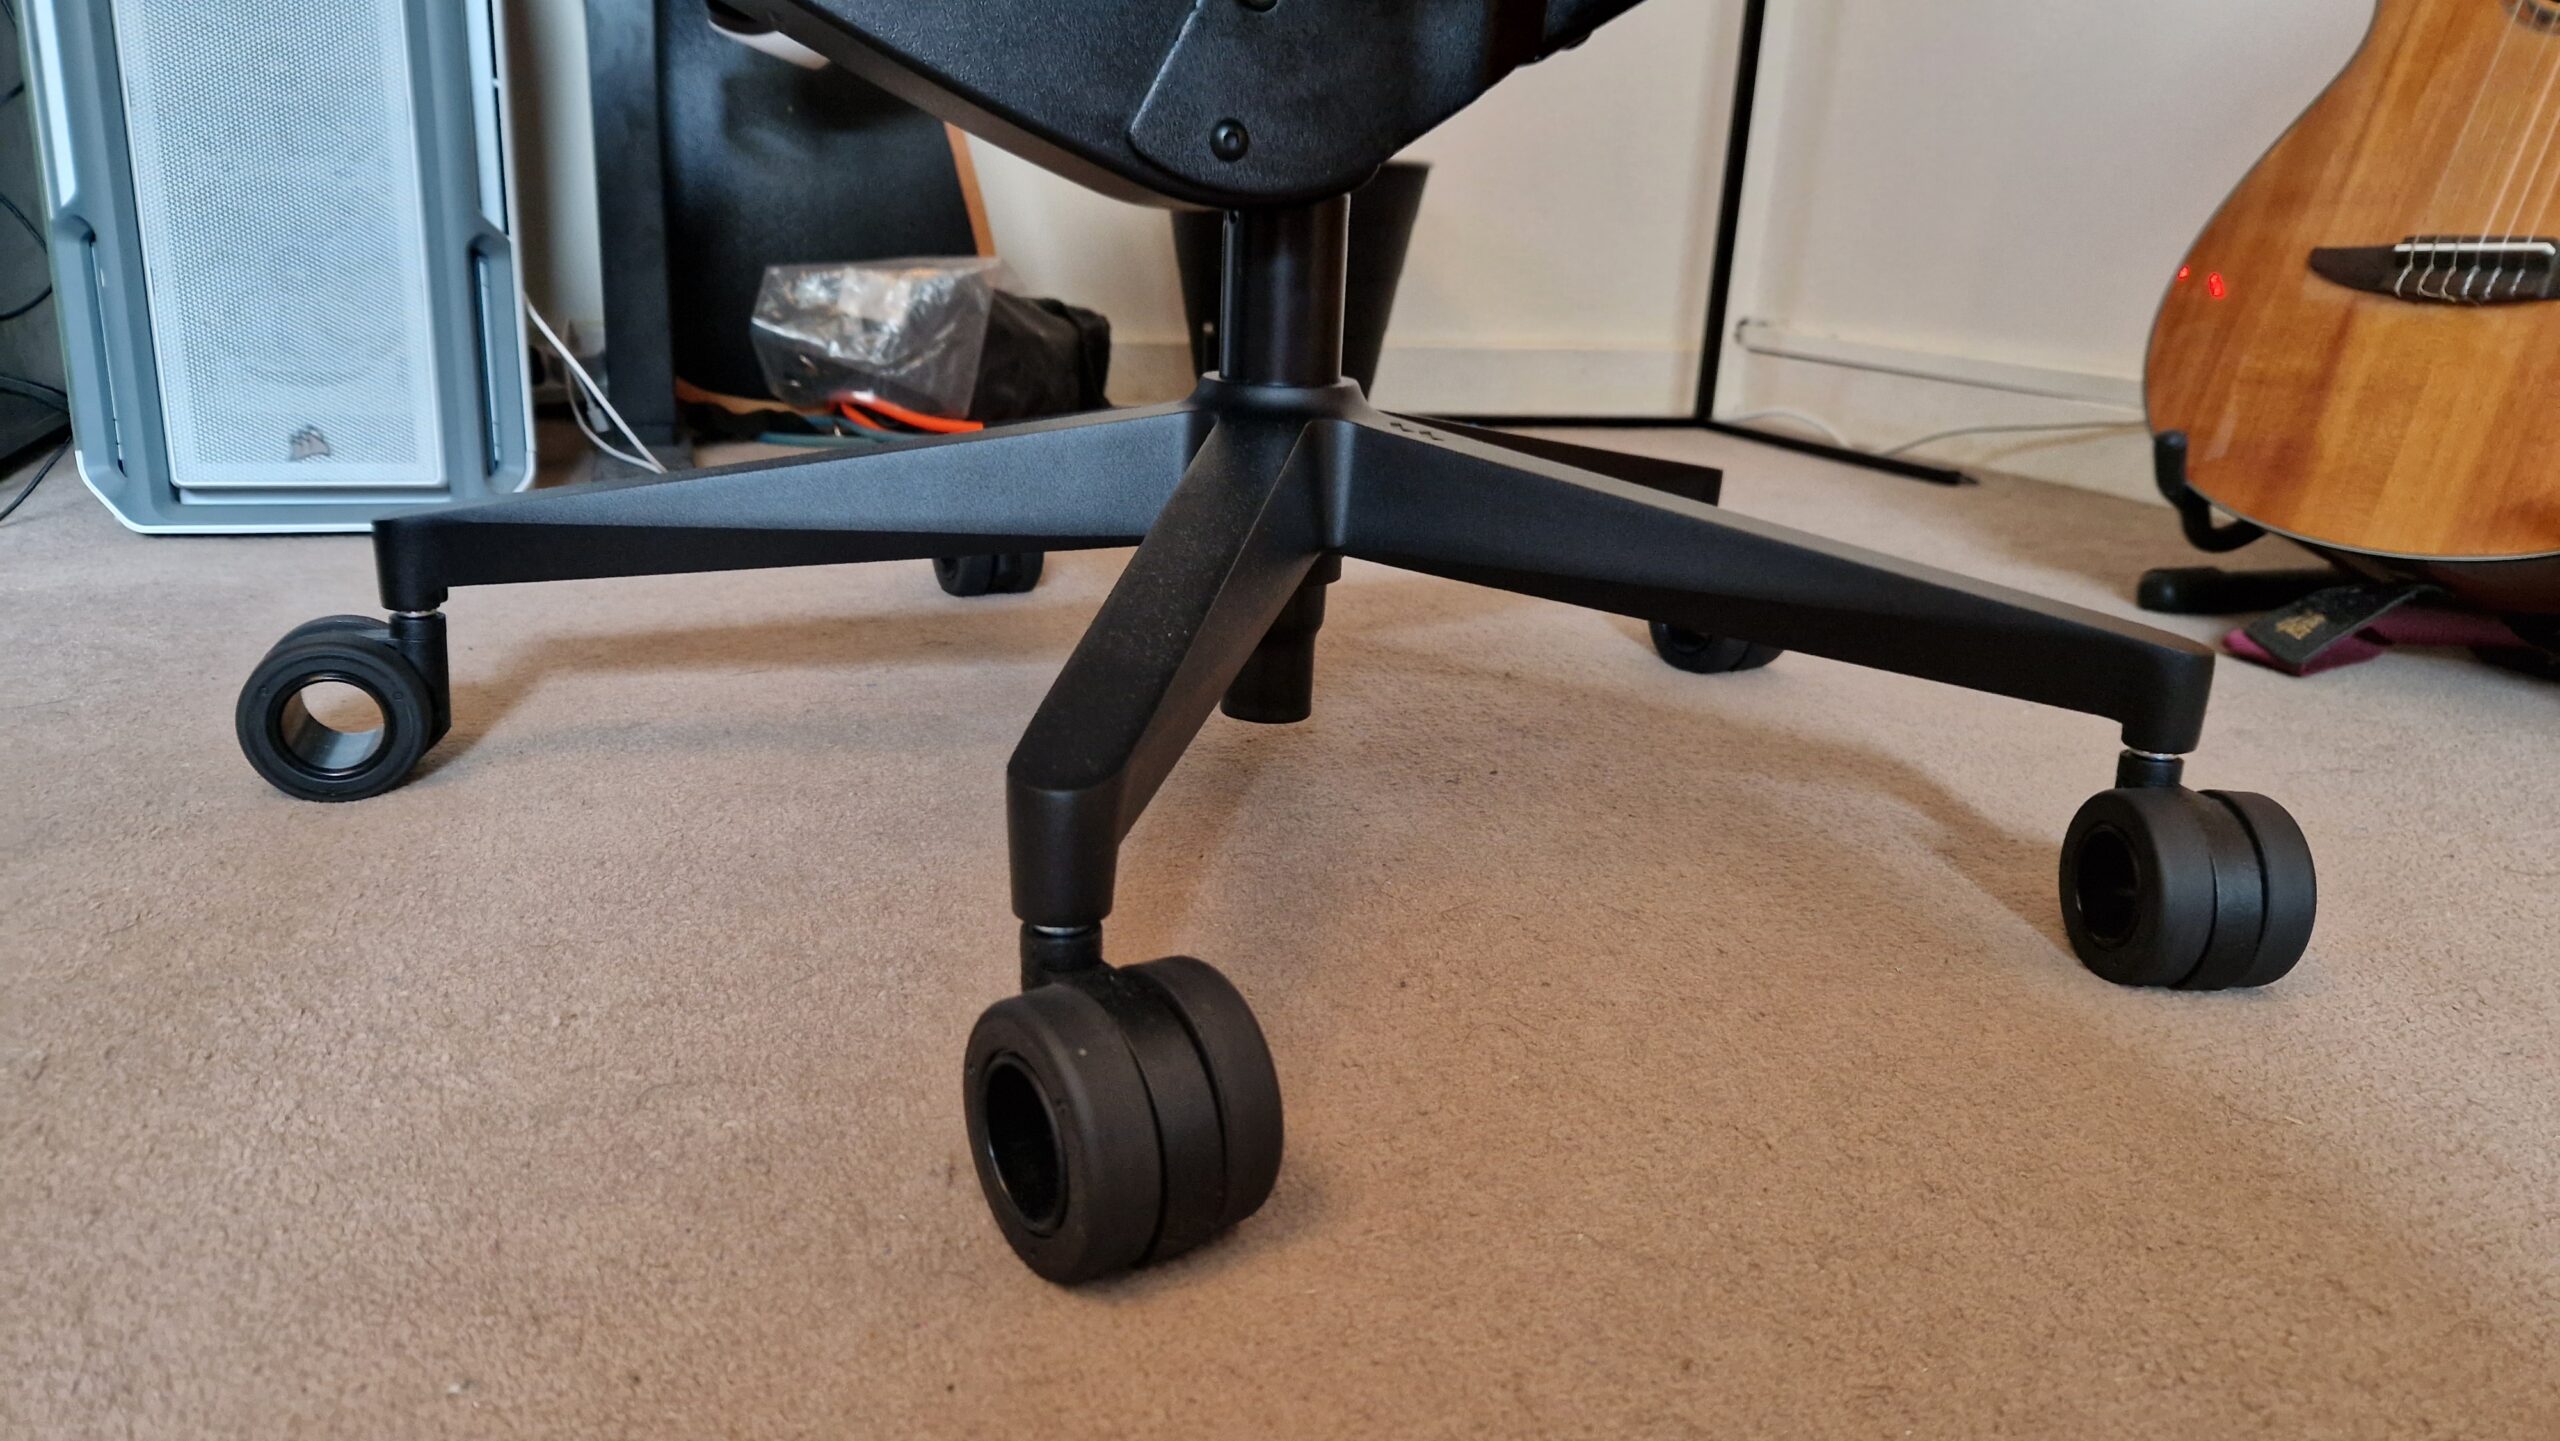
Step 1: Wheels
Your first task is to assemble the wheelbase and attach the casters. Chairs are built from the bottom up, so start here. Usually, the wheels come in a smaller box tucked inside the main package. Look for the part that looks like a five-pointed star—it’s fairly obvious, sometimes with cardboard covers over the legs. Lay the wheels and the star-shaped base out on the floor. Then, take each wheel and push its metal stem into a leg of the base until it clicks in. You’ll know it’s secure when the stem can’t be pulled out easily. Flip the base upright once all wheels are in place.
Step 2: Gas piston
Notice a central hole in the middle of the wheelbase—that’s where the gas piston goes. Often, this part is in a smaller box within the packaging and may have some oil on it. Carefully insert the pipe into the hole, making sure it’s facing upright. Once it’s fully inserted, it will lock in place and shouldn’t come out easily. Check your chair to ensure the pipe is properly seated—usually, the plastic part with a little button should face upwards.
Step 3: Seat base (and possibly armrests)
Next, the seat itself gets assembled. Some chairs have their armrests already attached; others require you to fix them now with bolts. Usually, the bottom of the seat has multiple holes for adjustable armrest positions. If your armrests aren’t pre-attached, find the bolts and armrests, then attach them to the seat base, choosing the wider or narrower holes depending on your preferred armrest width. Once the arms are in place, attach the tilt and recline mechanisms to the underside of the seat with the larger screws provided. Be sure to check your instructions here to avoid installing the mechanism backward—reclining instead of tilting forward, for example. Afterward, lift the seat and place it onto the gas piston and wheelbase. Since most chairs pivot during use, don’t worry about the orientation.
Step 4: Backrest
Depending on your chair model, attaching the backrest can vary. Typically, you’ll find metal brackets sticking out from the back of the seat cushion, sometimes covered in protective cardboard. Use bolts to secure these brackets to the backrest’s frame, aligning the holes correctly. It’s best to insert bolts from both sides gradually, tightening each equally to evenly set the backrest—this helps prevent misalignment. Keep the instructions handy because diagrams are usually included to guide you. Some chairs also come with plastic covers for the brackets; snap these over the metal once everything is tight.
Step 5: Headrest
Finally, add the headrest. If your chair has an ergonomic mesh back, the headrest is usually bolted or strapped onto the top. For more traditional chairs, it might come as a cushion that straps or attaches magnetically. Follow your product’s specific instructions for secure attachment.
Step 6: Ergonomic adjustments
Once assembled, it’s important to set up your chair for comfort. Adjust the armrests so they match the height of your desk. Your arms should rest comfortably at a right angle, helping promote good posture. Position the middle of your monitor at eye level, and tweak the lumbar support until your lower back feels supported—typically, this means adjusting to create a slight curve that follows your spine’s natural shape. Avoid adjusting lumbar support while sitting with weight on it to prevent damage; lift your weight off first. Also, configure recline angles, tilt features, and headrest for optimal comfort. Your head and spine should feel aligned, with the headrest supporting your neck evenly.
Remember, proper adjustments can make a big difference in comfort and ergonomics, helping you enjoy longer gaming sessions without strain. Once everything is set up correctly, you’re ready to start gaming in style and comfort.