Select Language:
Hell Clock: The Great Bell Upgrade Tier List
The Great Bell unlocks early in Act One at your hub town, Quixeramobim. When you interact with it, a menu with multiple upgrade options appears. These nodes serve as improvements in Hell Clock. Higher-tier upgrades provide strong benefits for most runs, while lower-tier choices are more situational or offer small gains.
Use this ranking guide to plan your upgrades based on your preferred playstyle and how your build is evolving. Whether you’re aiming to go deeper into the dungeon or make early runs easier, understanding which upgrades are most effective can help you survive longer and win more often.
Upgrade Effectiveness Rankings
- S: Essential upgrades with a big impact on your performance. Prioritize these early.
- A: Strong options that are very reliable but not always necessary.
- B: Useful in specific situations; build around them if they match your strategy.
- C: Niche upgrades that are worth considering if you have leftover points.
- D: Mostly filler; generally not worth investing in during normal runs.
How to Earn Upgrade Points
You earn points for the Great Bell by increasing your Memory Level, which rises as you complete more dungeon runs.
S Tier Upgrades
| Upgrade | Effect | Why S Tier |
|---|---|---|
| Base Damage | +60 base skill damage (stacks with other nodes) | Provides a flat damage boost that improves all skills significantly. |
| Second Wind | One-time revive per run (with a 300-second cooldown) | Acts as a safety net in tough situations or boss fights. |
| Reliquary Size Upgrade | Increases the number of relics you can equip | More relic slots mean more build flexibility and increased power scaling. |
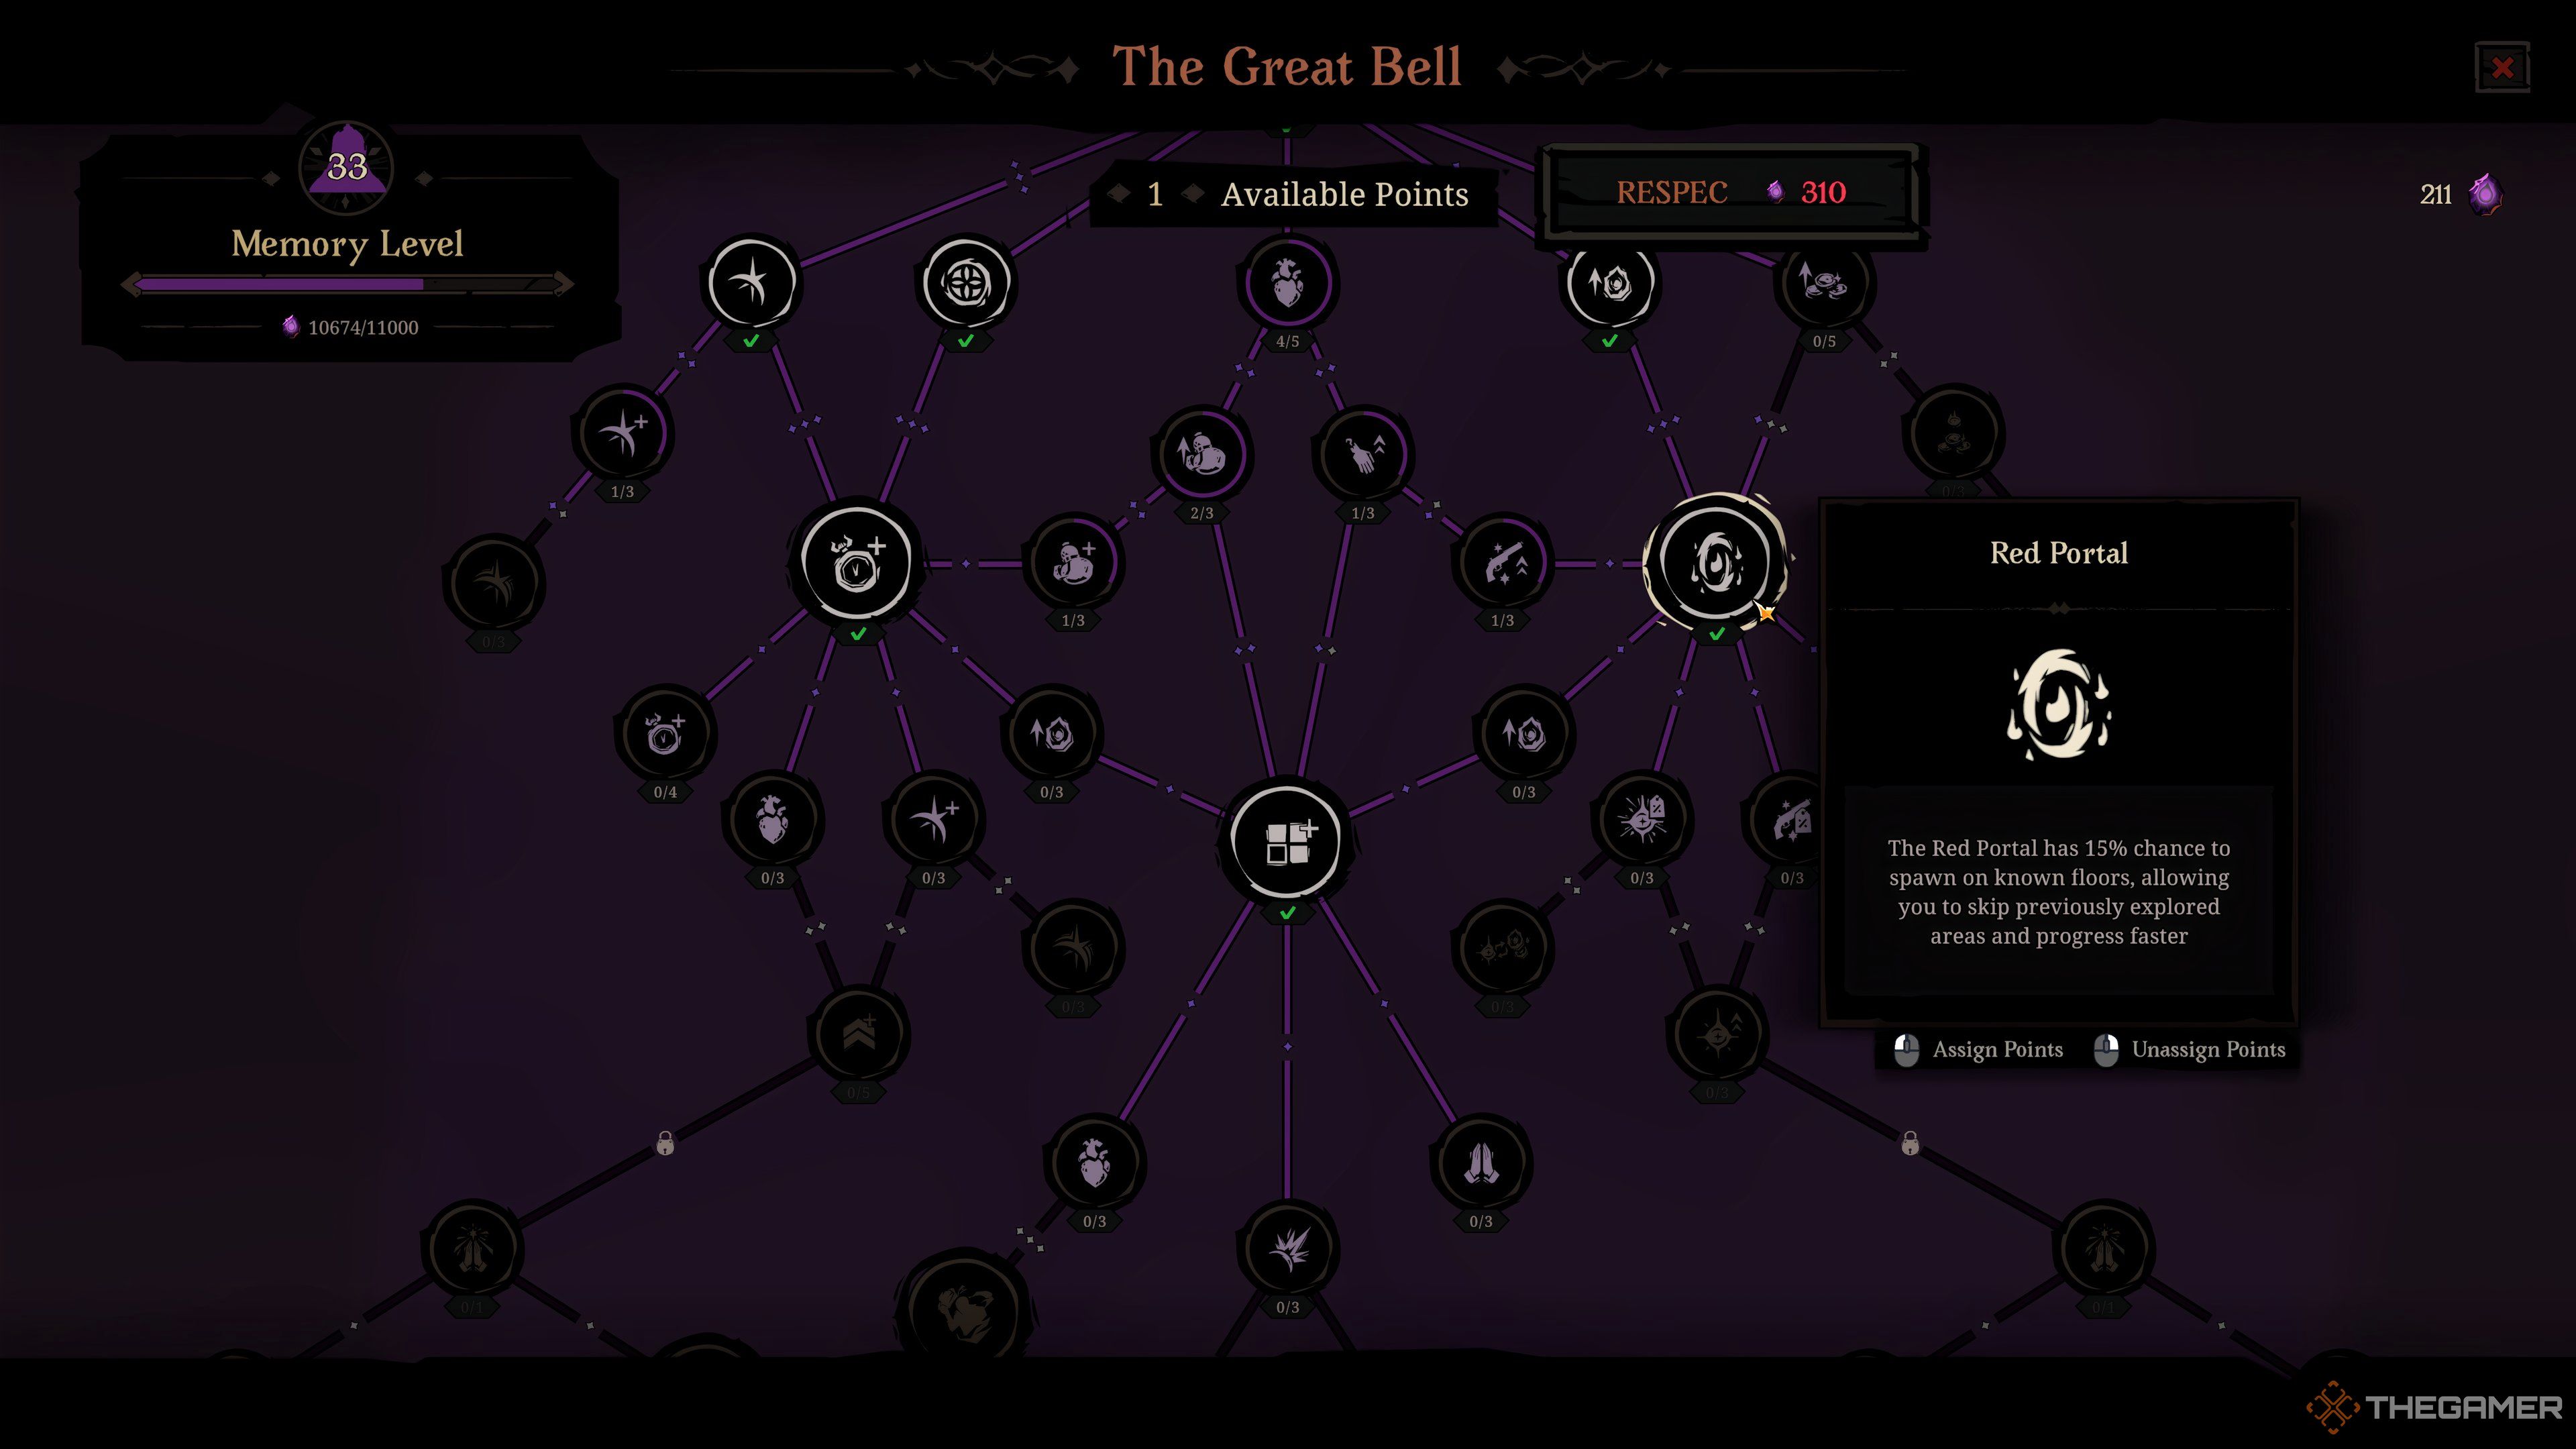
| Red Portal Upgrade | Unlocks red portals that allow you to skip a floor | Enables quicker farming routes for better loot and progression. |
| Hell Clock Timer +120 seconds | Adds two minutes to your run timer | Extends runs for more loot and floor clears. |
| Cooldown Speed | -10% cooldown duration | Faster skill uptime and casting for all abilities. |
| Maximum Skill Level | +1 skill upgrade cap | Allows core skills to reach higher levels sooner, boosting damage and utility. |
These S-tier upgrades serve as the foundation for advanced Hell Clock strategies. Boosting your damage, reducing cooldowns, increasing relic slots, and extending your timer all contribute to a more powerful and flexible build. The Second Wind provides a crucial safety margin, while Red Portals and increased run time unlock more loot opportunities.
A Tier Upgrades
| Upgrade | Effect | Why A Tier |
|---|---|---|
| Red Portal Frequency | Boosts red portal spawn chance by 10% | Makes it easier to skip floors for faster farming and deeper runs. |
| Soul Stone Gain | Gain 5% more soul stones from enemies and activities | Increases resource collection to support upgrades and relics. |
| Relic Drop Chance | 10% higher chance to find relics | More relics mean greater build options and strength. |
| Relic Upgrade Discount | Reduce relic upgrade costs by 5% (costs fewer soul stones) | Faster relic upgrades help your build develop more quickly. |
| Cooldown Speed | -10% cooldown duration | Improves skill uptime, increasing damage, healing, or control utility. |
| Attack Speed | Increase attack speed by 10% | Supports fast-casting builds like Repeater or Double Knives. |
| Potion Healing Amount | Increase healing from potions by 12% per rank | Helps sustain health in longer fights. |
| Conviction Gain | Gain 5-7.5% Conviction per mana spent | Enhances shield builds or resistance strategies. |
While not transformational, A-tier upgrades offer consistent improvements that make your runs more efficient. Enhancing resource gain, cool-downs, or relic collection can have a significant impact when timed properly during early or mid-game progress.
B Tier Upgrades
| Upgrade | Effect | Why B Tier |
|---|---|---|
| Potion Capacity | Gain one extra potion charge per rank | Supports longer fights but depends on how often you use potions. |
| Experience Gain | Increase experience gain by 5% per rank | Faster leveling, but less useful once you stop gaining levels. |
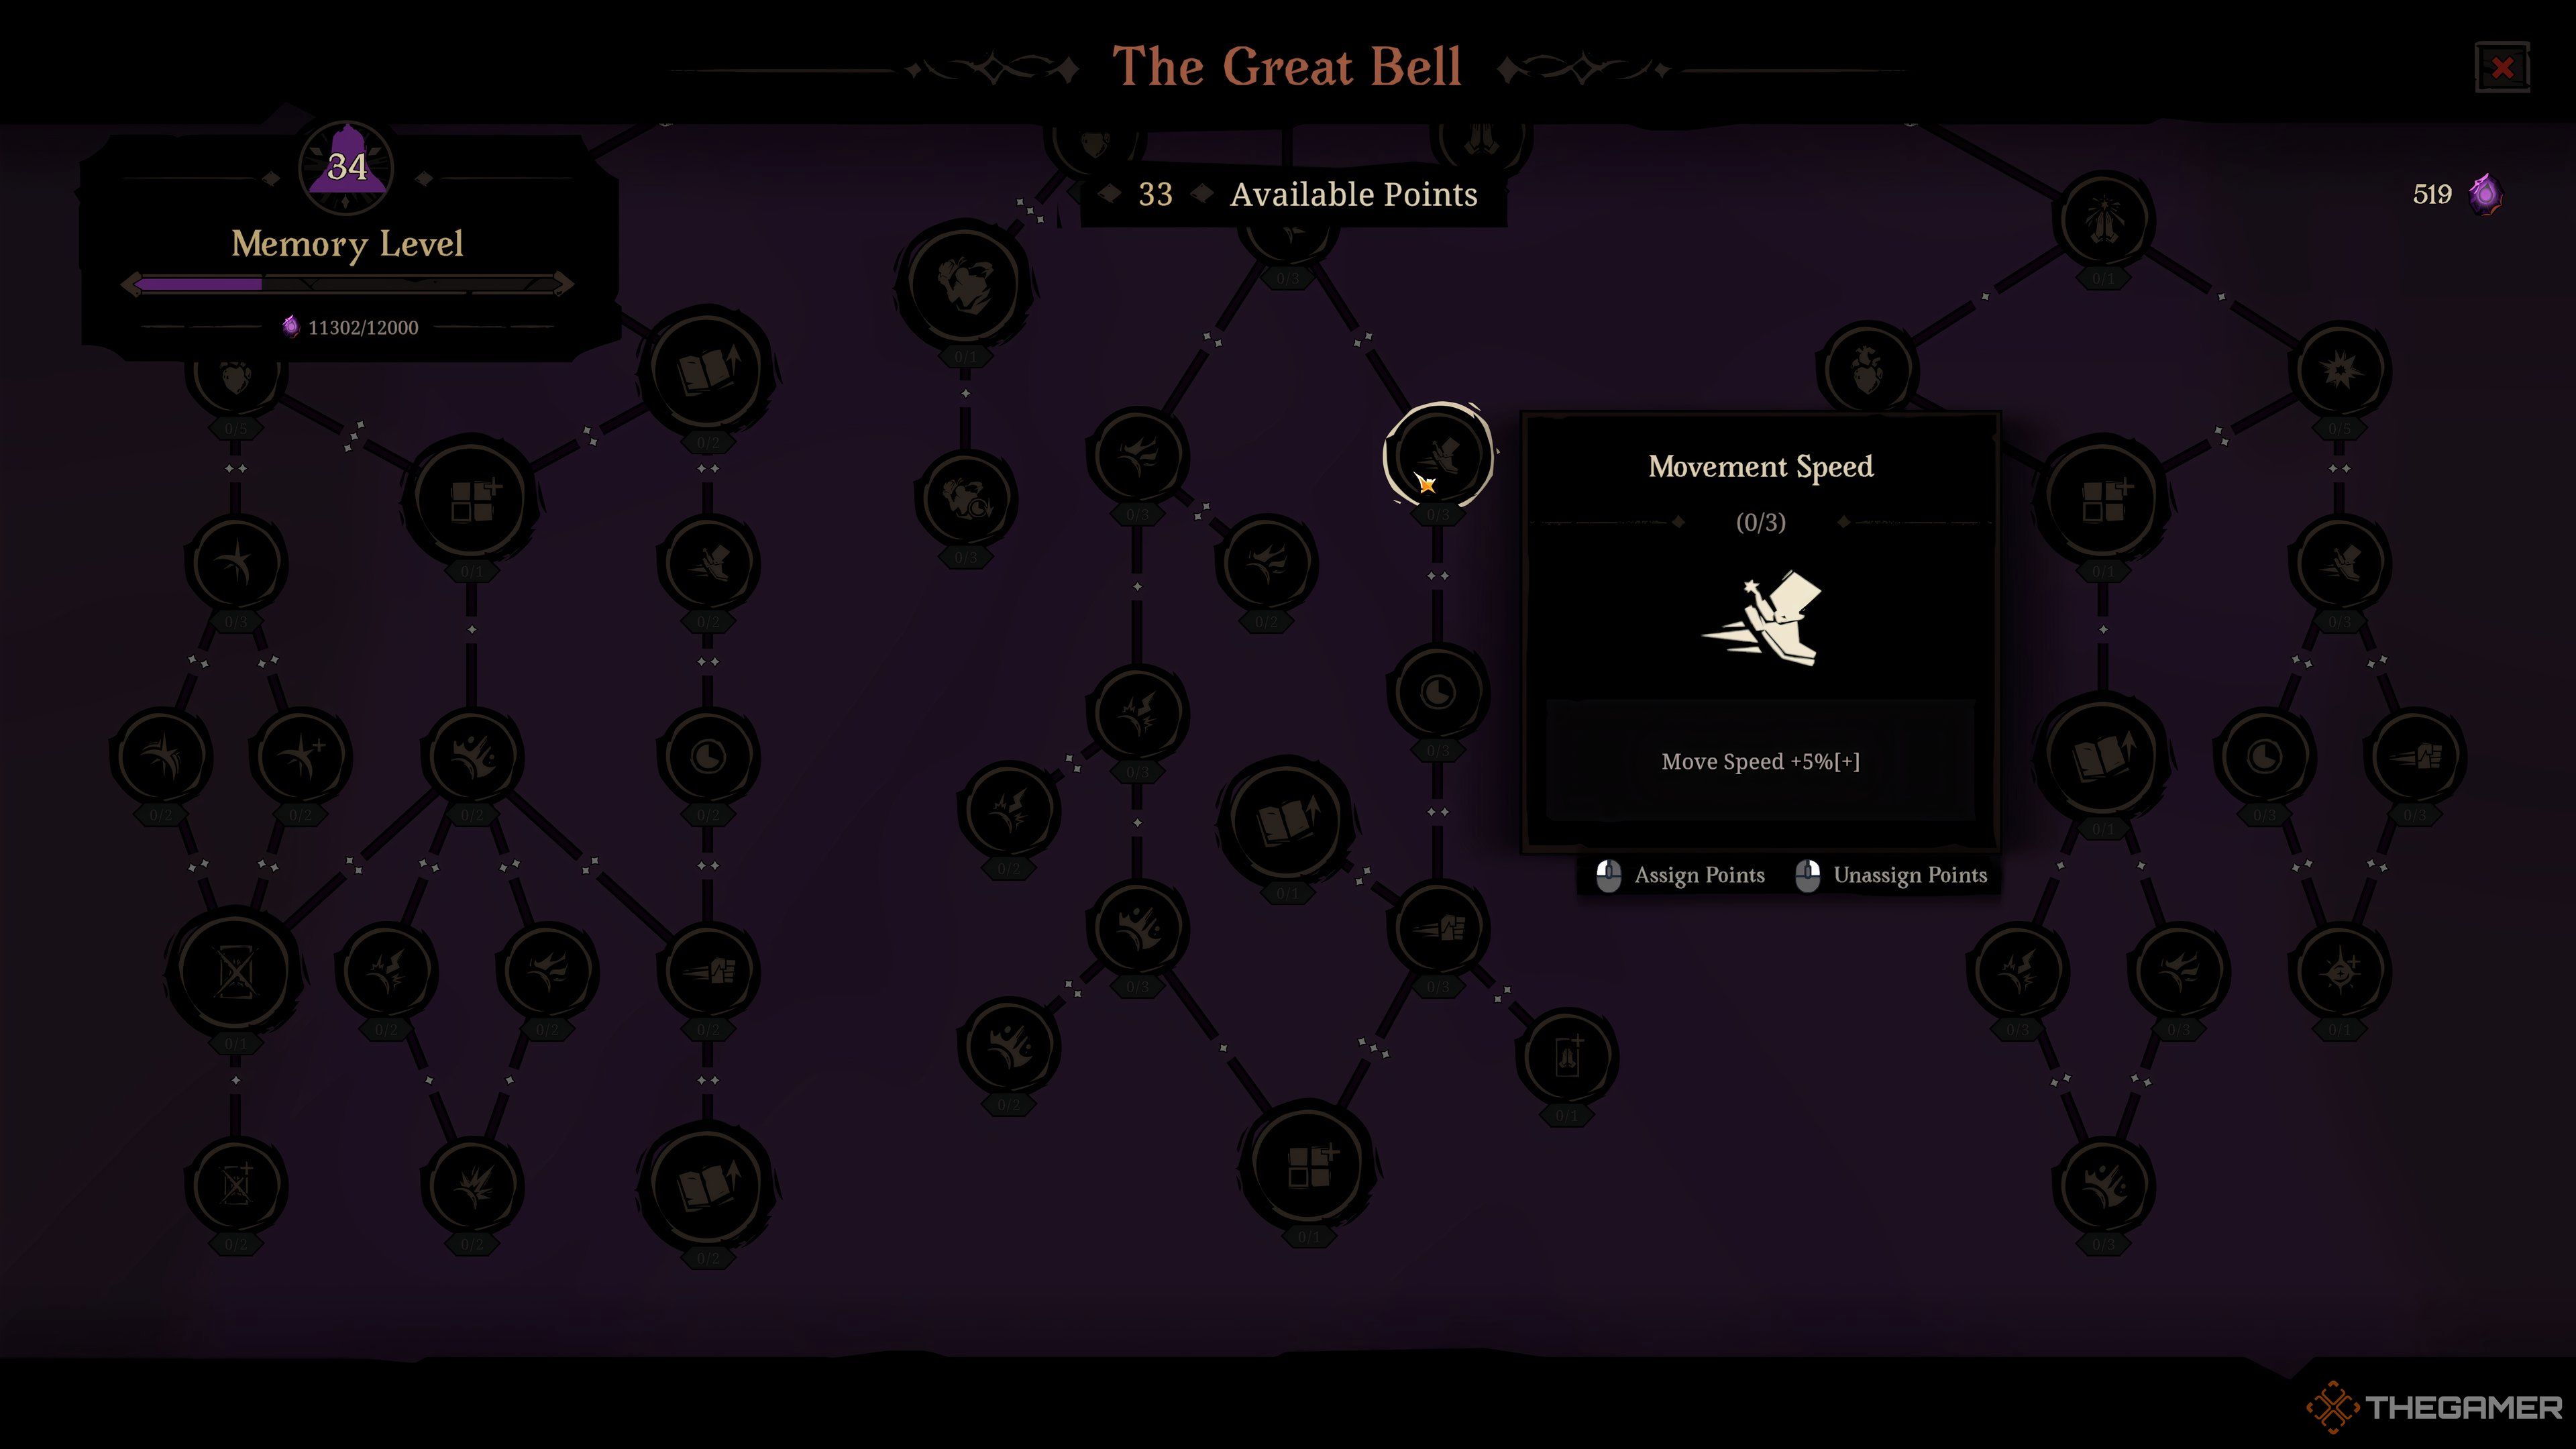
| Movement Speed | Increase movement speed by 2.5–5% | Helps with dodging and positioning, but less critical than damage or survivability. |
| Blessing Reroll Discount | Reduce the cost to reroll blessings by 10% | Saves gold and gives more build options, but not essential if your build is set. |
| Blessing Banish / Banish Amount | Remove bad blessings and increase banish charges | Niche utility; best in builds that focus on blessings. |
| Trinket Drop Chance | 10% higher chance to find trinkets | Can support relic-heavy builds but not usually necessary. |
B-tier upgrades are useful in specific situations, especially if you use potions often or want more relic chances. Increasing relic drop rates, lowering upgrade costs, or boosting healing can add steady benefits but generally won’t turn the tide alone.
C Tier Upgrades
| Upgrade | Effect | Why C Tier |
|---|---|---|
| Physical Resistance | +2% physical resistance per rank | Provides some damage mitigation but is less effective than shields or health boosts. |
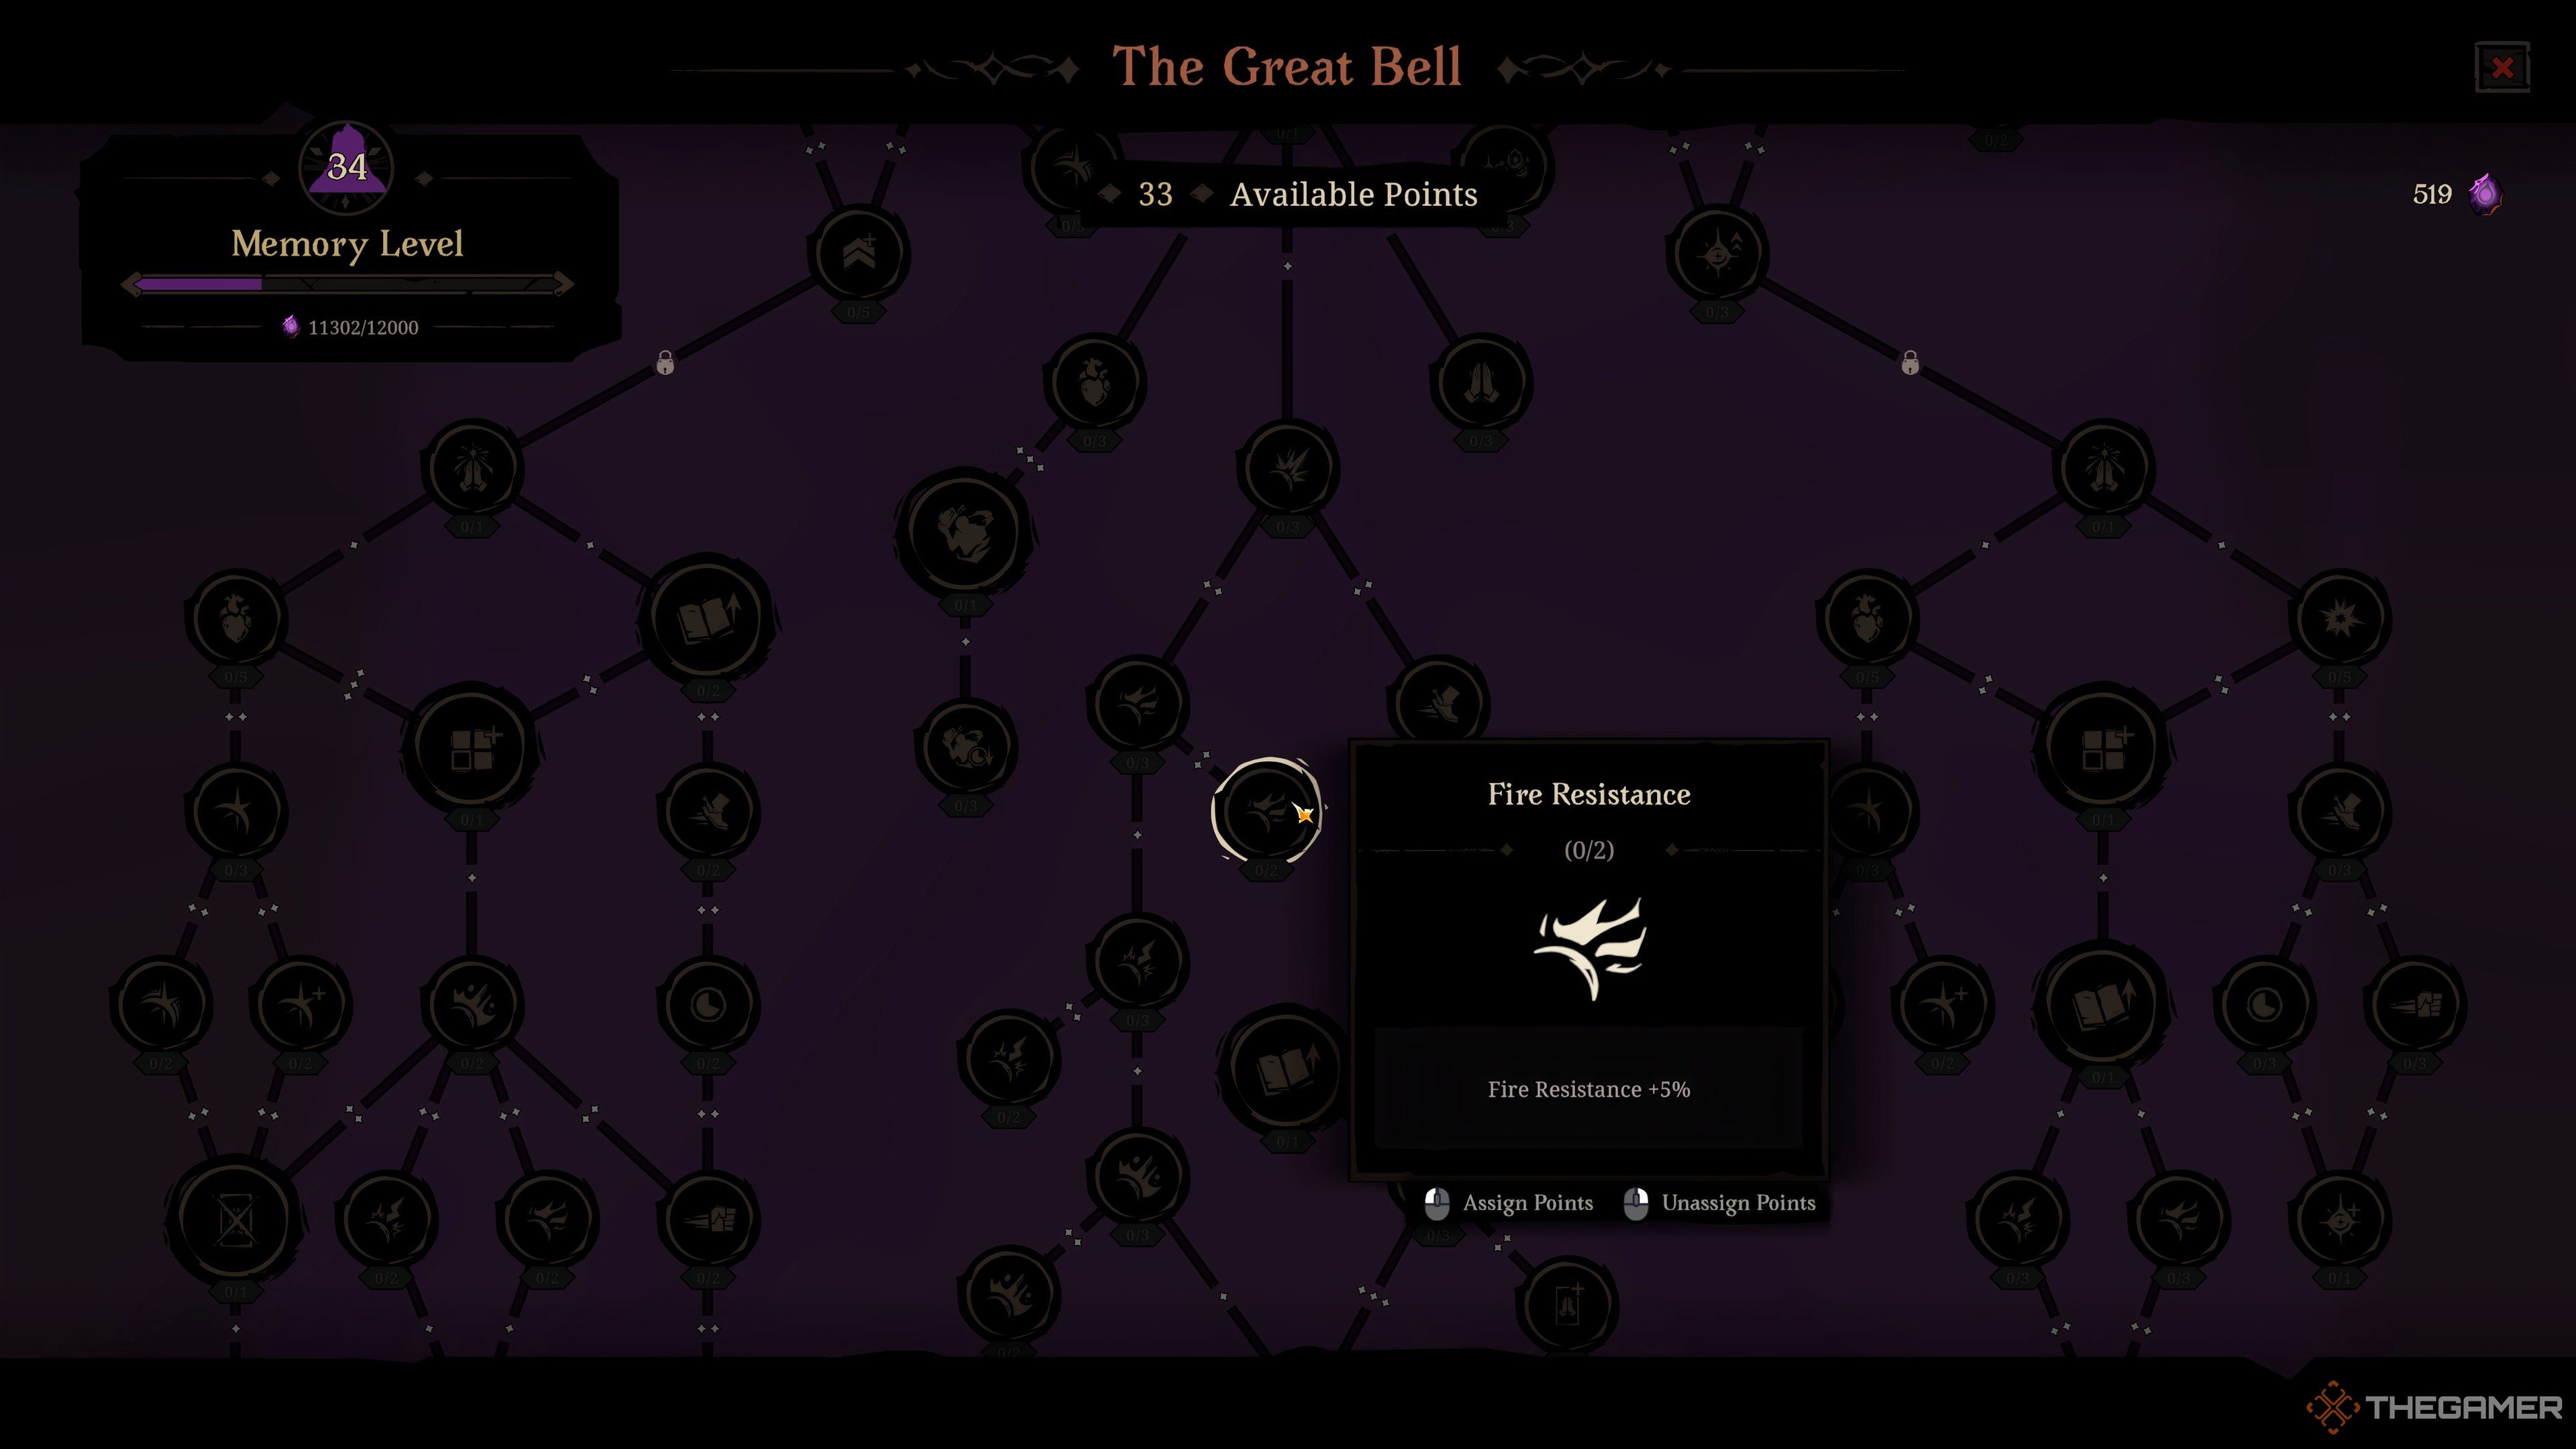
| Fire Resistance | +5% fire resistance per rank | Mostly useful against fire-based enemies or areas. |
| Lightning Resistance | +5% lightning resistance per rank | Specialized utility; only important in specific builds. |
| Plague Resistance | +2.5% plague resistance per rank | Very niche; only relevant in plague-heavy zones or against certain enemies. |
| Extra Relic From Bosses | Bases in Act Three, bosses can give one extra relic | Useful late game but less valuable early on. |
| Starting Blessings | Start runs with an extra skill blessing | Good for extra options but depends on blessings available at the start. |
| Soul Stones from Recycle | +12% soul stones when recycling relics | Passive gain but less impactful than earning from runs directly. |
C-tier upgrades focus on resisting elements or improving passive relic and blessing throughput. They add minor durability or resource gains and are better suited when your core strategy is locked in, or when you want to optimize particular map conditions.
D Tier Upgrades
| Upgrade | Effect | Why D Tier |
|---|---|---|
| Blessed Gear Drop | +10% chance to find Blessed Gear | Often redundant; Blessed Gear is not core to most builds. |
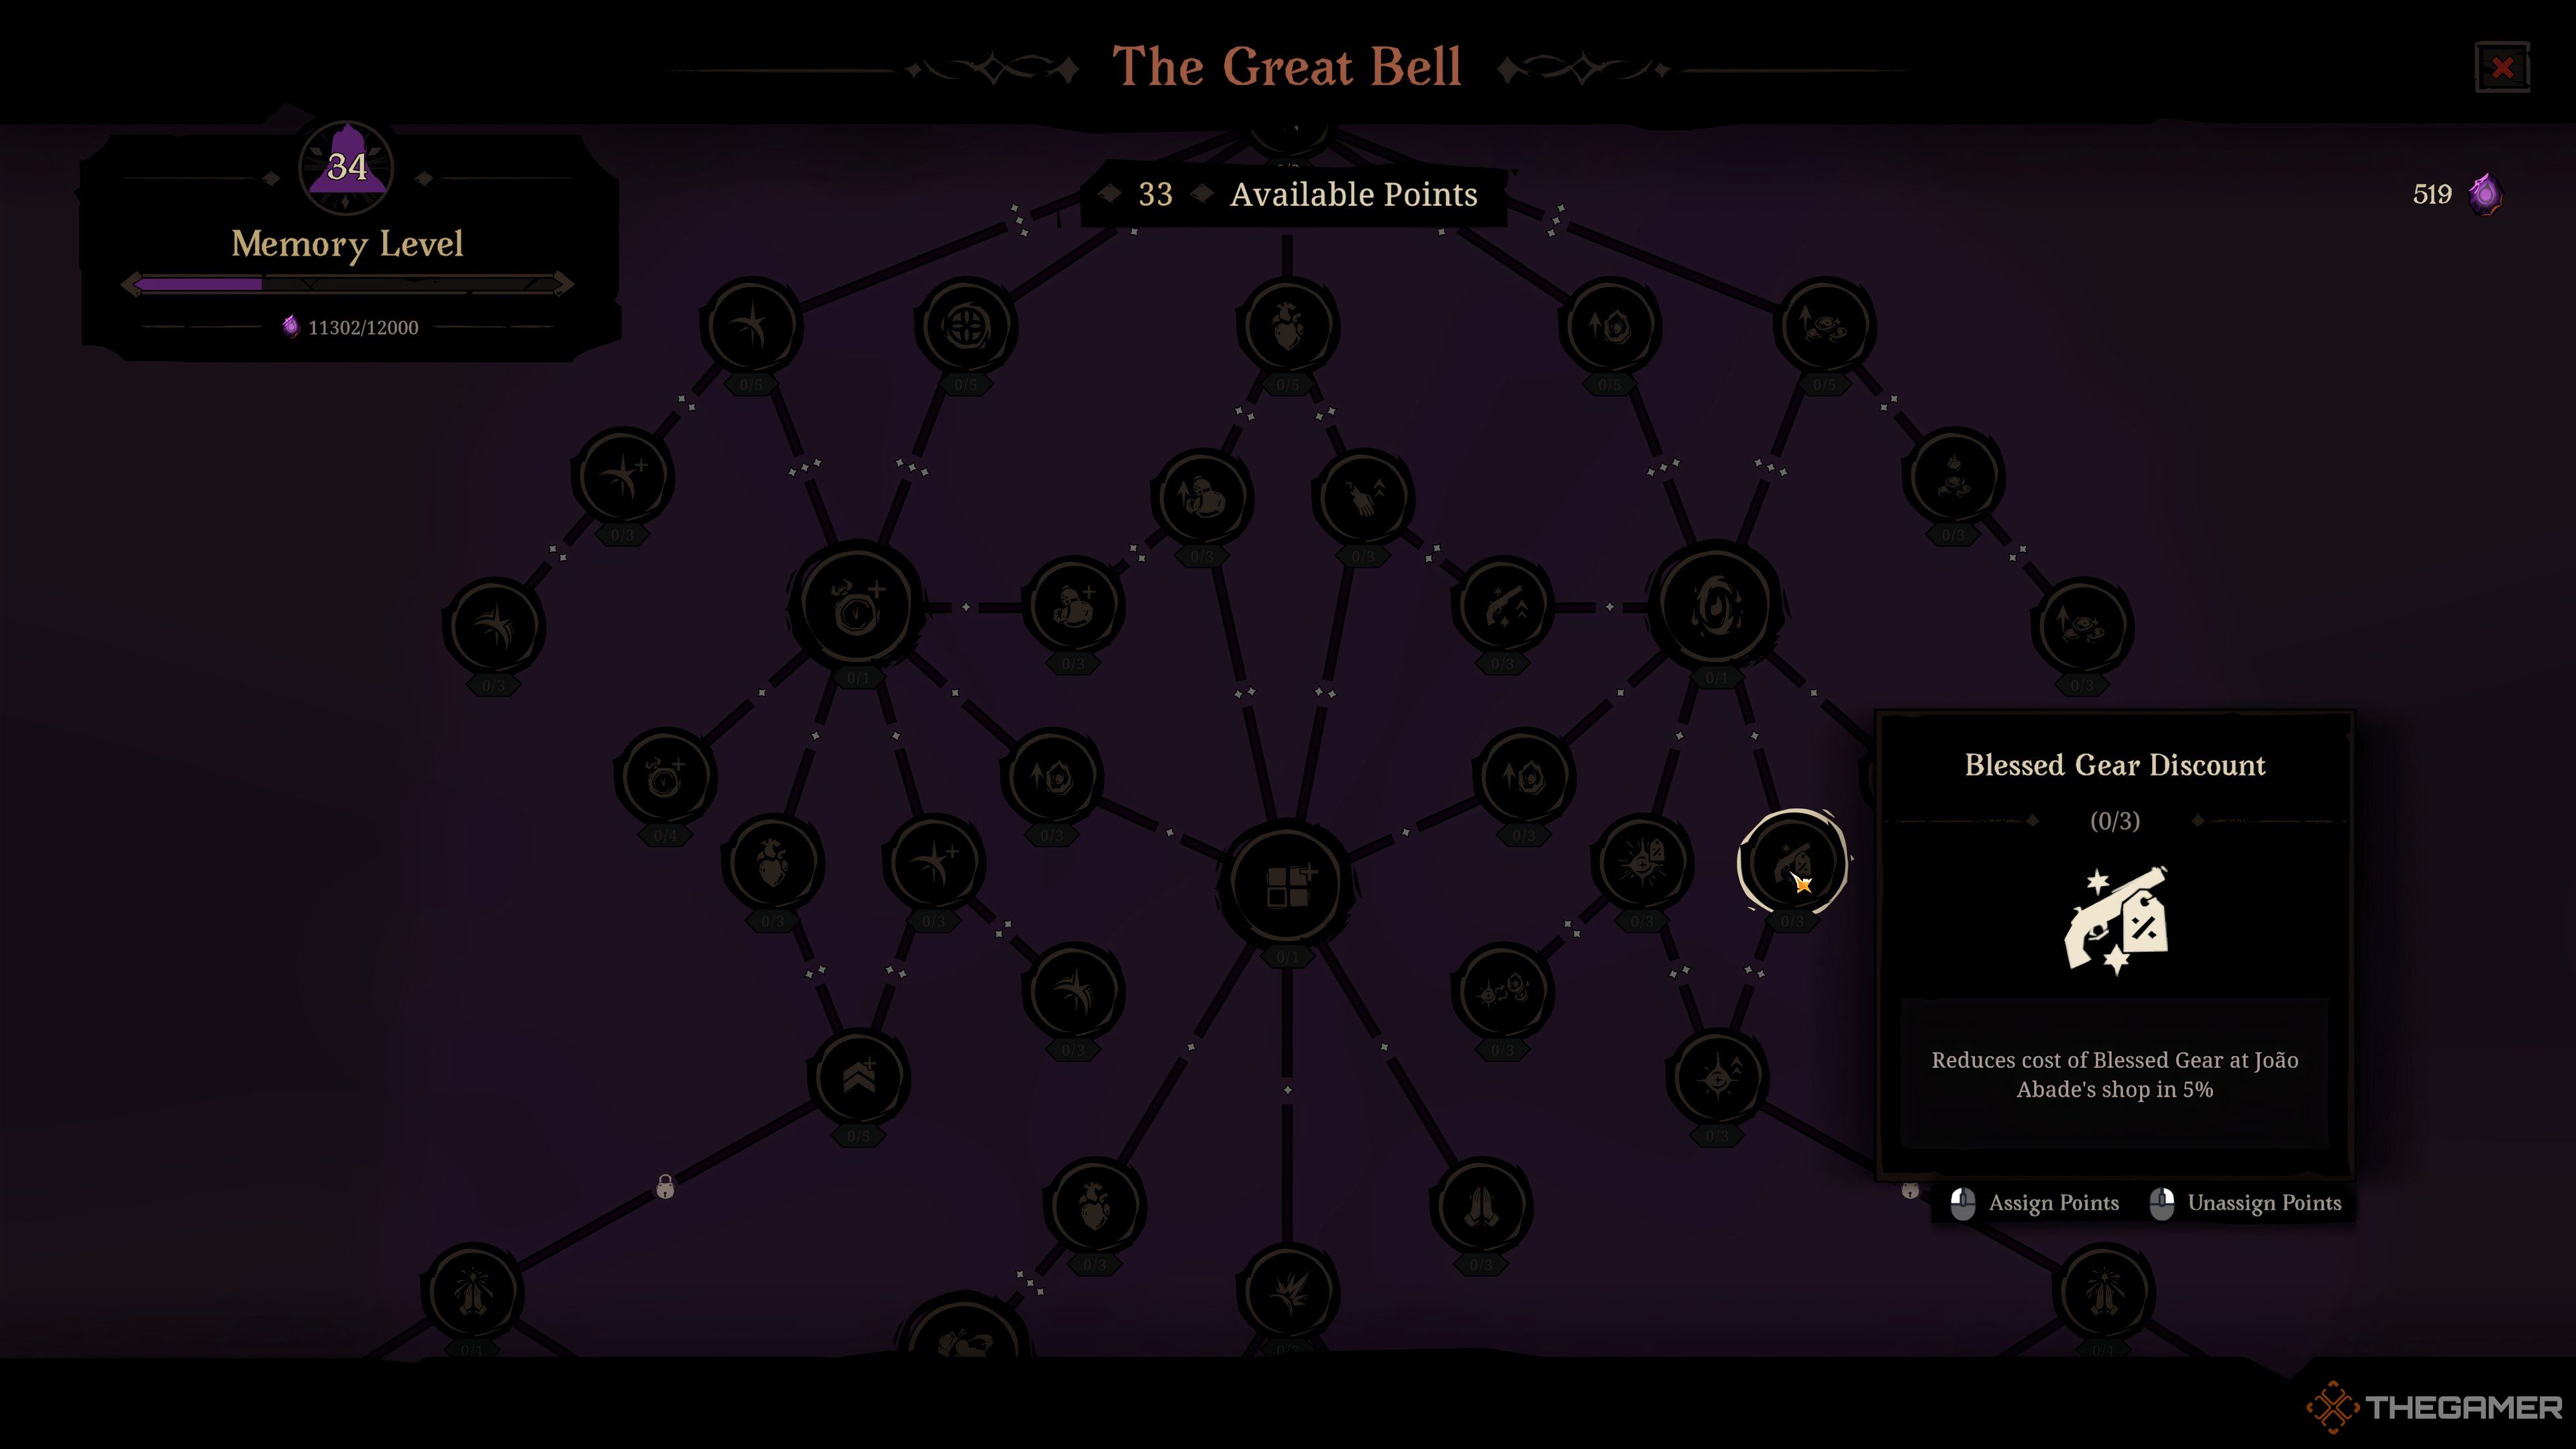
| Blessed Gear Discount | Reduce Blessed Gear shop cost by 5% | Limited benefit unless relying heavily on Blessed Gear. |
| Red Portal Intensity | Skip an extra floor with Red Portals | More about quantity than quality; doesn’t greatly impact overall power. |
| Starting Gold | Start runs with 500 Gold | Most gold is earned from runs and merchants later. |
D-tier upgrades generally offer small or situational benefits that rarely influence your overall run success. They are best considered only when other upgrades have been exhausted or when a specific minor bonus fits your build.